I was looking on the internet the other day for alternatives to pumpkin pie for Thanksgiving and found this using apples. I think it would be excellent with most fruits. It’s more like what we’d call in the United States a crumble. Easy to make and tasty, the most difficult part is peeling and cutting up the fruit. I used pears but apples, peaches, plums, figs, raspberries or blackberries, would work very well. And any combination of spices that your family likes would work as well as the three I used, cardamom, allspice, or ginger for example.
First, preheat oven to 350 degrees then peel and cut up:
- about 2 pounds of fruit (4 cups, I used four large pears)
Try to make the fruit all the same size so it cooks evenly. Toss the fruit with a mixture of:
- 1 tablespoon date sugar (or any granulated sugar you like)
- 1 teaspoon cinnamon
- 1 teaspoon nutmeg
- 1/4 teaspoon cloves
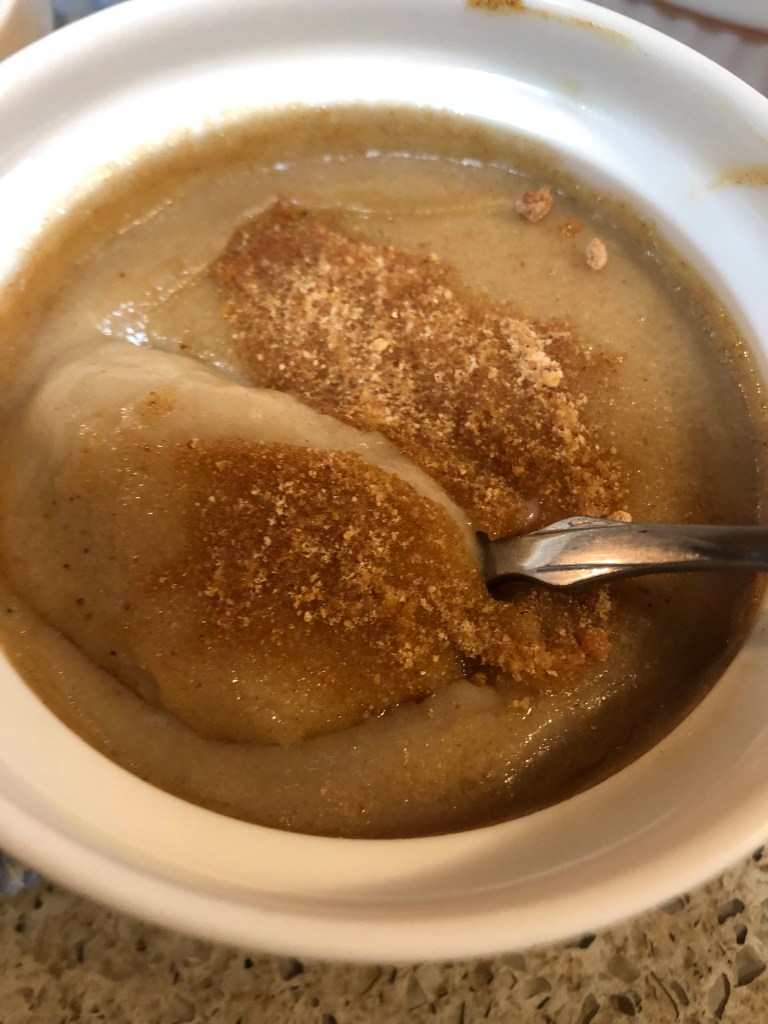
Lightly grease a 9″ pie plate then pour in the fruit. In the same bowl as you had the fruit, mix together:
- 3/4 cup melted vegan butter or avocado oil
- 1/2 cup granulated sugar (any kind)
- 1/4 cup brown sugar (again I used date)
- 1 tablespoon rice vinegar
- 1 teaspoon vanilla
Whisk to combine until the sugar is dissolved. If you can use eggs, feel free to substitute 1 egg for the vinegar (be sure to cool the vegan butter before adding the egg). Once combined, add the following ingredients which you’ve sifted together:
- 1 cup all-purpose, gluten-free flour
- 2 teaspoons baking powder (if you used an egg reduce this to 1/2 teaspoon)
- 1/4 teaspoon salt
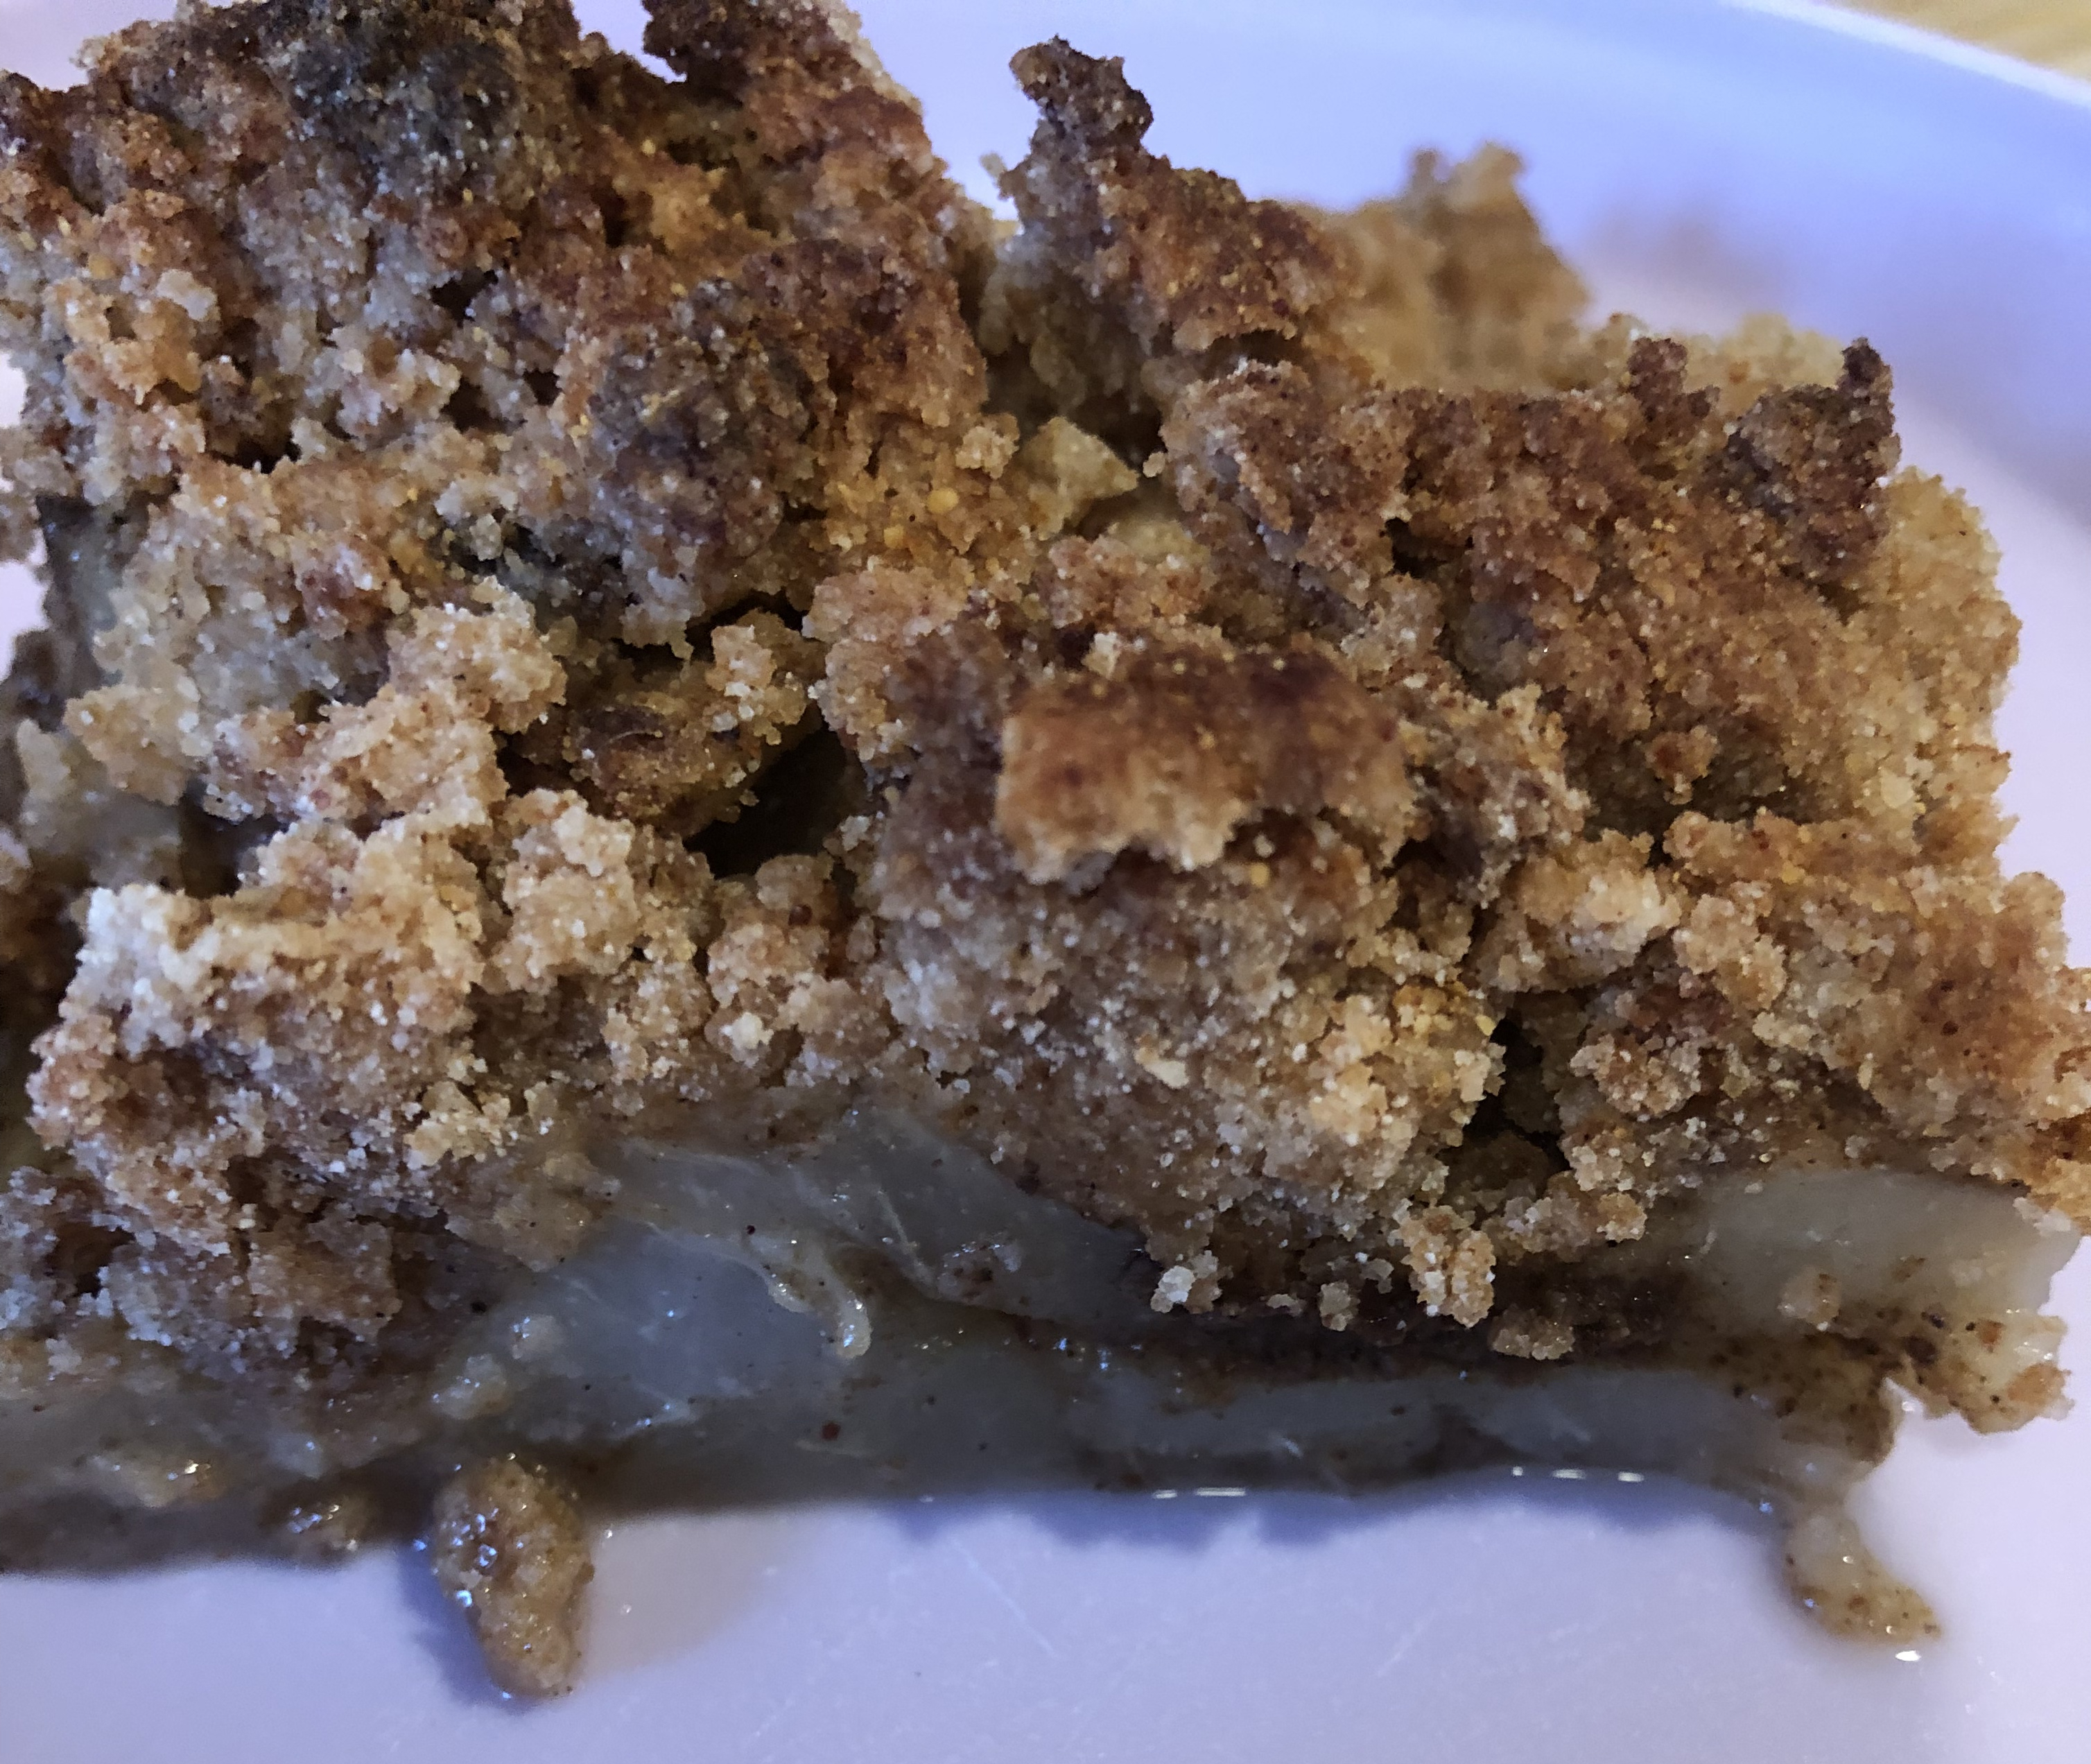
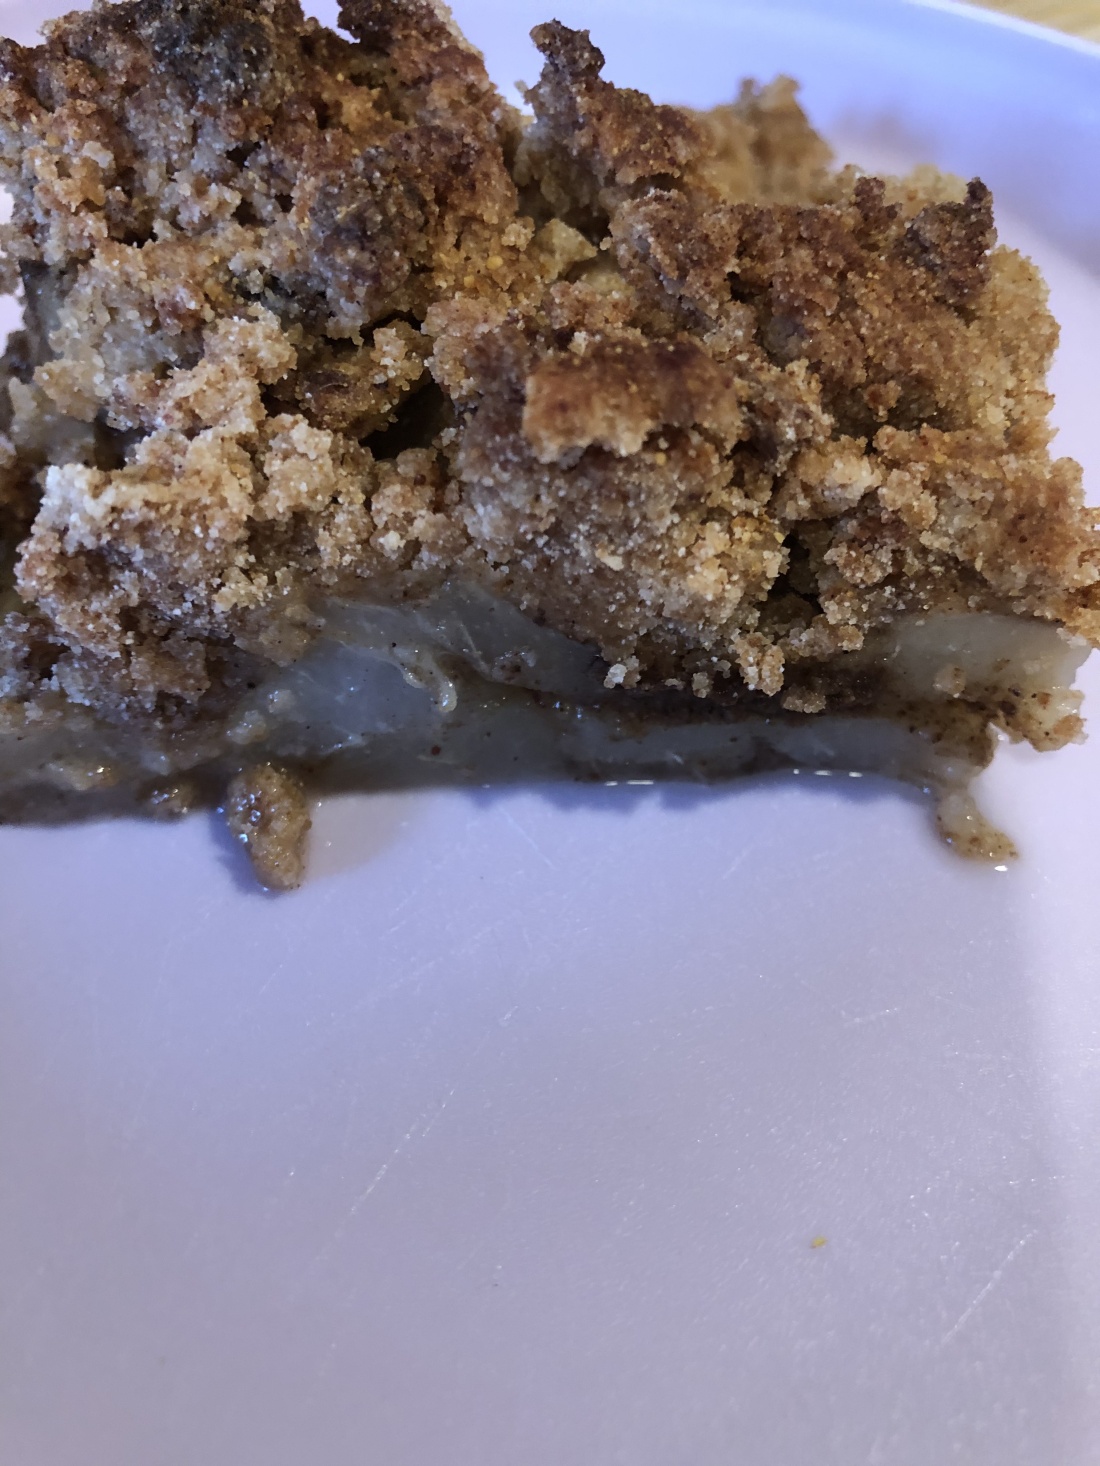
Stir to mix thoroughly, mixture will be thick and almost crumbly if you didn’t use the egg. Spread over the fruit and then sprinkle with another teaspoon of granulated sugar. Bake for 45 to 50 minutes until crust is fully cooked. Let cool before serving for easy cutting. Can be topped with any non-dairy cream or whip.