New Pages

Now that there’s 100+ recipes on the blog, I’m going to start adding pages.  In the coming weeks, I’ll put up pages on non-dairy milks, gluten-free flours, sweeteners, and thickeners and stabilizers.  Pages will provide different things but give basics on how to use each and what works best in different situations.

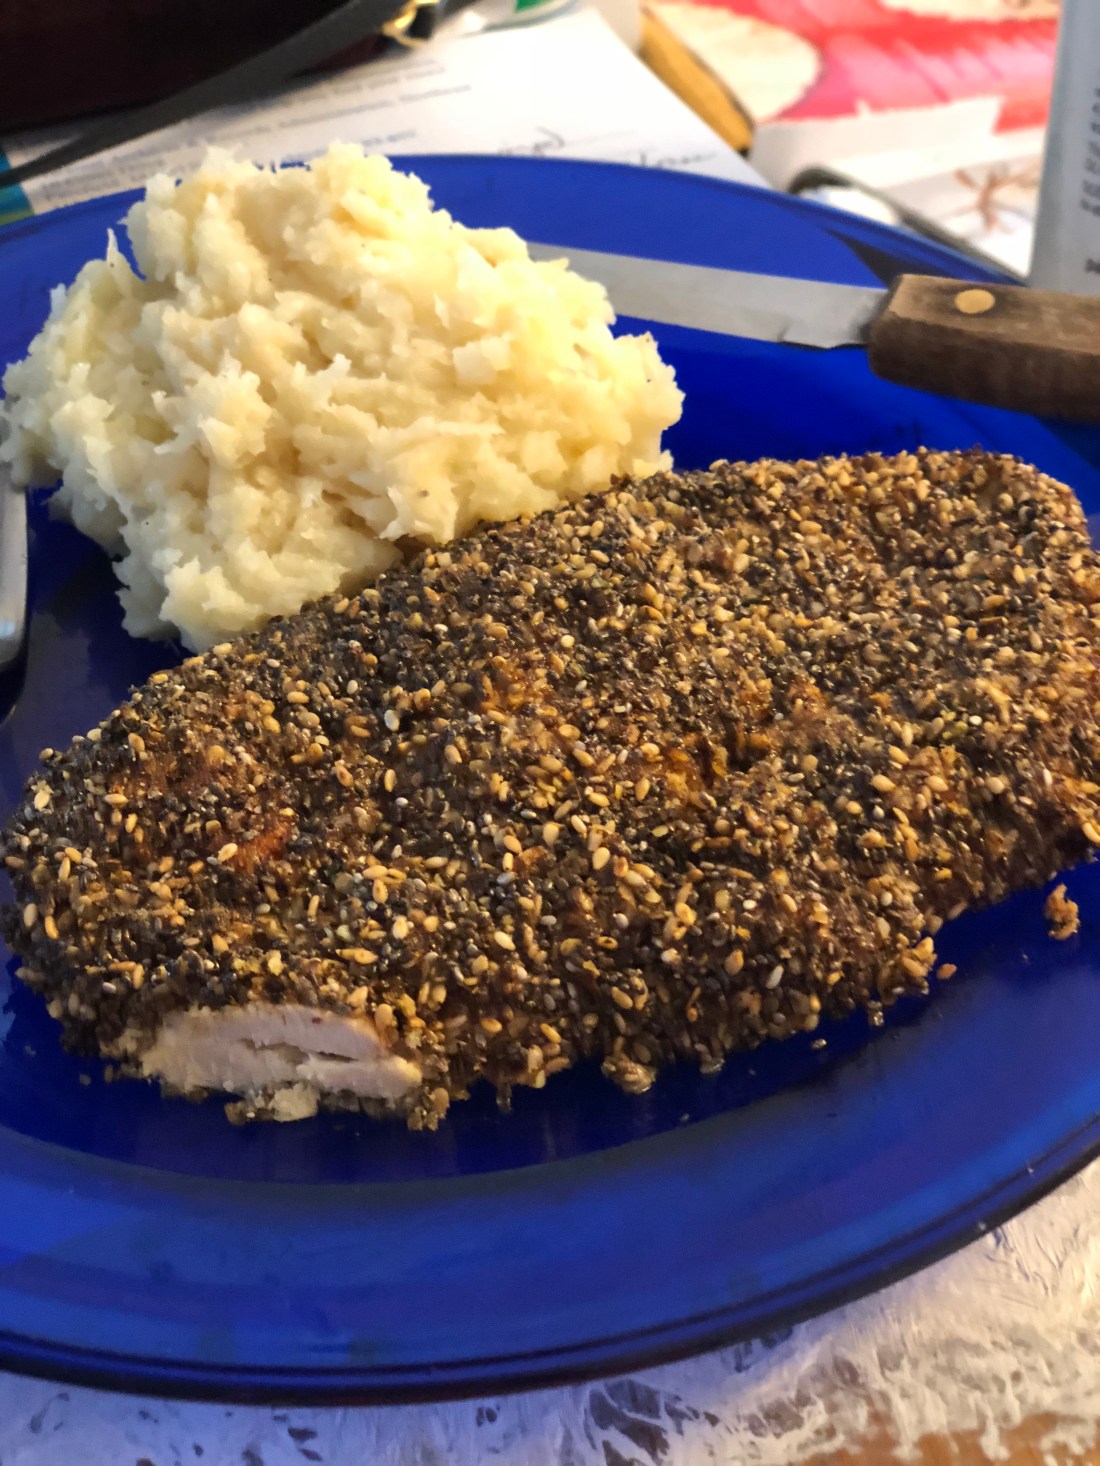
For example, when making a sauce or pudding where non-dairy milk needs thickening, soy is not the best alternative since it’s almost impossible to thicken or when a delicate flavor is needed, rice milk is the best.  Or, when baking a cake, a mix of gluten-free flours works better than using just brown rice flour.  Another example, while monk fruit powder is a great sweetener, it doesn’t mix well with cranberries.

Here’s the start of the gluten-free flour listings:

Almond Flour: 

Uses: Good for cookies and course grained cakes; adds a sweet and nutty flavor to baked goods

 Storage: Should be stored in the refrigerator or a cool, dark place

Basic Ingredient: It’s made from grinding almonds so can be course in texture  

Nutritional Properties:  High in protein, vitamin E and omega-6 fatty acids.

Other:  Not allergy friendly for people with nut allergies or sensitivities; course texture not right for all baking uses

Amaranth Flour: 

Uses: Mostly used in cereals, pastas, pancakes, biscuits, crackers, bread and cookies; absorbs fats so a good thickener or flour for high-fat baked goods; nutty flavor but can leave a bitter aftertaste

Storage:  Store in the refrigerator or a cool, dark place in air tight container

Basic Ingredient:  Amaranth flour was widely used by the Aztec and Inca civilizations of the pre-Columbian Americas. It is produced by grinding seeds from the amaranth plant into a fine flour.

Nutritional Properties: High in protein, lysine, methionine and iron; twice the calcium per ounce as cow’s milk

Other:  Use in combination with other flours

I hope you’ll find these pages useful.  

Baked Chicken Breasts (dairy-free, gluten-free)

I eat a lot of chicken since I’m allergic to anything that comes from a cow as well as most other red meats.  So I’m always trying out new chicken recipes and this is an old recipe I found while digging around for blog posts in my old cookbooks and files.  It originally used almond flour and nut butter but I’ve updated it and removed those ingredients and added several healthier options.  It can be served with some cranberry sauce (see Cranberry Compote).  Be careful with the baking times — its a very moist breast due to the marinade but will dry out around the edges if cooked too long.  Its difficult to tell when its cooked just by looking at this chicken; take it out of the oven and check it for firmness to be sure its cooked.  Depending on how thin the breasts are pounded will vary the cooking time.  Mine were around a 1/2 inch and I cooked them 35 minutes which turned out to be about 5 minutes too long since they were a little dry around the edges.

This recipe serves 4 using two whole (versus half) chicken breasts.  Place a breast in a gallon storage bag.  With either a rolling pin or a meat tenderizer (flat edged), pound out breast until its about a half inch thick.  Repeat for the second breast.

Spray a shallow 10″ baking dish with non-stick cooking spray.  Add the flattened breasts.  In a small bowl mix:

  • 1 tablespoon olive oil
  • 1 tablespoon tahini
  • juice from one lime
  • 1 teaspoon salt
  • 1/2 teaspoon ground pepper
  • 1 teaspoon dry parsley
  • 1 teaspoon onion powder
  • 1/2 teaspoon garlic powder
  • 1/2 teaspoon paprika

Pour over chicken breasts.  Turn over the breasts several times to be sure that all parts of the breasts have some marinade on them.  Cover with plastic wrap and marinade for a minimum of 1 hour or overnight.

When ready to bake, preheat oven to 350 degrees.  In a second shallow dish (like a large pie plate), combine:

  • 1/4 cup ground flax/hemp mix
  • 1/4 cup chia seeds
  • 1/4 cup toasted sesame seeds
  • 1/4 teaspoon salt 
  • 1/4 teaspoon pepper
  • 1/4 teaspoon onion powder
  • 1/4 teaspoon dry parsley
  • 1/8 teaspoon paprika
  • 1/8 teaspoon garlic powder

Stir to combine.  Press a chicken breast into the mixture to cover.  Turn it over to coat the other side and don’t forget the edges.  Repeat with the second breast.  Place in a greased baking dish and bake for 25-30 minutes depending on thickness (for 1/2 inch breasts; for thicker breasts increase slightly).  Serve plain or with cranberry sauce.  I paired mine with the celery root and parsnip mash (see Side Dishes) which is now one of my favorite sides — can’t tell you the last time I ate a potato!

Gingerbread Cookies (dairy-free, gluten-free, egg-free, refined sugar-free, vegan)

What’s better at the holidays than sugar cookies or gingerbread cookies?  Just the smell of gingerbread baking makes most of us think of Christmas.  This recipe uses a number of types of flours to get the right consistency for gingerbread but is fairly easy to put together.  I added a 1/2 teaspoon of fresh grated ginger but it could have used substantially more so if you really like ginger, add 1-2 teaspoons of freshly grated ginger.  And, depending on how thin you roll these, vary the baking times from 10-12 minutes for thinner cookies and  15-20 minutes for thicker cookies.  And the number it makes also depends on how thin you roll them; it can make as few as 15 for thicker cookies or as many as 24 for thinner cookies.

I’m working on a sugar-free and egg-free royal icing and hope to have that recipe ready for the blog soon.  

In a medium sized bowl combine:

  • 1 cup millet flour
  • 1 cup tapioca starch/flour
  • 1/2 cup arrowroot
  • 1/2 cup sweet sorghum flour
  • 2 teaspoons ground cinnamon
  • 1 teaspoon ground ginger (more if you like them really gingery)
  • 1 teaspoon xanthan gum
  • 1 teaspoon sea salt

Sift or stir to combine dry ingredients.  In a large bowl mix:

  • 1 cup shortening such as Spectrum
  • 1/2 cup date sugar
  • 1 teaspoon monk fruit powder

Beat on medium speed until well mixed.  Add:

  • 1/2 cup agave nectar (or coconut nectar or honey)
  • 1/4 cup unsulfured molasses
  • 1/4 cup water
  • 2 teaspoons vanilla extract
  • 1/2 to 2 teaspoons freshly grated ginger

Mix on medium speed until combined.  Add dry ingredients in several batches (around 3/4 cup at a time) until all the flour is incorporated.  I actually put down the mixer when half the dry ingredients were added and mixed in the remainder with a large spoon.  Form into a round disk (or a rectangle) and wrap in plastic wrap.  Refrigerate for 1/2 to 1 hour.

Preheat oven to 350 degrees.  Line baking sheets with parchment paper (no non-stick spray needed).  Unwrap the plastic wrap and add a piece of parchment paper to the top.  Roll out to 1/8 to 1/4 inch depending on taste.  I prefer a very thin, crispy cookie so I rolled mine out rather thin.  Repeat until all the dough is used.  These cookies will not rise or expand while baking so they can be placed on the cookie sheets closely packed.  Decorate with unsweetened carob or chocolate chips if desired before baking.  

Bake 10-20 minutes depending on thickness; when the cookies are slightly firm and browned (hard to tell with the molasses), they are cooked; if you like yours crunchier, cook them a little longer.   Cool on cooling racks.  These can be frosted with carob buttercream or cream cheese frosting if desired (I enjoyed mine just plain).

Nachos (dairy-free, gluten-free, corn-free)

If you love nachos like I do, you’ll like this recipe.  I spent 12 years living in the Phoenix area and our favorites places to eat were the Mexican restaurants.  Now, with my dairy, gluten and corn allergies, I don’t get to eat nachos very often.  I found using this tortilla recipe, that the nachos stay sturdier; with regular flour or corn chips, they can get very soggy after the cheese sauce is added.  These did get a little soft but they still held up and everything didn’t spill off when they were picked up, even the ones on the bottom.  This recipe makes 3 tortillas or about enough a large plate of nachos.  As an appetizer, enough for 6-8 people but as a meal, probably only enough for 1-2.

First make the tortillas.  Combine in a quart bowl:

  • 1/2 cup garbanzo bean flour (or another dense flour such as hemp)
  • 1/8 teaspoon salt
  • 1/8 teaspoon ground pepper
  • dash (or two) of cumin or chili powder (optional)
  • 3/4 cup cool water

Whisk until all ingredients are combined and mixture is smooth.  Heat an 8″ skillet (non-stick) over medium heat.  When hot pour about 1/3 of the mixture into the skillet and, like a crepe, move pan to let the mixture cover the entire bottom of the pan.  Cook until small bubbles cover most of the tortilla (this will only take 2-4 minutes) and then turn over and cook for another 1-2 minutes.  Repeat for the next two tortillas.  Let cool slightly before cutting into eighths.

Meanwhile get the rest of the nacho ingredients started.  Combine in a small sauce pan:

  • 1 cup shredded non-dairy cheese (I really like the Daiya Classic Combo cheese for this)
  • non-dairy milk of choice just until it almost covers the cheese (about 2/3 of a cup)

Cook over low heat until cheese is completely melted and incorporated into the milk.  Whisk every few minutes.

If you like ground meat on your nachos, cook a quarter to a half pound of ground meat, seasoned with salt, pepper, and chili powder (optional).

Heat 1/4 to 1/2 cup of refried beans in a small skillet with a little oil (or if you want, a minute in the microwave).

You can use store-bought guacamole or make some.  I use a very simple guacamole recipe:

Combine in a food processor:

  • the meat from 2 avocados
  • 1/2 cup prepared salsa
  • juice of 1 lime

Blend until smooth.  I prefer a smooth guacamole but I know some people like it chunky so if a chunky one is preferred, pulse until desired consistency.  Add 1/4 cup pomegranate arils if  you like a little crunch in your guacamole (and they add a nice flavor as well).

These tortillas absorb oil like crazy so I didn’t deep fry them.  Instead, I used my air fryer and placed them in a single layer, air fried them for about 10 minutes or until crispy.  

Then it time to make the nachos.  Start with a layer of chips, cover with meat and/or refried beans, top with cheese sauce and guacamole.  Repeat until chips are all used.  Top with some diced tomatoes and scallions.

Yule Log (dairy-free, gluten-free, egg-free, sugar-free, vegan)

One of my favorite desserts when I was younger was a rolled cake. That’s all a Yule Log is — a rolled cake that’s made to look like a tree log.  I remember when I first made them in the 1960s, we used almonds to make the bark; today, one just uses a fork or toothpick to make the frosting look like bark, much easier than lining up all those almonds slices!  I struggled a long time to develop a recipe for a sponge cake that doesn’t use any eggs but I finally came up with this one.  It makes a small roll so if you want something bigger, make the recipe twice (I don’t recommend doubling it, instead just make 2 batches).  This will serve 8 normal people (in my family my two brothers would have demolished it all by themselves!).  

Preheat oven to 400 degree.  Grease a small cookie sheet with sides.  Place a piece of parchment paper on top and grease the paper.

In a large mixing bowl add:

  • 3/4 cup aquafaba
  • 1 teaspoon cream of tartar

Beat on medium speed until peaks start to form and then increase speed to high.  Add, a few tablespoons at a time:

  • 2/3 cup date sugar
  • 1 teaspoon vanilla extract

When the sugar is completely combined, fold in by hand:

  • 1/2 cup all purpose gluten-free flour
  • 1/4 cup arrowroot or tapioca flour

Again, add the flour slowly, a few tablespoons at a time.  Fold in gently just until combined.  If your merengue falls, add 1 teaspoon baking powder to the mixture. [You can go ahead and use it but it will make a tougher sponge.] Spread in the prepared pan – makes about a 6″x8″ cake.

Obviously, if you’re doubling the recipe, you’ll want to use a larger pan and it will spread to approximately 12″x16″.  Bake 10 minutes in preheated oven.  When done, turn out onto a CLEAN dish towel (doesn’t matter what fabric towel it is as long as it isn’t too thick and its clean).  Let sit for about 1 minute and then roll long side to long side including the towel.  Let cool completely before filling and frosting.

I used the Carob Buttercream frosting but any brown frosting would work including a Nut butter and cream cheese (or tahini and cream cheese) frosting.  

Chard Wrap (dairy-free, gluten-free)

A friend challenged me last week to find a way to produce a wrap for her lunch that didn’t use a tortilla. Of course, my first thought was a lettuce wrap that I’ve been making for years.  But she wanted something new and different.  The swiss chard can be prepared ahead of time and stored in an airtight container for several days.  

Put a large (dutch oven type) pot on the stove about half full of water.  Bring to a bowl.  Meanwhile, clean:

  • 1 bunch of swiss chard (green or rainbow) – collard greens could also be used

Cut out the toughest parts of the stems which will leave a V-shaped leaf.  When the water comes to a bowl, place the chard leaves in the water for 60 seconds (I did this individually so that they wouldn’t break and would cook evenly but that’s not completely necessary; the last few I did altogether and they were fine).

Remove and place in a bowl of cold water for just a few minutes.  Drain and pat dry with a paper towel.  

To make a wrap, cut the Vs into two pieces.  Stagger several pieces (4-5) on top of one another to strengthen the wrap and make a solid wrapper.  Spread with honey mustard sauce:

  • 1 tablespoon mustard
  • 1/2 teaspoon raw honey

Whisk until blended.  Place the wrap meats and tomato across and the sprouts and avocado lengthwise so that there’s some of each in every bite.  I used:

  • 2 slices organic, low sodium turkey breast
  • 2 slices organic honey baked ham
  • 2 slices non-dairy provolone cheese
  • 1/2 cup alfalfa sprouts
  • 4 slices of tomato
  • 1/2 a medium avocado sliced

Fold in the longer edges of the chard wrap (if possible) and then fold the shorter ends to each other.  Cut in half and serve.  

Alternatives:  

  • Make this entirely with vegetables using sprouts, shredded lettuces, wedges of carrot, celery, or cucumber laid in the short direction, add cheese if desired