Chicken “Divan”

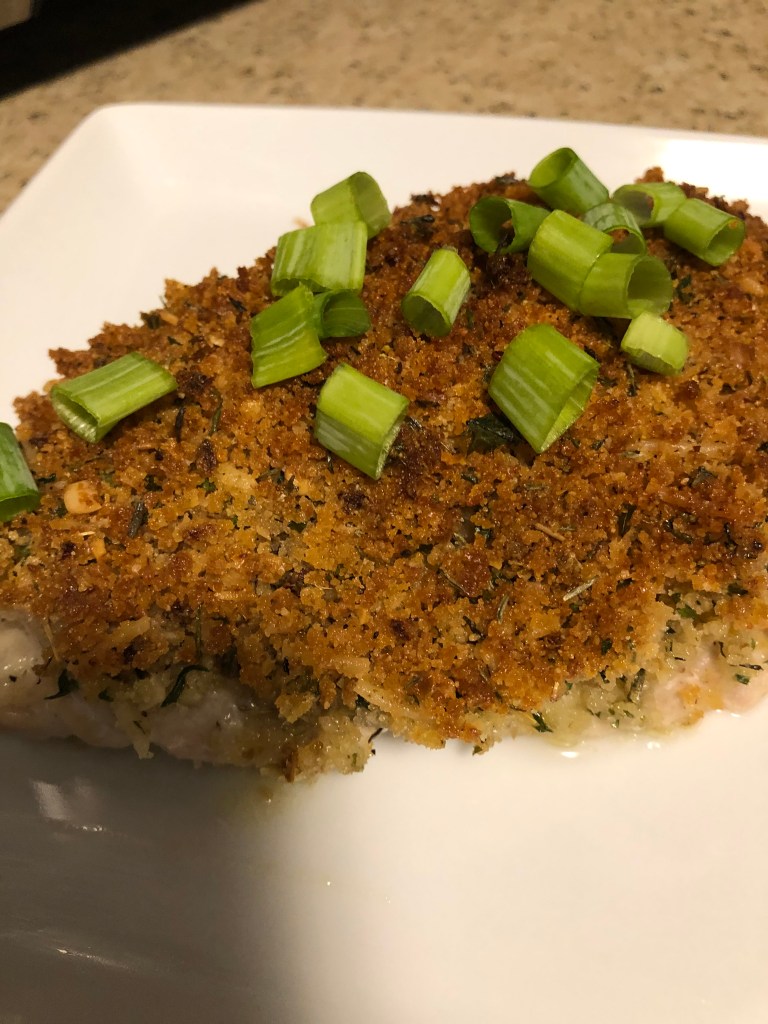
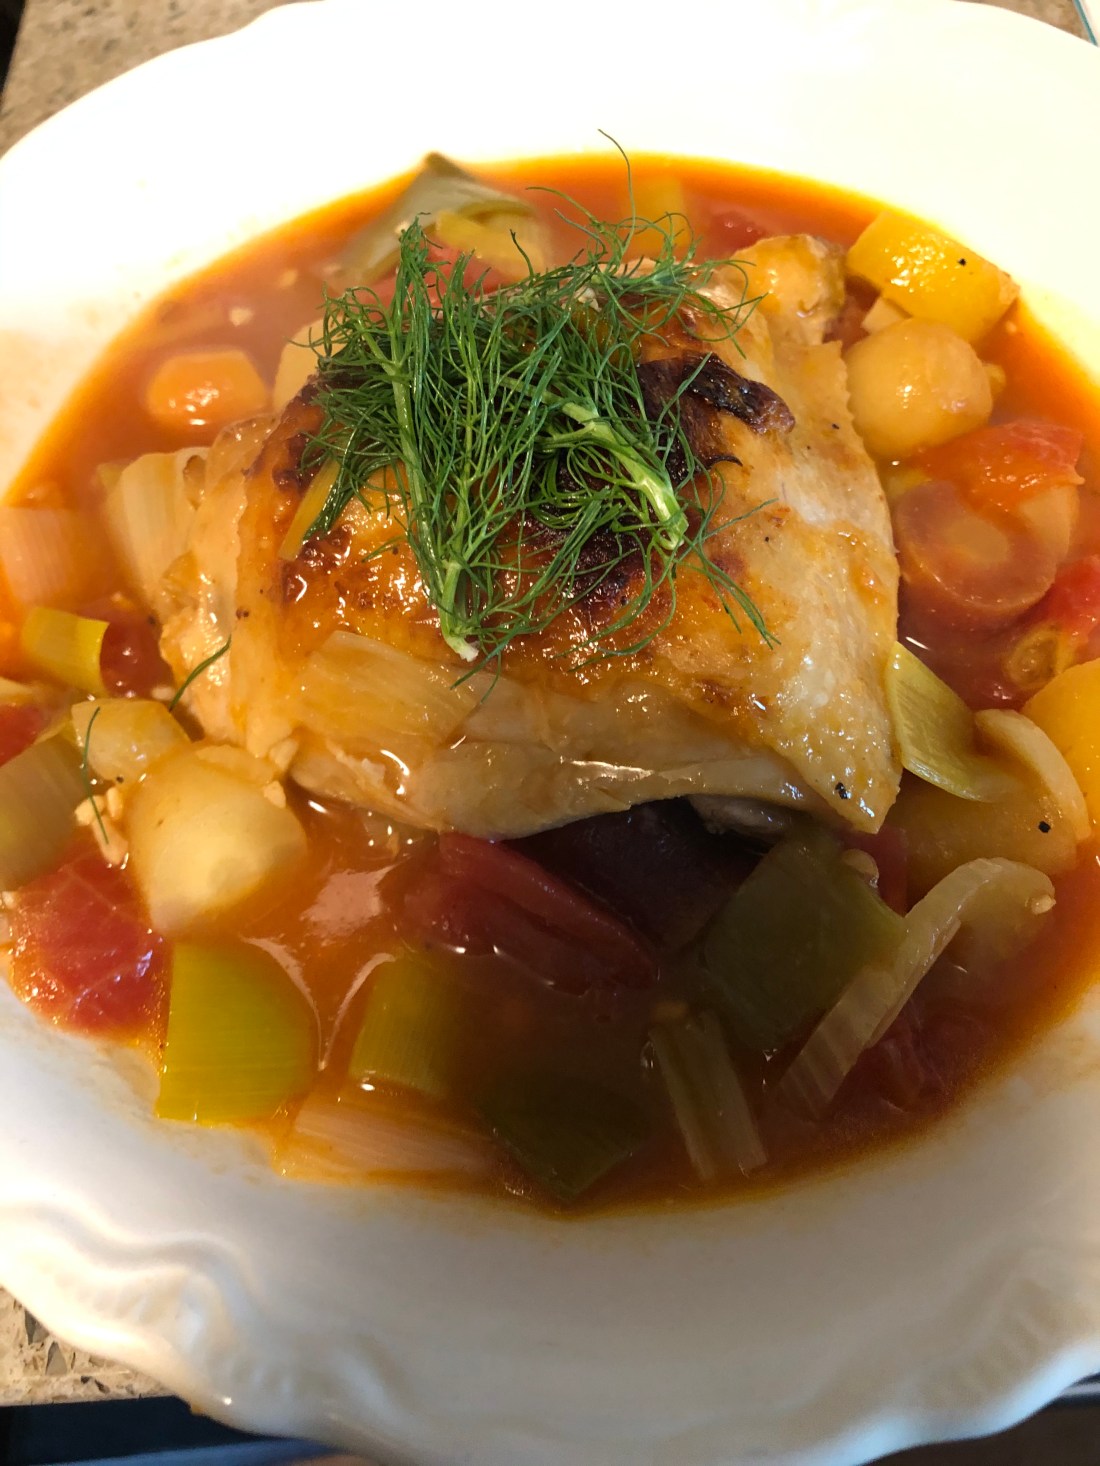
Traditionally Chicken Divan is made with heavy cream, eggs, and broccoli. I can’t eat any of those things so I’ve revised the recipe. I used bok choy and mushrooms for my vegetables but feel free to use broccoli or any other vegetables that your family likes.

In a large skillet, heat:

1 tablespoon olive oil

When the oil is hot, over medium heat add:

1 large shallot diced

6 ounces of sliced mushrooms

Let cook for 2-3 minutes until mushrooms are starting to wilt and shallot is turning translucent. Add:

2 cups chopped bok choy including greens (or your vegetable of choice)

Stir in the bok choy along with:

1/4 cup chicken stock

Cover and let steam until bok choy is tender, 3-5 minutes. Remove cover to let the stock reduce. When the stock is basically gone, remove from heat to a separate dish.

In a gallon food storage bag mix:

3 tablespoons gluten-free all purpose flour

1/4 teaspoon salt (or herbamare)

1/8 teaspoon ground pepper

1/8 teaspoon garlic powder

Mix together and add:

6-8 skinless, boneless chicken thighs, or 4 boneless skinless chicken breasts

Seal the bag and shake to coat the chicken pieces in the flour mixture.

Heat over medium heat in the same skillet:

2 tablespoons olive oil

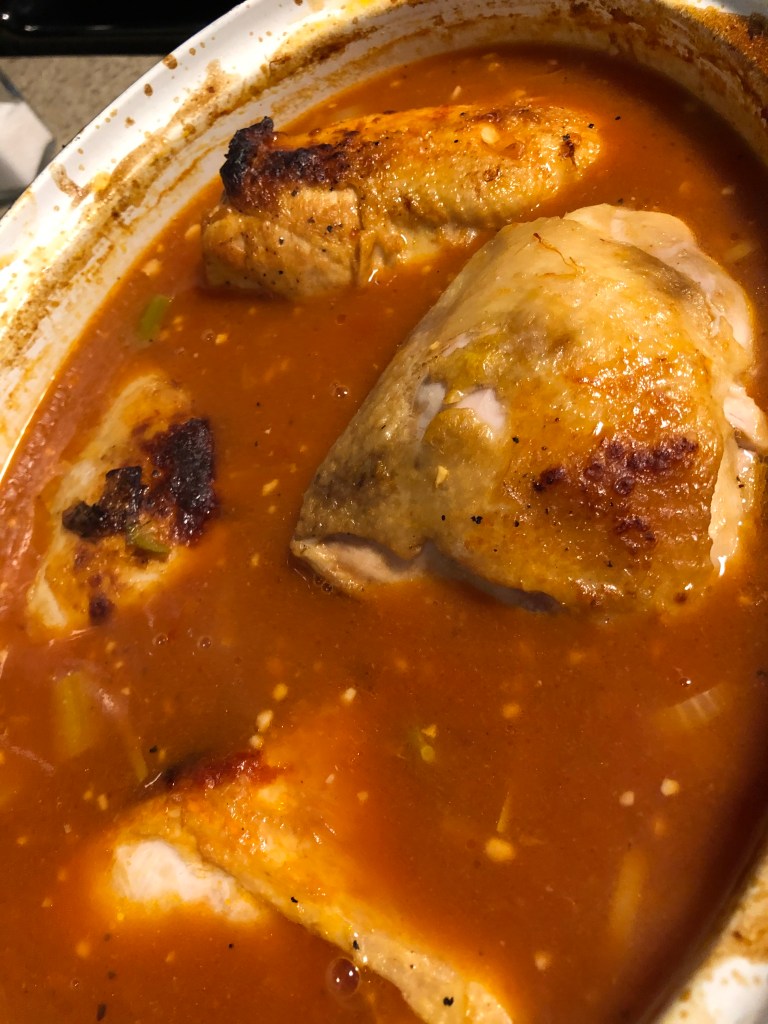
When shimmering, add the chicken making sure not to overfill the skillet. As the chicken browns, 3-5 minutes, turn and brown on the other side. Remove from heat onto a plate and repeat if needed. Preheat oven to 400 degrees. Add to the oil:

the dredging flour

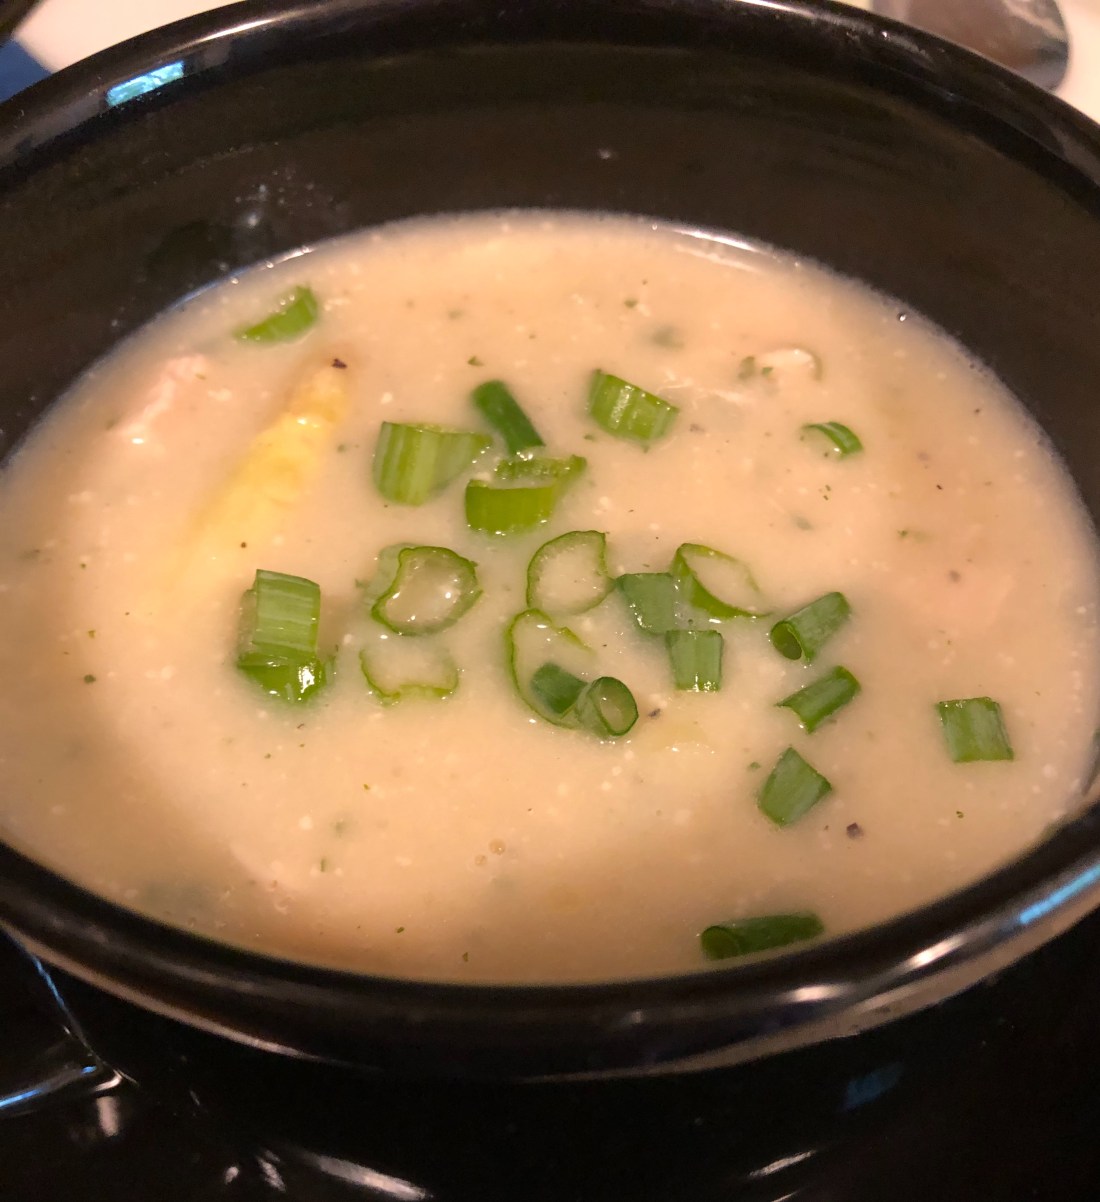
If the flour doesn’t combine with all the oil, add more flour until the oil and flour mixture is pasty. Whisk to remove any lumps and over low heat, cook for 2-3 minutes until the flour is slightly browned and cooked. Add:

1 cup chicken stock

Whisk in the stock to remove any lumps. Bring to a simmer and add:

1 cup non-dairy milk (NOT SOY!)

Simmer over low heat until the sauce thickens then add:

4 ounces non-dairy parmesan cheese grated

Whisk to combine and let simmer for several minutes or until the cheese starts to melt. Cut the chicken into large pieces. Add any juices to the sauce.

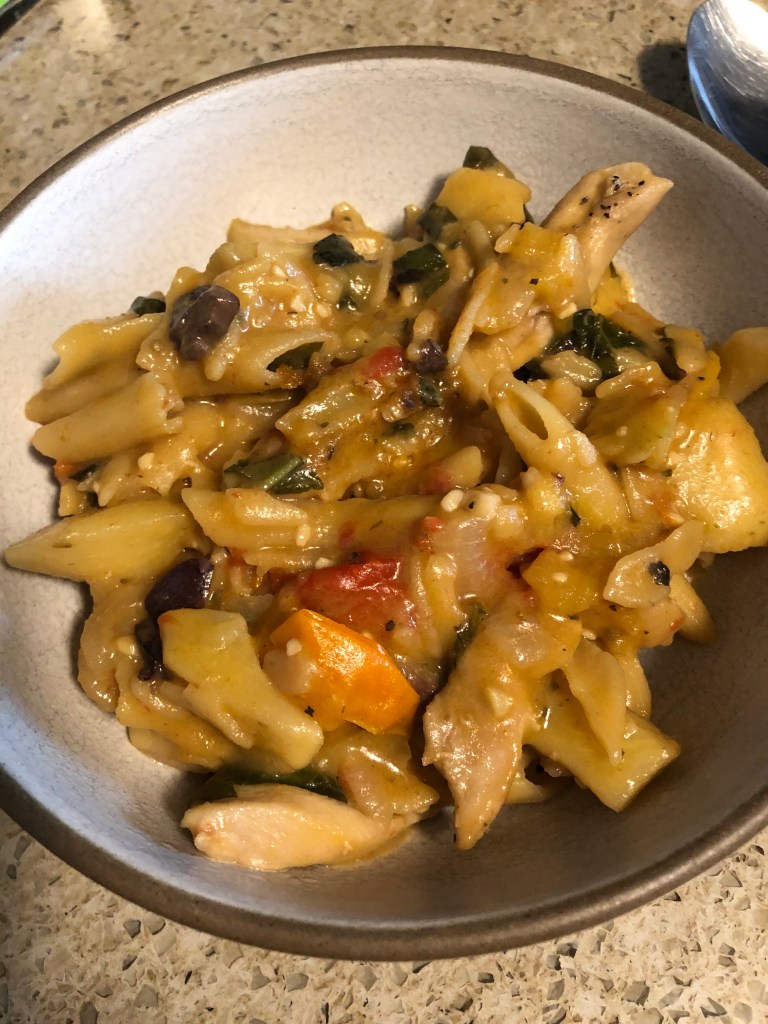
In a 8×10″ baking dish, arrange the chicken pieces with the vegetable mixture on top. Pour the sauce over the vegetables. Bake for 30-40 minutes , sauce should be bubbling.

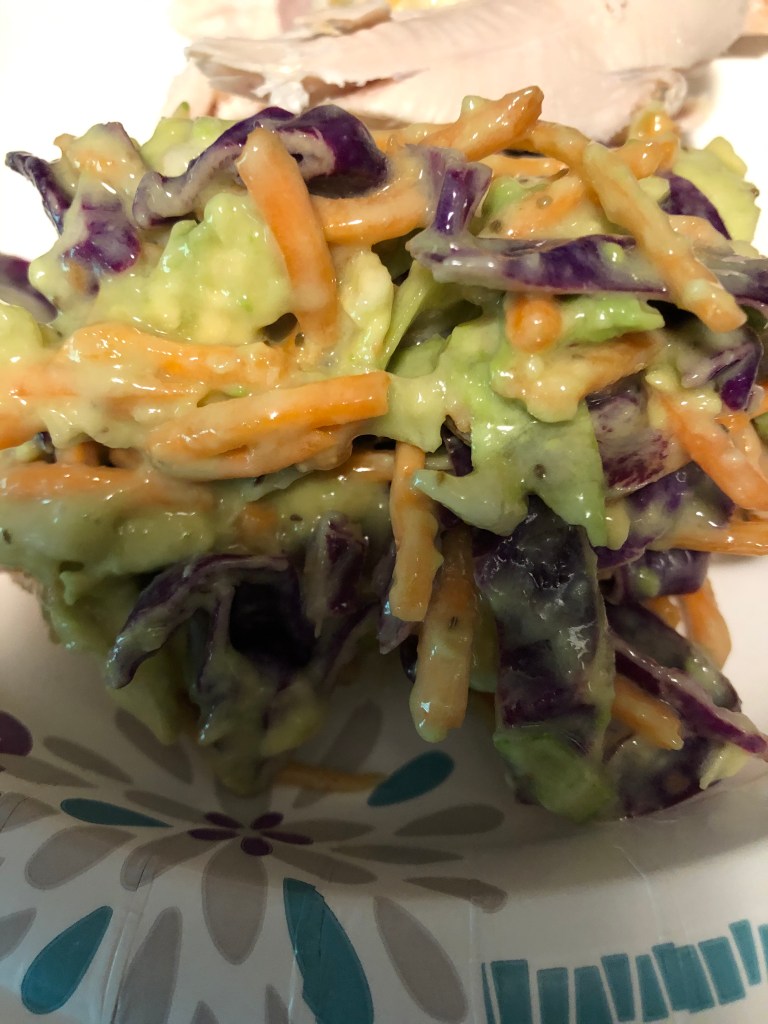
Serve with rice or mashed potatoes. Serves 4-6.

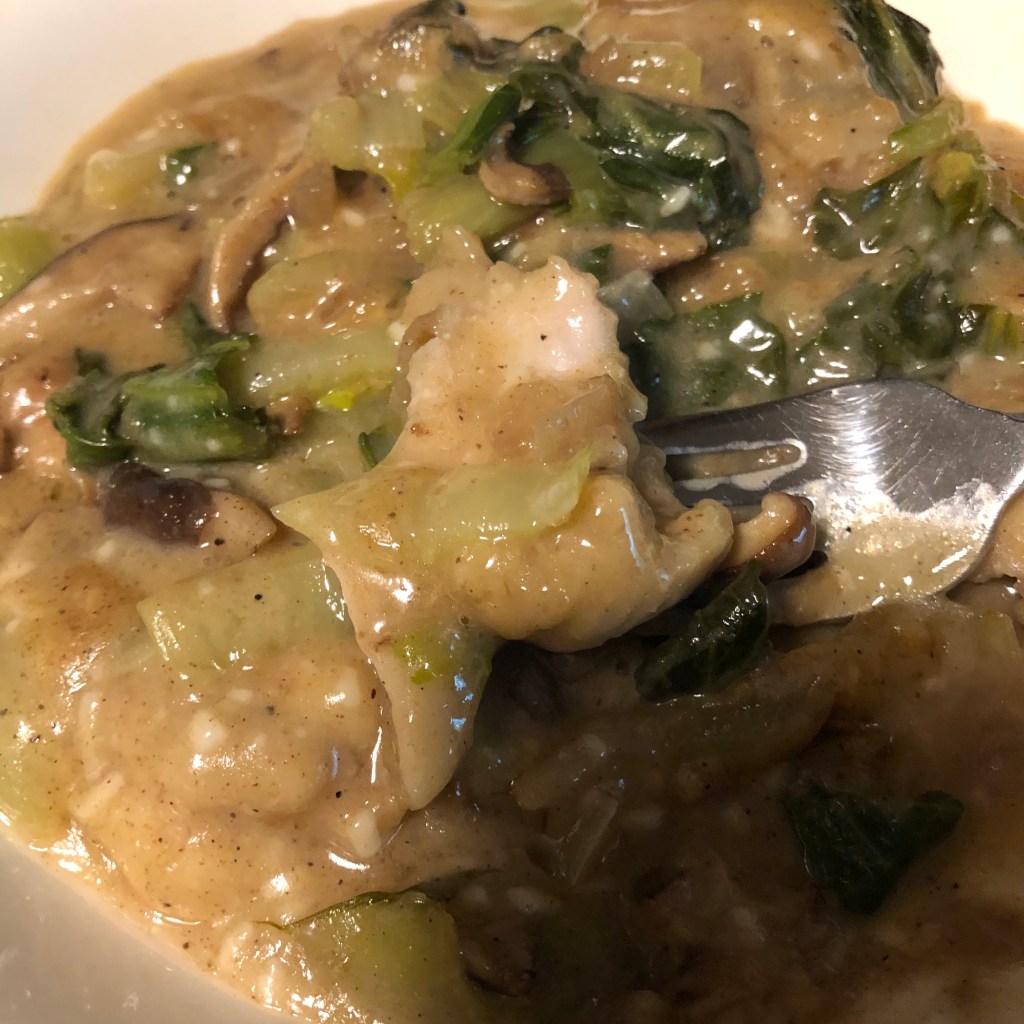
NOTE: I got my flour a little too brown; you may have a lighter sauce.

Turkey Imperial

I enjoy turkey just as much as chicken and it’s always a nice change from the chicken grind. But it can be very dry if overcooked. Here’s a recipe that comes out moist and delicious! Lots of flavor and very easy to make if you can find turkey breast fillets. If not, use chicken breasts, remove the tenderloin and pound out the breasts to about 1/2 thickness. Serves 4.

4 turkey breast fillets or 4 chicken breasts pounded to 1/2 inch*

Preheat oven to 425 degree and spray a large baking dish with non-stick spray. The fillets or breasts should fit comfortably in the dish without touching. Salt and pepper the meat and set aside. In a small bowl mix:

1 cup gluten-free bread crumbs

1/3 cup dairy-free parmesan cheese, grated (Follow Your Heart makes a great one)

4 tablespoons olive or avocado oil (or vegan margarine or butter melted)

1 heaping teaspoon minced garlic

1 teaspoon dried thyme (or 2 teaspoons fresh minced thyme)

2 teaspoons dried parsley (or 2 tablespoons chopped fresh parsley)

1/2 teaspoon Herbamare (or sea salt)

1/8 teaspoon ground pepper

Mix to combine making sure all the bread crumbs are moistened. Spread evenly over the fillets or breasts. Bake for about 20-25 minutes until the fillets are 160 degrees and the crumbs are well browned. Serve with a sauce:

1 cup chicken or turkey stock

1/2 cup non-dairy milk of choice (NOT soy)

whites of 3 scallions diced

2 teaspoons spicy mustard

Whisk mustard into the stock mixture and heat in a saucepan over medium heat. When hot add a slurry made with:

2 tablespoons gluten-free all purpose flour

1/3 cup non-dairy milk

Whisk the slurry into the stock mixture and continue whisking until it thickens, about 2 minutes.

Be sure to put the sauce UNDER the fillets so that the crumb mixture stays crunchy. Garnish with the greens from the scallions.

*If the turkey fillets are too thin (want about 1/2 inch thickness), stack several, I think I actually had to stack 3 in one case. If the turkey is too thin, it will get dried out before the topping browns.

Barbecue Bacon Wrapped Chicken Breasts

Here’s another chicken recipe. It’s a fairly fast cook that comes out extremely moist thanks to the bacon. Just be sure not to overcook the breasts. I served it with some avocado coleslaw that added a creamy flavor to the spicy chicken breasts. I baked them in the oven and then broiled at the end, but they would also be great on the grill (just be sure to use toothpicks to hold the bacon in place).

I cooked for 2 but this recipe is easily doubled or even tripled.

Preheat oven to 375 degrees. Spray with non-stick cooking spray a baking dish large enough to comfortably hold the breasts. Dry on paper towels:

2 chicken breasts (halves, not the full breast)

In a small bowl, combine:

1/4 teaspoon garlic powder

1/4 teaspoon onion powder

1/2 teaspoon ground coriander

1/8 teaspoon sea salt (I used the herbamare)

1/8 teaspoon chipotle powder (or more or less to your taste)

1/8 teaspoon black or white ground pepper

Sprinkle the seasoning over both sides of the breasts, rubbing to distribute it evenly. Wrap the breasts with:

4 slices bacon (depending on the size of the breasts; mine took 2 slices each)

Bake for approximately 40 minutes or until the breasts reach 155 degree in the thickest section. Remove from oven and turn it to broil. In a small bowl mix together:

1/4 cup barbecue sauce

1/2 teaspoon hot sauce

Spoon the glaze over the chicken breasts being sure to cover thoroughly. Place under the broiler for approximately 5 minutes or until the breasts reach 160 degrees. Remove from oven and let sit for 5-10 minutes before serving.

Easy Creamy Asparagus Soup

I love asparagus. It’s my favorite vegetable. But alas, again it’s one of those things I shouldn’t eat anymore. Not allergies this time but due to a medication I take. So green asparagus is out! But what about white asparagus. Tastes just like the green stuff but for me it’s a definite YES! Feel free however, to make this soup with the green asparagus remembering that your’s won’t look like mine.

In a 2 quart saucepan, heat:

2 cups vegetable broth* (or chicken stock)

1 pound of asparagus cleaned and cut into chunks**

Cook over medium heat until the asparagus is tender, the length of time will depend on the size of the asparagus used, smaller pencil asparagus will obviously cook much faster than the larger stalks.***

Remove about half of the asparagus pieces to add back into the soup once it’s blended. Using an immersion blender (or a regular blender if you don’t have an immersion one****, blend the stock and asparagus until smooth. Remember if you’re using an immersion blender to turn it off before lifting the blender out of the soup mixture so that it doesn’t splatter all over the stove (and you!).

Whisk together in a small bowl:

1/2 cup non-dairy milk (any kind other than soy which won’t thicken), I suggest using oat so it doesn’t interfere with the taste of the soup

1 tablespoon gluten-free all purpose flour

Make sure there aren’t any lumps in the milk mixture before adding it to the soup. Bring the soup back to a slow boil and stir until it thickens, about a minute. Reduce the heat to medium low and add the pieces back into the soup, season with salt and pepper to taste and add:

1 tablespoons chopped fresh parsley (or 1/2 teaspoon of dried parsley)

And it’s ready to serve! Add any protein you like, I added some diced chicken breast but some white beans would also work. Makes approximately 4 1cup servings. Garnish with some cut scallion greens or chives (instead of cutting them with a knife, I use my kitchen scissors, much easier).

*I generally like to use stock rather than broth but in this instance if using vegetable, we don’t want the strong flavor of mushroom to overpower the asparagus so a lighter broth works best, preferable one without mushrooms.

**If you are using a larger stalk asparagus, add the largest pieces to the stock/broth first so that the smaller pieces don’t get too mushy since those are what you’ll probably want to save out before blending and add back into the soup

***The larger stalks often times have very thick skins so peel them with a potato peeler before chopping and adding to the stock/broth.

****If using a regular blender the mixture will either need to cool down a bit before blending or hold down the lip of the blender with a kitchen towel to prevent it flying off when you turn on the blender as it releases the hot air from the mixture and will pop that cover right off if you’re not careful. I always try to cool the soup first when using a regular blender, much safer!

Avocado Coleslaw

I think I’m definitely getting lazier in my old age. Or perhaps it’s just a case of now only having to cook for myself so I don’t care anymore if someone else is going to like it. Anyway, instead of buying a small cabbage that I have to prepare, along with carrots, I’ve started buying the bagged coleslaw mix at the supermarket. So easy and so tasty.

Place in a medium size mixing bowl:

contents of one bag of prepared coleslaw vegetables – cabbage, red cabbage and grated carrots

1/2 to 1 cup of additional grated carrots*

In the bowl of a food processor (or blender) combine:

1 avocado peeled and seeded

1 cup vegan mayonnaise

2 tablespoons vinegar

1 tablespoon agave nectar (or coconut nectar or honey)

1 teaspoon celery seed

Blend until smooth. If too thick, add several tablespoons water until it’s the right consistency. This will depend on the thickness of your mayonnaise since different brands can be thinner or thicker.

Combine the dressing with the coleslaw vegetables and stir until well mixed. Cover and refrigerate until ready to serve.

*TIPS: Liven up your coleslaw by adding some diced apple, pear, or jicama. I’ll also sometimes finely dice another 1/2 an avocado and add that to the mix.

Chicken Bouillabaisse

Traditionally, this French stew (although it’s more of a soup) contains fish and shrimp. Here’s one that varies since it’s made with chicken. It’s fairly easy to make and tastes delicious. Longest time is the oven time but even so less than 90 minutes and it’s done, mainly because it uses cut up chicken pieces. Serves 4-6 depending on the size of your chicken pieces, the cooking time will also vary because of this as well.

Preheat oven to 350 degrees. In a large Dutch oven, over medium high, heat:

2 tablespoons olive oil

Pat dry and then salt and pepper:

6 chicken breasts, bone-in and skin on OR

8 chicken thighs, bone-in and skin on

(or a combination of both, about 3 pounds of chicken total)

Add to the hot oil, skin side down and brown, 5-8 minutes per side. Remove from the oil and add:

1 large leek, sliced and cleaned

1 small fennel bulb, halved and sliced thin (discard the stems although save some fronds for garnish)

Reduce heat to medium and cook until the leek is tender and the fennel begins to soften. Stir in:

2 teaspoons minced garlic

1 tablespoon tomato paste

1 tablespoon all purpose gluten-free flour

1/4 teaspoon saffron threads, crushed

1/4 teaspoon cayenne pepper

Stir into the vegetables and cook for about 30-45 seconds. Whisk in:

3 cups chicken stock

Whisk until the sauce is smooth. Add:

1 14.5 ounce can diced tomatoes, drained

1 cup sliced carrots OR 1 cup potatoes cut into pieces

1 strip of orange peel, about 2-3 inches long

Bring to a simmer and cook for about 10 minutes. Add the chicken parts, skin side up trying to keep them above the liquid so that the skin stays crispy. Bake for about 25-30 minutes or until breasts register 160 degrees and thighs 170 degrees. Remove from oven. Turn the broiler of the oven on and broil the chicken until the skin sizzles and gets crispy (I had to remove the chicken from the Dutch oven to do this since they kept sinking into the liquid).

Stir in:

1 tablespoon chopped parsley

Serve with the fennel fronds as garnish.

Honey Oatmeal Quick Bread

Like many people who have to live gluten free I’ve searched long and hard for a tasty gluten-free bread that doesn’t feel like a brick! Right? Most weigh a ton and most of the recipes I’ve tried also come out like bricks. And the ones that don’t weight a ton have eggs in them. So I was quite surprised by this recipe adapted from “Feelin’ Fabulous with Kayla”. It is fairly light in texture, great for eating warm from the oven with a spread, French toast, or for grilled sandwiches. I don’t recommend that you put it in your toaster because it can be quite crumbly. But it is DELICIOUS! And I do promise you I will continue to seek a allergy-free bread that we can enjoy that isn’t heavy and stays together when we want a sandwich. Feels like it’ll take my lifetime to find it but it is my one of my most sought after goals.

In a medium large bowl combine:

2 tablespoons ground golden flax

1/3 cup aquafaba

Let sit for 5 minutes until flax gel forms. Grease a GLASS loaf pan, for some reason for this bread glass works better than the metal pans. Whisk into the flax gel:

1 cup rolled oats

1 cup vegan mayonnaise less 1 tablespoon

1 tablespoon vinegar

1/4 cup honey

1/4 cup avocado oil

Whisk until combined and then add:

3/4 cup non-dairy unsweetened milk

Whisk in the milk. In a separate bowl combine:

2 1/3 cup gluten-free all purpose flour (use King Arthur’s Measure4Measure, Cup4Cup or Bob’s Red Mill’s 1:1)*

2 1/4 teaspoons baking powder

1/4 teaspoon baking soda

1 teaspoon sea salt

Mix to combine before adding to the wet mixture. Stir to combine wet and dry mixtures. Spoon into the prepared loaf pan. Sprinkle with oats. Set aside for 15-20 minutes while the oven heats to 350 degrees. You want to let any gluten-free dough sit for a few minutes before cooking so that the dry can absorb some of the liquid or the end result will be too moist.

Bake 45-60 minutes or until a toothpick inserted in the center comes out clean. Let cool in the loaf pan for about a half hour and then let cool completely before cutting (center may still be slightly warm).

*We want to use one of these all-purpose gluten-free flours because we’re not adding any guar gum or xanthan gum and other various flour mixtures will measure differently.

Honey Mustard and Pear Glazed Chicken

I was looking through The Chicken Bible this afternoon looking for another recipe to make and saw one that gave me inspiration, it was a honey mustard glazed chicken. I remembered I had about a quarter cup of pear puree in the refrigerator that I had to use up and decided to add that to the glaze. And the recipe called for rosemary and I don’t like rosemary so I used thyme which goes well with both pears and honey. Turned out delicious! Hope you enjoy it. If you don’t like pears, use some apple butter, sauce or jelly instead.

Enough for 5-6 chicken thighs or 1/2 breasts.

Preheat oven to 350 degrees. Spray a baking dish large enough to hold the chicken with non-stick spray. Clean the chicken and remove any excess fat that’s visible.

Mix in a small bowl:

1/4 cup pear puree (or apple)

2 tablespoons honey

1 tablespoon vinegar

1 tablespoon mustard

1/2 teaspoon dried thyme

1/2 teaspoon sea salt (or herbamare)

1/4 teaspoon ground pepper

Place the chicken pieces in the baking dish (if you’re using both thighs and breasts, be sure to place the breasts on the inside of the dish and the thighs around the edge). Spoon about 1 tablespoon of the glaze on each piece of chicken and spread around to cover the top. Bake for 45-50 minutes or until the breasts register 160 degrees and the thighs 175 degrees.

Sprinkle with some chopped scallions or chives and serve.

Fusilli with Turkey, Swiss Chard, and White Beans

Hope all my followers aren’t getting tired of pasta dishes! Here’s one that’s even more delicious than the last two. I do love Swiss chard, such a great flavor; I do choose rainbow or red chard because I can’t eat green leafy vegetables but feel free to use any chard you find at your market. And the meat and beans can be changed around as well, depending on your family’s taste – chicken, pork loin, even a sausage would work great in this recipe as well as any canned beans.

Start an 8 quart pot of water to boil. When boiling, add:

1 teaspoon sea salt

8 ounces gluten free fusilli (or whatever pasta you have on hand)

Cook the pasta per package instructions, usually between 8-10 minutes for fusilli. When the pasta is el dente, add to the boiling pot:

12 ounces of Swiss chard, washed with the leaves from the rib and broken into pieces (discard the ribs)

Bring back to the boil and cook for 1-2 minutes. Drain the chard and the pasta and return to the pot. Drizzle 1-2 tablespoons of olive oil over the pasta so it doesn’t stick together. Set aside.

In a 10″ skillet heat:

1 tablespoon olive oil

Add:

12 ounces cooked and diced turkey (or chicken, pork, or sausage)

2 teaspoons minced garlic

15 ounces cannellini beans with the liquid

1/2 cup chicken stock

1 teaspoon dried mixed Italian herbs

Bring to a boil over medium heat and simmer until the sauce is reduced by about half. Pour over the pasta and chard along and add:

1/4 to 1/2 cup non-dairy shredded parmesan cheese

juice of 1/2 a lemon

Stir to combine and serve. Have some extra cheese to top each serving. Serves 4-6.

Penne with Chicken and Artichokes

I eat a lot of chicken. Probably out of my 21 meals a week, I eat chicken for at least 12 of them. So finding new and different ways to prepare chicken is something I never stop doing. My brother sent me a Barnes and Noble gift card for my birthday and I finally made it over there (now that I’m fully vaccinated) a few days ago and imagine how wonderful it was when I found The Chicken Bible, by the America’s Test Kitchen. A cookbook with 500 different ways to prepare chicken! I’m in heaven looking through this cookbook every day searching for a new way to make my chicken taste delicious. And this one is a definite winner. If someone needs to watch salt intake, skip the olives. Serves 4.

Cut into thin strips (or chunks if preferred realizing they’ll have to cook longer):

1 pound (2 large boneless breasts, split or 6 boneless chicken thighs – remove skins before slicing)*

Dry the chicken with a paper towel and sprinkle with:

1/2 teaspoon sea salt

1/8 teaspoon ground black pepper

In a medium Dutch oven, over medium high heat:

2 tablespoons olive oil

When hot add the chicken and cook, without stirring, until it starts to brown. Then stir and continue to cook until just about cooked through. Using a slotted spoon, remove to a bowl and cover. To the pot, add:

1 tablespoon olive oil

1 medium onion, diced

Cook until the onion is translucent then add:

2 teaspoons minced garlic

1/2 teaspoon dried Italian herbs (basil, oregano and thyme)

pinch of red pepper flakes (optional)

Cook about one minute or until you can smell the garlic then add:

4 cups chicken stock

Bring to a boil and add:

8 ounces gluten-free penne

Reduce heat to medium and continue on a slow boil until penne is al dente, about 6-8 minutes depending on the brand used. Stir frequently, sauce should reduce and thicken while the penne is cooking. Stir in:

6-8 ounces artichoke hearts, quartered (I used the vacuum packed ones available at Whole Foods but frozen will work just as well)

Cook an additional 5-8 minutes or until sauce sticks to the pasta. The sauce should be quite thick, not at all soupy (see example below). Add:

Chicken pieces

12 ounces of cherry or grape tomatoes, halved or quartered depending on size

1/4 cup kalamata olives (chopped)

1/4 cup Parmesan cheese, grated (Follow Your Heart makes a delicious vegan Parmesan already grated)

Cook until chicken is reheated, tossing the pasta lightly. Add:

1/4 cup chiffonaded basil leaves (roll the leaves into a log and thinly slice)

Toss the pasta once again to mix in the basil, taste and add additional salt and pepper if needed and serve.

This is not what you want, see the sauce on the bottom of the plate, too soupy!

This is what it should look like. See how the sauce sticks to the pasta.

*Whenever I need to slice chicken, if I’m using frozen chicken, I try to catch it when it’s still just slightly frozen because its much easier to slice when its partly frozen. If using fresh chicken, try putting it in the freezer for 15-20 minutes before slicing.