3 tablespoons soy substitute (or soy sauce if you can use it)
2 tablespoons date sugar
Salt and pepper to taste (approximately 1/4 teaspoon of salt and a dash of ground pepper)
If preparing 4 chops, double the above. In a medium to large sauce pan heat:
1 tablespoon olive oil
When the oil is shimmering add:
2 thick cut pork chops
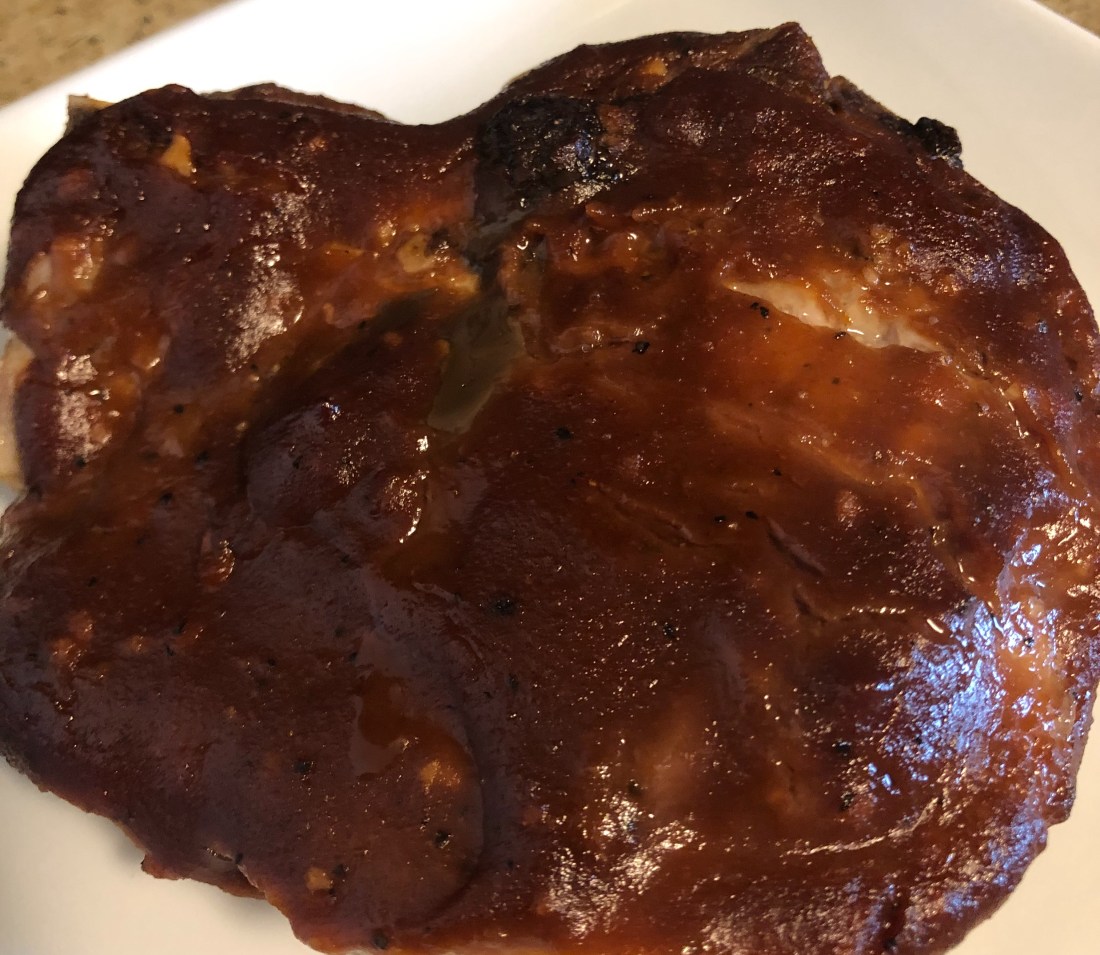
Sear on all sides before adding to the prepared baking dish. Spread with the prepared sauce and bake approximately 40-50 minutes depending on the size of the pork chops.
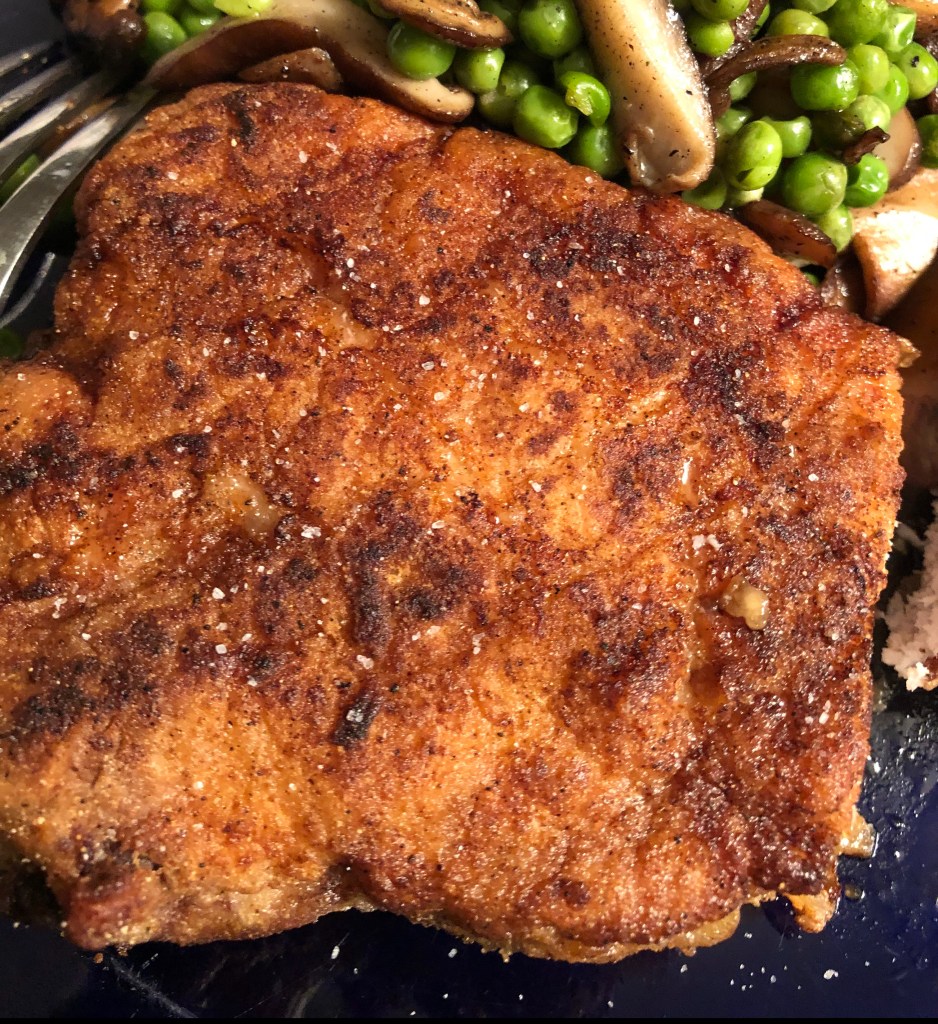
Since chicken and pork are my primary proteins, along with the occasional fish dish, I’m always looking for tasty recipes to give me more variety. The problem I’ve always had with pork is it gets so dry. This is a way of holding in that moisture while at the same time having a really crispy, fried chicken like, coating on the outside. The original recipe called for crushed corn flakes but many of us have problems with corn so I’ve revised it to seasoned flour but feel free to use crushed corn flakes if desired. Serves 2.
In a gallon food storage bag combine:
2 tablespoons arrowroot with
2, 1″ thick pork chops with most of the fat trimmed (make shallow cuts in the pork chops in a diamond pattern roughly 1/2″ apart to allow the arrowroot to be absorbed into the pork. By shallow I mean not more than 1/16 of an inch. This will help the coating stick as well as tenderize the pork.)
Shake to make sure that the arrowroot covers all the pork and let sit in the refrigerator for about 20-30 minutes. In a shallow dish, place:
1/4 to 1/3 cup aquafaba depending on how large the chops are
In another shallow dish combine:
2 tablespoons all purpose gluten free flour
1 tablespoon tapioca or cassava flour
1/2 teaspoon sea salt
1/4 teaspoon ground black pepper
1/4 teaspoon garlic powder
1/4 teaspoon paprika
When the pork chops are ready, remove from bag (over the sink is a good place to do this) being sure to rub any loose arrowroot from the chops. Coat each in the aquafaba and then in the seasoned flour. In a 10″ skillet, heat:
1/4 cup olive oil
When shimmering, add the pork chops being careful to place the side nearest you into the pan first. Reduce heat to medium and fry until golden brown on each side (don’t forget the narrow edges), this should take about 7 minutes. Reduce to medium low and cover for approximately 5 minutes or until the internal temperature of the pork is 145 degrees. (If you don’t have a meat thermometer, they aren’t expensive and are very useful in determining if meat is at temperature.) If you don’t have a thermometer, touch the meat with a utensil or your finger. If it has a lot of give, it’s not cooked. It should not be totally firm but close to it, just a little give to the meat will produce a juicy chop. If the coating has gotten soggy while covered, increase the heat back to medium and cook on each side for 30 seconds to one minute to crisp it back up. Remove from heat and blot on paper towels before serving – DON’T LET THE CHOPS SIT ON THE TOWELS TOO LONG OR THE OUTSIDE WILL GET SOGGY. Be sure to salt them as soon as they come out of the oil.
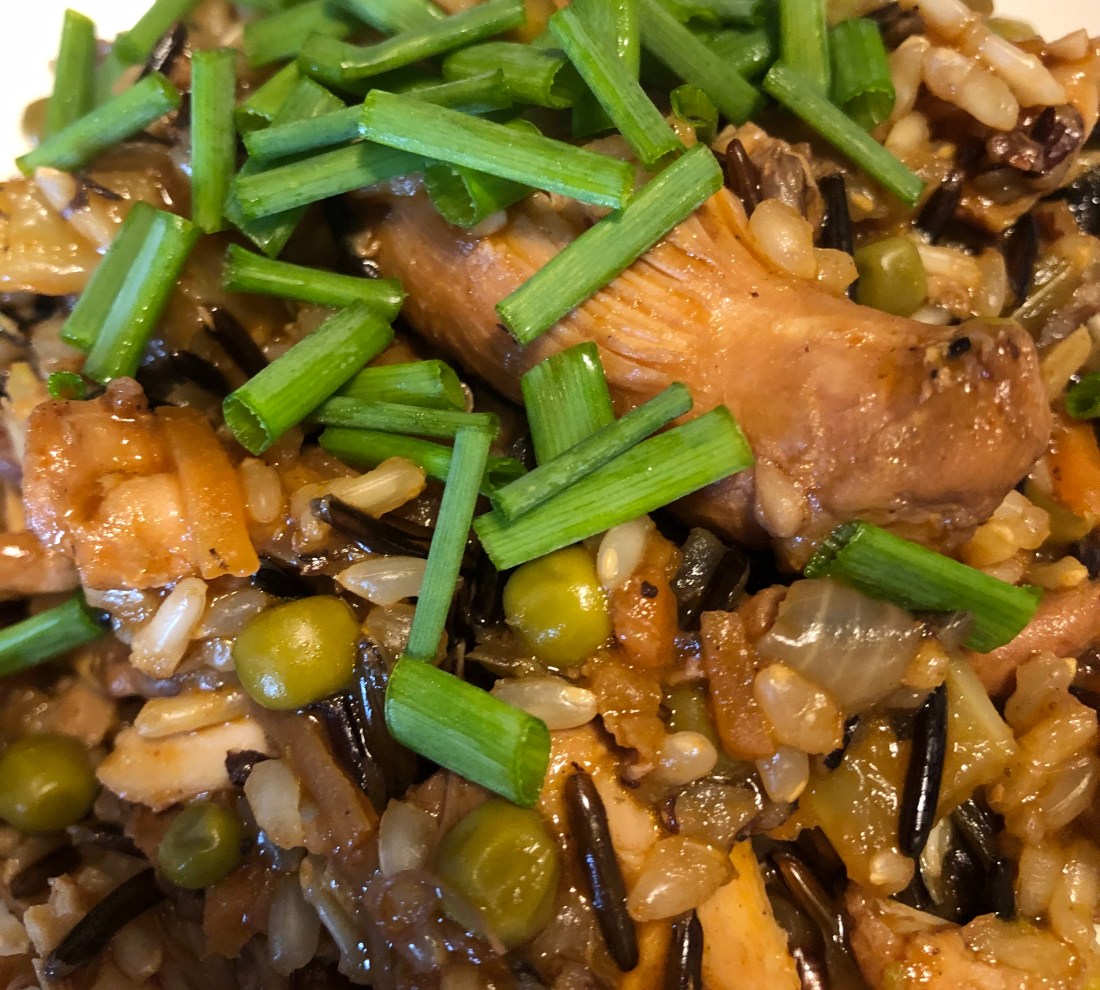
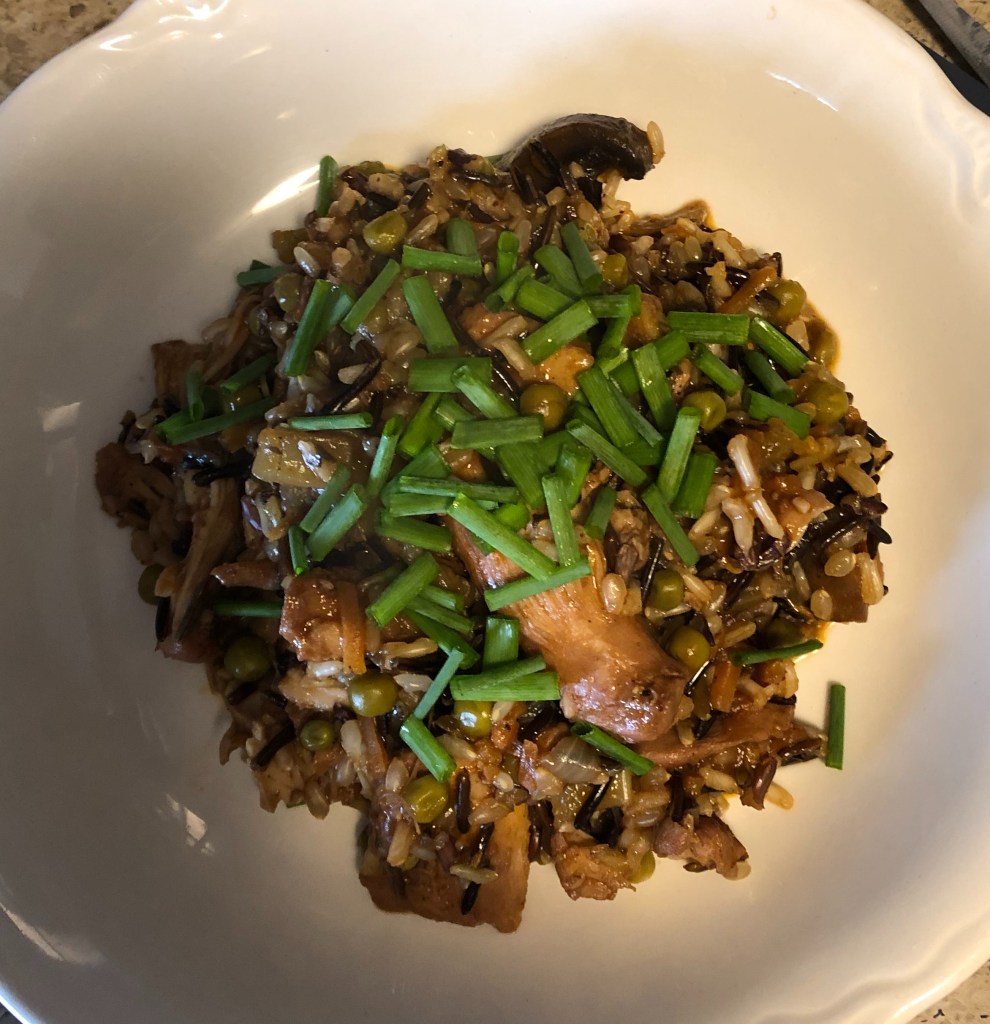
I’ve been making rice with meat for years. It’s a convenient, easy way to stretch meat when you don’t have much of it and lots of people to feed. And a great way to use up extra vegetables because it’s an adaptable recipe where any combination of meat and vegetables works fine. The recipe feeds 6 or 4 generously.
This will be my last blog post for several weeks as I now need to concentrate on finishing my screenplay which was due today but I’m not happy with it yet so have to concentrate on that for the next few weeks.
In a Dutch oven, heat over medium high heat:
2 tablespoons olive oil
Add:
6 boneless skinless chicken thighs or breasts seasoned with salt, pepper and garlic powder (if using breasts cut into large cubes
The object is to brown the meat and build flavor as well as sear the meat to keep all the juices in it. This should take about 5 minutes, 2 1/2 minutes per side. When browned, remove the chicken pieces to a plate and add to the pot:
1 medium onion diced
6-8 stalks of celery diced
1/2 cup chopped carrots (or grated)
1 cup diced mushrooms
Sauté for several minutes until onion starts to brown. Add:
1 teaspoon minced garlic
2 tablespoons tomato paste
1/2 teaspoon ground allspice
1/8 teaspoon ground cloves
2 teaspoons to 2 tablespoons sweet or spicy paprika depending on your taste
2-3 bay leaves
1 cup frozen or fresh peas (if using fresh, add with the rice)
2 cups chicken stock (or, if possible, 1 cup of white wine and 1 cup of stock)*
1 tablespoon date syrup or date sugar
Stir to mix and add the chicken back into the pot along with any juices that are on the plate. Cover and simmer on low heat for approximately a half hour until chicken is cooked. Stir in:
1 cup rice (I used a wild rice blend but feel free to use whatever rice you prefer)
Simmer covered until rice is cooked, stirring frequently to be sure rice doesn’t stick to the bottom of the pot. This should cook out all the liquid but if not, cook uncovered until most of the liquid is gone. If the rice isn’t cooked but the liquid is all absorbed, add 1/4 cup stock and continue cooking covered until rice is done. Remove the bay leaves, taste and add additional salt if needed. Serve garnished with chives.
*If using wine, deglaze the pan with the wine before adding the stock. This will cook off the alcohol.
This marinade smells wonderful! And what’s not to smell great with fresh orange juice and maple syrup along with some fresh grated ginger. Be sure to have your butcher scale the fish so that you can cut the skin into triangle cuts before cooking without serving scales, not very edible. Makes 2 servings.
Whisk in a small bowl:
1/4 cup fresh orange juice
1 teaspoon orange zest
1 tablespoon maple syrup (or honey)
1 tablespoon olive oil
1 teaspoon minced garlic
1/2 teaspoon fresh grated ginger (or you can use 1/4 teaspoon ground ginger)
Salt and pepper, about 1/4 teaspoon sea salt and just a shake of ground pepper
Pour the marinade into a gallon food storage bag and add the fish. Let the fish sit in the marinade for at least a half hour in the refrigerator. Remove from the marinade and dry the skin side lightly on a paper towel while heating, on medium high heat, a grill pan:
1 tablespoon oil wiped into the pan
Place the salmon in the pan, skin side down. Cook on medium high for 3-6 minutes depending on how thick the salmon filets are before turning them over (the salmon will release easily from the pan when its ready to turn over) to cook on the other side over medium heat for an additional 3-6 minutes (I usually cover the pan at this point for several minutes). And because I covered the pan to make sure the fish cooks inside, I usually turn it over onto the skin side again for a minute on high to crisp up the skin again. Ready to serve.
This recipe takes some time since the pork loin is marinated but worth the effort and wait. The gravy is lick the plate good! Now I’m thinking I should add fruit puree to all my gravies. Yum, yum. Braising cooks food slowly so be sure that the loin is well seared (browned) before cooking so that it doesn’t lose all its juices. And since I love figs and pears, and I know they go well together, I thought how about braising them with the loin. This recipe would also work with a turkey breast or apples instead of pears.
At least 4 hours before the cooking starts, put in a gallon food storage bag:
1/4 cup seasoned vinegar or apple cider vinegar
1/4 cup water
2 tablespoons olive oil
1 teaspoon salt (or herbamare)
1/4 teaspoon ground black pepper
1 tablespoon dried thyme
6-8 dried figs
Add:
1 1/2-2 1/2 pound pork loin
Seal and let sit in the refrigerator at least 4 hours. If you are using a chicken, duck, or turkey breast, you can put this directly into the cooking vessel – either a roasting/baking dish with a cover, or the bowl of a slow cooker.
Preheat oven to 325 degrees if the loin is going in the oven. I cooked mine on the stove top in a medium size Dutch oven. Remove the pork loin (or turkey breast) from the marinade. Dry thoroughly and rub with:
1 teaspoon salt
1/4 teaspoon ground black pepper
2 teaspoons ground cumin
In a 10″ skillet or one large enough to hold the loin, heat:
2 tablespoons olive oil
Turn the oil down to medium heat and add the loin (or turkey breast). Sear (brown) on all sides. Remove the meat and add to the skillet:
1 medium onion chopped
1/2 bag of baby carrots, cut into bite size pieces
1 large or 2 small (I used one small sweet and one small white) potatoes
2 teaspoons minced garlic
Sauté the vegetables for about 5 minutes. Add:
figs from the marinade (or 6-8 other fresh or dried figs)
Add the meat back into the cooking vessel along with:
1 to 1 1/2 cups chicken or turkey stock
Cover the pot or dish and cook over low heat (simmer) until the meat reaches 145 degrees for pork or 165-170 for poultry. On the stovetop in the Dutch oven, my just under 2 pound pork loin took just over an hour. When the meat is cooked, remove the meat and vegetables and add to the stock:
1 diced medium pear (peeled or not doesn’t matter)
If the meat was cooked in the oven, pour the stock into a small saucepot before adding the pear. Turn up the heat to medium and cook, covered, until the pear is soft. Add:
A slurry made with 1/2 cup turkey or chicken stock whisked with 2 tablespoons all purpose gluten free flour
Stir until the gravy thickens and the pear pieces are integrated into the gravy, this should only take a couple of minutes. Cook over low heat for about 5 minutes so that the flour cooks completely. Slice the pork loin (or other meat) and place on a platter surrounded by the vegetables and figs. Pour some of the gravy over the pork and serve.
I’m always looking for new chicken recipes and here’s one that has some sweetness from a touch of honey, agave, maple or date syrup, some spice from the cumin and ground pepper, and a touch of citrus from orange. I was pleasantly surprised at that hint of orange in the flavor, very umami! And quite an easy recipe to make. Any chicken parts can be used however, I would recommend not mixing them so either thighs, drumsticks, or breasts. Serves 2-4.
In a 1 gallon food storage bag (or small mixing bowl, mix together:
1/2 cup sugar free ketchup (such as Organicville)
1/4 cup agave, honey, maple or date syrup
1 teaspoon orange zest (zest from 1 medium orange)
1/3 cup orange juice (from one orange)
1 teaspoon Herbamare (don’t have it? Use 1/2 teaspoon salt and 1/2 teaspoon of your favorite herb mix)
2 teaspoons minced garlic
2 teaspoons ground cumin
1/2 teaspoon ground black pepper
Dash of hot sauce (optional)*
Swish around in the bag (please zip-lock it first!) until combined.
Add:
6-8 chicken parts
Again swish around to be sure the chicken is thoroughly immersed in the marinade. Refrigerate for at least 30 minutes but I left mine for about 2 hours. [If you’re unsure about using the marinade that the chicken sat in, instead of mixing it in the bag, use a small bowl and when you add the chicken to the bag, only add half the marinade and reserve the other half to pour over the chicken for baking.]
Preheat oven to 375 degrees. Spray a baking dish with non-stick cooking spray and dump the entire contents of the bag into it, making sure the chicken is in a single layer in the dish. Bake 30-40 minutes depending on the size of your chicken pieces or until the internal temperature of the chicken reaches 165-170 degrees.
One of my favorite Italian dishes is lemon chicken. Here’s an recipe that’s easy to make and ready in less than an hour. And need I add delicious! I think this is, like many Italian foods, going to taste even better tomorrow when I eat the leftovers. Serves 4.
You’ll need:
8-10 chicken drumsticks*
Herbamare (herbed sea salt) and pepper (available at specialty grocer stores, Whole Foods or Amazon)**
1 tablespoon olive oil
2 tablespoons vegan margarine
Zest of 1 lemon and 2 tablespoons juice
3 teaspoons minced garlic
Fresh parsley for garnish
Salt and pepper the chicken and let sit on the counter for 10-15 minutes so that it won’t be ice cold when you cook it. In a 12″ skillet, heat the oil and margarine over medium high heat until margarine starts foaming. If the chicken is too wet, be sure to dry with a paper towel, remember – wet meat doesn’t brown well and will spit oil! Reduce heat to medium and sauté chicken, turning to brown on all sides, this should take 6-8 minutes. Reduce heat to medium low (I actually started out on medium low but the drumsticks were getting too brown so I reduced my heat to low), cover and let cook 20-25 minutes until the chicken is cooked. Turn the chicken every 5-7 minutes making sure to move them around in the skillet as well.
In a small bowl, mix the grated lemon zest and juice along with the garlic. When the chicken is cooked, pour this mixture over the chicken, turning the chicken to be sure the sauce coats the pieces on all sides. Take off the heat and cover, let it sit for about 5-10 minutes. Garnish and serve.
* Chicken breasts would also work
** Substitute sea salt mixed with some thyme, marjoram, and basil (or an Italian herb blend)
My mother would have loved these! I tried it first with fresh salmon and they were too dry and fell apart. Using canned salmon worked much better. I topped mine with an easy lemon garlic mayonnaise sauce. They take less than 5 minutes to put together and about the same to cook.
In a medium size bowl, mix together:
10 ounces (2 small cans) salmon (I use the Safe Catch brand of canned fishes)
1/2 cup quinoa flakes (Don’t have these? Find them in the cereal aisle or Amazon. Or you could try using any other cereal flakes such as quick oats or gluten free bread crumbs.)
1 tablespoon gluten-free all purpose flour
2 green onions chopped (green and white parts)
1 teaspoon minced garlic
1/2 teaspoon dried parsley
1/2 teaspoon paprika
1 teaspoon lemon zest (about 1/2 lemon)
2 tablespoons lemon juice
1/2 teaspoon sea salt
1/4 teaspoon ground black pepper
1/4 teaspoon hot sauce (optional)
Stir in 1/4 cup vegan mayonnaise.
In a 10″ skillet, heat 3 tablespoons olive oil.
Saute over medium heat 2-3 minutes until brown. Flip and repeat. TIP: You might want to cover the skillet since these will spit at you from the moisture in the cakes. If you want to reduce this and get a browner cake, coat with seasoned flour before frying.
I serve mine with lemon garlic mayonnaise which I make simply by mixing Lemon Garlic Salad Dressing and vegan mayonnaise (about 2 tablespoons dressing to 1/4 cup mayonnaise).
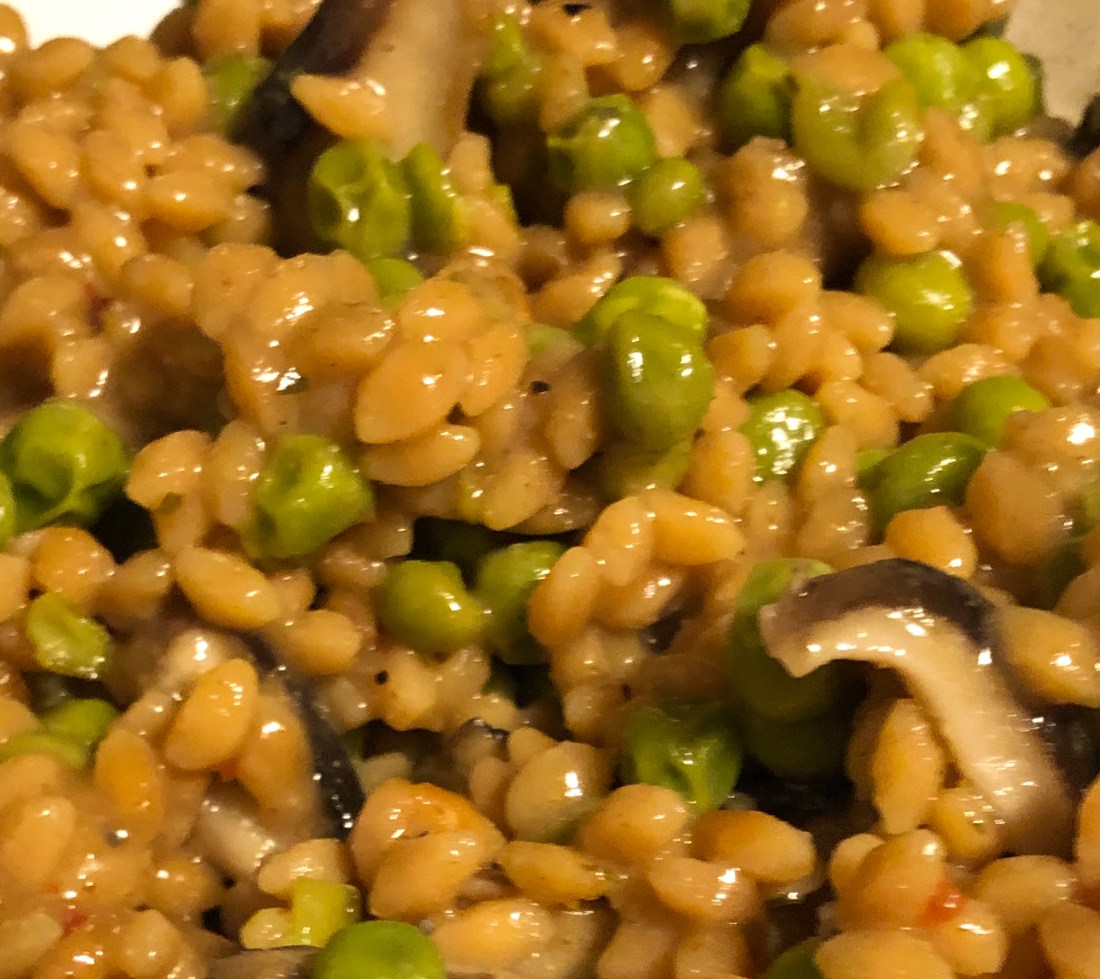
I can say that I generally don’t eat anything that I don’t make from scratch, mostly because there are very few pre-made or pre-packaged foods that don’t have something in them that I can’t eat (often it’s soy or sunflower lectin). So it’s not going to happen very often but — I have discovered a wonderful side dish (or main dish) that tastes great and has no allergens! As long as you can eat lentils, this is something you should try. High in protein and low in carbohydrates, lentils are a great addition to a meal. I’ve become addicted to Tolerant’s Organic Riced Red Lentil Pilafs. They’re ready in about 20 minutes, taste great and two of them, the Asian Ginger and the Spanish Style Paella, don’t have any soy in them. I know I was surprised too that the Asian Ginger is soy-free!
Being who I am, of course, I can’t just make it per package directions. So here’s what I do with these pouches of goodness. Serves 4-6.
In a 9″ skillet, add:
1-2 tablespoons olive oil
When hot, sauté:
6-8 ounces sliced mushrooms (I like shitake)
1/2 cup diced onions
When the mushrooms are browned and onions translucent, stir in:
2 cups mushroom stock (or any other stock you have on hand, chicken would work well)
1 cup frozen or fresh peas
1 teaspoon minced garlic
Bring to a boil. Add:
1 packet Tolerant Organic Riced Red Lentil Pilaf
Reduce heat to low and simmer for 9-12 minutes until the water is gone. Stir every few minutes, especially when the water is almost gone. Remove from heat, cover and let sit 4-5 minutes. Fluff with a fork and enjoy!
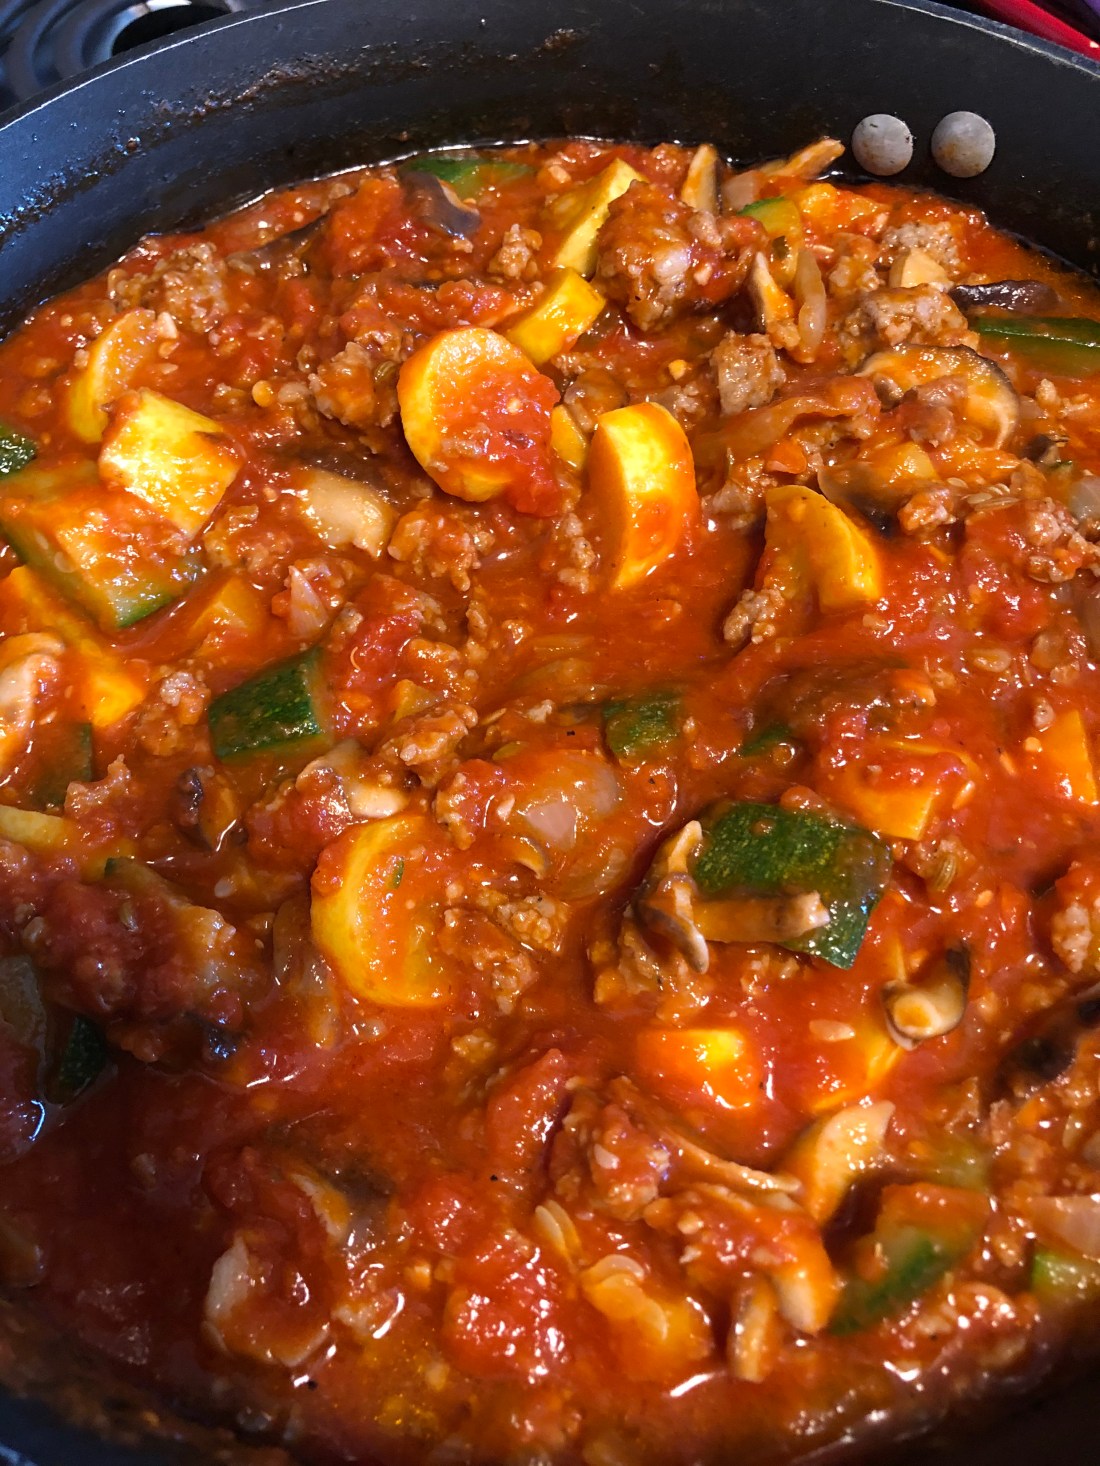
Who doesn’t love pasta? And for me, I love it all ways but with a ragu sauce, one of my all time favorites. I remember as a teenager, baking Italian bread to go with a spaghetti supper, ripping pieces off the bread and tasting the sauce, telling myself it was to make sure it was seasoned correctly but actually just because I love the sauce more than the pasta!
If you want to make this even quicker and easier than my recipe, begin as I did but instead of adding canned tomatoes and tomato paste, mix in a large jar of ready made tomato sauce (I happen to be addicted to Rao’s Sauce for Sensitive Diets).
This recipe will serve four. In a medium, deep saucepan, heated over medium heat, add:
1 tablespoon olive oil
1 pound Italian sausage, any type your family likes be it pork, chicken, or vegan (if using links, take the sausage out of the casing or slice after cooking)
Cook the sausage until browned (I always think of Anne Burrell when I say that – love her saying, Brown Food GOOD!). Remove the sausage from the pan and set aside. Add to the frying pan:
1 medium or 1/2 large onion, diced
1 sweet pepper diced, any color
1/2 cup grated carrot
6-8 ounces sliced or diced mushrooms (any type you like)
Cook until onions are translucent and mushrooms are browned, about 5 minutes. Reduce heat to low and add:
1 small to medium zucchini, diced
1-2 small yellow squash
1 tablespoon minced garlic
Stir the vegetables and cover the pan. I used summer squash but feel free to substitute any vegetables your family likes; I’ve even used small frozen Brussel sprouts. Cook 8-10 minutes until the squash are softened but not mushy. Add the sausage back into the pan along with:
1 32oz can tomato puree
1 16oz can small diced tomatoes
2 teaspoons Italian spices (oregano, thyme, basil)
This is where a large jar of prepared tomato sauce could be substituted (cooking time would be reduced to about 10 minutes and it would be ready to serve). Simmer for 30-45 minutes and add:
1 small can tomato paste
1 tablespoon agave nectar
Stir making sure the tomato paste is incorporated. Cook about 5 more minutes and serve with pasta.