Blackberry Cobbler

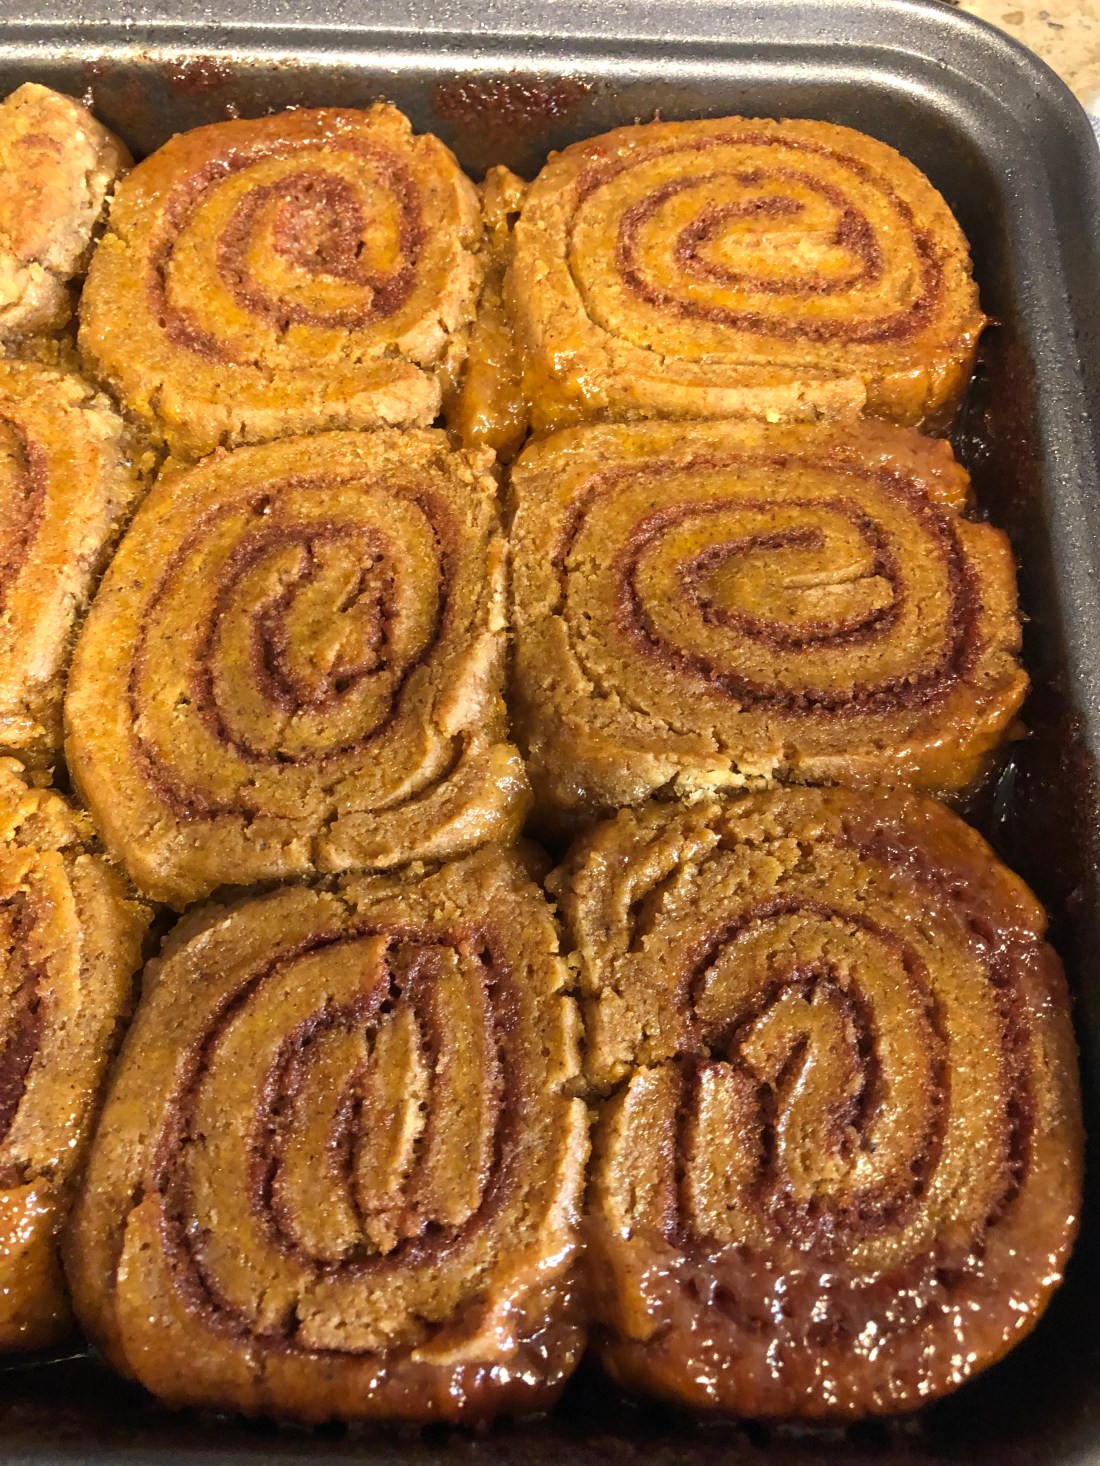
My father’s favorite dessert! Growing up we had a blackberry patch in the back yard and every August, we’d go pick the blackberries, always getting our arms scratched from the thorns. Most went the freezer (and our mouths) except for a few cups that immediately went into the house and put into a buttered casserole dish. Some flour and cinnamon went over them and then a cottage pudding spread on top for a crust, hot water and sugar and into the oven. My father always ate it with vanilla ice cream, obviously not something I can do. This is a dessert best served warm. The recipe serves 6.

Grease an 8″ casserole dish. Preheat oven to 425 degrees. In a medium bowl combine:

3 cups blackberries (or raspberries, blueberries, apples, peaches, etc.)

2 tablespoon tapioca flour (don’t have any? use 2 tablespoon all purpose gluten-free flour)

2 teaspoons cinnamon

Pour into the casserole dish. Into the bowl you used for the blackberries, combine:

1 cup all purpose gluten-free flour

1/2 teaspoon xanthan gum

2 teaspoons baking powder

1 tablespoon date sugar

1/4 teaspoon salt

Stir to combine then add:

2 tablespoons vegan margarine

Using a fork, work the margarine into the flour mixture. Add:

1/2 cup non-dairy milk

Combine until mixed but don’t over mix. Spoon on top of the berries and spread to cover most of them. Pour over the top of the cobbler:

1/4 cup date sugar

1 teaspoon cinnamon

1 cup hot water

Most of the date sugar should wash down into the berries. The little sugar on the top will form a sweet crust when baked. Bake the cobbler for 30-40 minutes until a toothpick inserted in the cobbler crust comes out clean. Serve warm with vanilla frozen dessert or whipped topping, or I like it just the way it is although sometimes I top it with a vanilla mousseline sauce.

Pastry Sauce:

Put into a saucepan and stir to combine:

2 tablespoons cornstarch (or arrowroot)

1/3 cup date sugar

1/4 teaspoon salt

Stir into the mixture:

1/4 cup non dairy milk (any will do EXCEPT NOT soy)

Whisk to make sure it’s lump free before adding:

2 cups non-dairy milk

Heat over medium heat whisking constantly once it starts to get hot until the mixture coats the back of a spoon. Remove from the heat and add:

1 teaspoon vanilla

2 tablespoons vegan margarine

Whisk to combine. Serve hot or chill for a vanilla pudding.

Chickpea Blondies

Easy and quick to make and delicious, nutritious snacks. I’ve been making chickpea carob chip cookies and chickpea brownies for years. I made sweet potato blondies a few weeks ago and those turned out almost fudge-like. These are thicker but every bit as “fudgy”. Feel free to substitute the sweetener as well as the quinoa flakes for quinoa flour. And of course, sunflower butter (or any nut butter if possible) would substitute quite well for the pumpkin seed butter.

Preheat oven to 350 degrees. In the bowl of a food processor combine:

2, 15 ounce cans of garbanzo beans (chickpeas), drained and rinsed (save the aquafaba for another recipe; it’ll store in the refrigerator for a week)

1 cup quinoa flakes (find it in the cereal aisle)

3/4 cup pumpkin seed butter

1 tablespoon avocado oil

1 teaspoon vanilla extract

1 teaspoon cinnamon

1/4 teaspoon sea salt

1/3 cup date syrup (or honey, agave or coconut nectar, or maple syrup)

1/3 cup unsweetened non-dairy milk

1 teaspoon baking soda

Pulse until the garbanzo beans are creamed and incorporated into the batter. The batter will look mottled because of the quinoa flakes. While it’s pulsing, line an 8″ square baking pan with parchment paper and spray with a non-stick cooking spray. Scoop the batter into the pan and bake in a preheated 350 degree oven for 25-30 minutes. Cool before serving.

Chicken Marengo

Here’s another great recipe adapted from the Chicken Bible. Because of salt restrictions, I left out the chopped olives and brandy also isn’t allowed in my diet so that’s gone as well but I’ll list them as optional if you want to add them to your dish. It was quite tasty and fairly easy to make. Be sure to use an oven safe pan or after making the sauce, transfer the sauce and then the chicken to an oven proof dish.

Preheat oven to 400 degrees. Peel and chop:

1 medium onion, diced fairly small

Using paper towels, dry:

4 medium size bone-in chicken breasts or 2 breasts and 4 thighs

After drying sprinkle with:

1/2 teaspoon salt (I used herbamare)

1/4 teaspoon ground black pepper

Heat over medium high, in a skillet large enough to cook the chicken without cramping:

1 tablespoon oil

Add the seasoned chicken pieces, skin side down and leave them alone for at least 5 minutes to brown the skin and get it crispy. Then turn and cooked for 2-3 minutes on the other side. Remove from the pan, drain all but 1 tablespoon oil from the skillet and add:

the diced onion

Cook over medium heat for 2-3 minutes until softened before adding:

2 teaspoons minced garlic

10 ounces sliced shitake mushrooms

Cook over medium heat until the mushrooms start to soften and give off their liquid before stirring in:

28 ounce can of diced tomatoes, drained

1 tablespoon minced fresh thyme (or 2 teaspoons dry thyme)

Combine and then add a sauce made with:

3/4 cup chicken stock

2 tablespoons tomato puree

1/3 cup brandy (Optional)

2 teaspoon hot sauce (or more if your family likes it spicier OR 1/4 teaspoon crushed red pepper flakes)

6 Kalamata olives, chopped fine (Optional)

Stir to incorporate before placing the chicken pieces on top of the sauce mixture. Bake for 35-40 minutes or until the breasts reach 160 degrees and the thighs register 170 degrees. Remove from oven and move the chicken to a serving platter. Add to the sauce:

2 tablespoons avocado oil

Whisk to combine and then spoon the sauce around the chicken and serve. Serves 4.

Sweet Potato Sheet Pancakes

If you’re like me, the only bad thing about making pancakes is standing at the stove cooking 3 or 4 at a time when there’s at least a dozen to cook. Well, this recipe takes that away! These are the lightest, fluffiest pancakes I’ve had since I went gluten-free and oh so mouth-wateringly delicious. Of course, pumpkin or butternut squash can be substituted for the sweet potato puree, just make sure that they aren’t too wet so a drier squash would work best. I used Trader Joe’s frozen sweet potato mash in this recipe thinking canned sweet potato puree might be too wet. And it worked just fine. Also be sure to let the mixture sit in the baking pan for 10-15 minutes after you spread it. Gluten free flours take longer to absorb moisture than regular flour and letting it sit on the counter before cooking gives the flours time to absorb some of the liquid and the end product won’t be gummy.

In a large mixing bowl whisk together:

2 tablespoons ground flax

1/3 cup aquafaba (or 1/3 cup water with 1/2 teaspoon aquafaba powder)

While the flax gel is working, about 5 minutes, prepare an 15×9″ baking sheet by covering with parchment paper and spraying generously with a non-stick spray (I use Chosen Foods Avocado spray because it’s 100% avocado oil).

When the flax gel is set, add:

1/2 cup sweet potato puree

1/4 cup avocado oil

1/4 cup date syrup (or coconut or agave nectar, honey, or maple syrup)

1 1/2 cup non-dairy milk

1 teaspoon pumpkin pie spice

3/4 cup protein powder (I used Probase organic pumpkin seed protein, unflavored)

Whisk to combine before adding:

1 1/2 cups all purpose gluten-free flour

1/2 cup chickpea flour

1 teaspoon xanthan gum

2 1/2 teaspoons baking powder

1 teaspoon baking soda

1/4 teaspoon sea salt

1/3 cup dried cranberries (optional)

1/4 cup carob (or chocolate) chips (optional)

Stir to combine making sure to moisten all the flour but not overmix, batter will be thick. Spread in the prepared baking sheet and let sit 10-15 minutes while the oven heats to 400 degrees. Bake 18-20 minutes until spongy in the middle and golden brown. Cut into 12 pieces and serve with a drizzle of maple syrup. I found 2 pieces were enough for me so 4-6 servings depending on your appetite.

Chicken and Vegetables in Plum Sauce

Had a little of the soy substitute sauce left over from the recipe a couple of days ago so thought I’d make some choy mein. But there wasn’t quite enough sauce for that and I’d gotten a jar of plum jam out of the freezer and added some of that and oh my goodness, how mouth-watering is this! Like adding a little pear or apple to a pork or chicken gravy, adding a little plum to this Chinese sauce turned out luscious. Don’t have any plum jam around the house? Stew up 2 plums (skin too if organic) along with about 2 tablespoons of date syrup and then puree it and you’ve got plum jam!

Just like with most Chinese recipes, the first step is always to cut everything up!

Peel:

1 small to medium onion, slice in half thin slices

1 large o 2 smaller carrots, slice on the diagonal

2 garlic cloves, minced

Trim:

2 whole stalks or 4 stalks from the celery heart (about a cup altogether), slice diagonally

6 ounces of shitake mushrooms, sliced

Put the vegetables in a bowl and set aside until ready to cook. Trim the fat and slice:

2 skinless, boneless chicken breasts*

Place the slices in a food storage bag and add:

2 tablespoons soy sauce substitute (see recipe under sauces)

2 tablespoons rice vinegar

1 tablespoon cornstarch or arrowroot

1/4 to 1/3 cup plum jam

Seal and refrigerate 15-30 minutes until ready to cook. When ready to cook, heat over medium heat in a 12″ skillet:

1 tablespoon olive oil

Add the vegetables and cook, stirring frequently, for 1-2 minutes. Cover and lower heat to medium low and cook for 5-7 minutes, stirring often, until carrots are tender. Remove the vegetables to their bowl, turn the heat back to medium and add to the skillet:

the marinated chicken and marinade

Cook stirring constantly until the chicken is cooked through, about 2-3 minutes. Reduce heat to low and add the vegetables back to the skillet along with:

1 cup chicken or vegetable stock

Stir to combine and continue stirring until sauce thickens, about 1 minute. Serve with brown rice or rice noodles.

*Want a vegan entrée? Substitute firm tofu or your favorite plant-based protein.

Chicken with Bok Choy and Red Peppers and Crispy Noodle Cake

Here’s another recipe adapted from the Chicken Bible. It’s somewhat spicy due to the abundance of freshly grated ginger as well as just a 1/4 teaspoon Vietnamese chili sauce.* The original recipe called for 1/4 teaspoon of red pepper flakes so use those if you can’t find a chili sauce that works for your family. I also cut back slightly on the amount of freshly grated ginger – the original recipe called for 1 tablespoon but I used only about 1 teaspoon and it was sufficient for my tastes. This is a recipe that may sound difficult and complex but if you follow the steps, it’s really quite easy to make and oh so worth the effort – just as good as any dish in your favorite Chinese restaurant.

First, cut up everything:

1 pound bok choy (I used three medium sized baby), cut off the stems and cut into bitesize pieces and then separately chop the greens and put them in a separate bowl

2 small sweet red peppers, cut in thin slices

1 pound boneless skinless chicken breasts, sliced as thinly as possible (if the breasts are partially frozen, they will slice much easier although the hand holding the meat will get quite chilly!)

1 garlic clove minced

about 1″ of fresh ginger peeled and grated to produce roughly 1-2 teaspoons

2-3 scallions, slice at an angle, add the white parts to the bok choy stems and peppers and set the greens aside in a medium bowl

Next, mix together in a medium bowl:

1 tablespoon soy sauce substitute

2 teaspoons rice vinegar

1 teaspoon date syrup

1 teaspoon fish sauce

1 tablespoon sesame oil

1 teaspoon cornstarch (or arrowroot)

Whisk together and add the sliced chicken. Mix to ensure all the chicken is coated with the marinade. Refrigerate until needed.

Third, put on a pot of water to boil:

6 quarts water in a large pot

When the water comes to a bowl, add:

1 teaspoon sea salt

9 ounces of noodles (I used brown rice pad Thai noodles)

Cook for only 3 minutes until el dente (or the amount of time on the package of your noodles). Drain and add to the bowl with the green scallion slices. Mix to combine. In a 12″ non-stick skillet, heat over medium high heat:

2 tablespoons olive oil

Add the noodle/scallion mixture and spread out in the pan. Use a strong spatula (or I used a bacon flattener) to flatten the noodle mixture in the pan (see photo below). Cook 5-7 minutes until browned and then using a large spatula, flip and brown again on the second side 5-7 minutes. Remove to an oven proof plate and stick in a 200 degree oven to keep warm.

Now, in a small bowl mix together:

2 tablespoons olive oil

the minced garlic

the grated ginger

In another small bowl make the sauce by combining:

1/3 cup chicken or vegetable stock

2 tablespoons soy sauce substitute

1 tablespoon rice vinegar

1/2 tablespoon date syrup

1/4 teaspoon chili sauce or red pepper flakes (or hot sauce!)

1 teaspoon cornstarch (or arrowroot)

Stir to combine. Set aside until needed. Pour into the empty skillet and heat:

2 teaspoons olive oil

Add:

sliced chicken (and marinade)

Cook over medium high heat, stirring constantly and turning frequently until the meat is cooked, about 2 minutes. Remove to a dish and set aside. Into the same skillet heat over medium heat:

the olive oil mixture with the garlic and ginger

When hot, add:

the bok choy stems

red pepper slices

scallion whites

Cook over medium high heat stirring frequently until they just begin to soften, about 3 minutes. Add:

the bok choy greens

Cook just until the greens begin to wilt, add the cooked chicken along with any juice in the dish. Whisk the sauce mixture to be sure it’s still combined and pour over the chicken in the skillet. Stir continuously until the sauce thickens about 30 seconds and the chicken is reheated. Remove the noodle cake from the oven and cut into wedges. Serves 2.

*I had a lot of difficulty finding a chili sauce that didn’t contain either sugar or soy. I finally located one (at the 4th store I checked!) – Tuong Ot Toi Viet-Nam Chili Garlic Sauce. It’s VERY hot so the amount used should be to the level of your taste buds. I don’t mind spicy but super hot is not to my liking therefore the recipe calls for just 1/4 teaspoon.

Sweet Potato or Pumpkin Blondies

I’ve never had a blondie since I’ve always preferred bars made with chocolate. Now that I no longer can have chocolate, it seems like a good time to check out blondies. I understand from watching people make them on TV that they should be very dense and moist, almost fudgy, rather than cake-like. This recipe, adapted from thebigmansworld.com, doesn’t have any flour and can be made without any sweetener as well. I opted for some date sugar which I think pumpkin really needs and added some vanilla to the mixture as well but if you want to intensify the pumpkin or sweet potato flavor, a teaspoon of pumpkin pie spices would go well. Be sure to chill them thoroughly before slicing and removing from the pan. And, the smaller the pan, the thicker the blondies will be (I used an 8″ square pan for the pumpkin and an 8″ round for the sweet potato.

Preheat oven to 350 degrees. Spray with non-stick cooking spray, a small baking pan (8″ or less). Put into a medium sized, microwave safe mixing bowl:

1/2 cup pumpkin seed butter (or any other butter your family likes)

Heat for about 1 minute which should thin it out a little. If you’re using roasted (brown) pumpkin seed butter or a thicker butter such as sunflower, this may take longer to melt. Add to the butter:

1 cup pumpkin or sweet potato puree

2 tablespoons carob powder

1/4 cup fine date sugar

1 teaspoon vanilla extract

Stir until all ingredients are combined. Pour into the prepared baking dish and bake for about 20 minutes depending on the size of your baking dish – the 8″ pans took the full 20 minutes in my oven. They will puff up slightly when they are cooked. Cool on the counter for 15-20 minutes and then refrigerate and chill completely before slicing and serving. Number of pieces will also depend on the size of the pan you used – I got 9 pieces from the square pan.

Pumpkin Sticky Cinnamon Buns

Who doesn’t love a sticky bun? All gooey, finger licking delicious. But many of us find working with yeast not an easy chore. I had to start this recipe 3 times because the yeast didn’t bubble up the way it should, first had the water too hot, then too cool but the third time I got it right. The water should have the same temperature as your inner wrist so that it doesn’t feel hot or cold on your wrist, just warmth. These take some time but they are so definitely worth it.

First, preheat oven to 200. While it’s heating up in a small bowl mix together:

2 teaspoons yeast

3 tablespoons warm water (around 110 degrees, see above)

3 tablespoons agave nectar (or coconut, or honey) [I actually used date sugar at the end instead of the nectar so if it doesn’t work with the nectar try date sugar; mixture will of course be much thicker so add a little more water.]

Whisk to combine and set aside for 5-10 minutes. Yeast should start bubbling fairly quickly. If it doesn’t, throw it out and start over again. While the yeast is working, in a large bowl combine:

1 1/4 cups all purpose, gluten-free flour such as 1to1 or cup4cup

1/2 cup oat flour

1/3 cup brown rice flour

6 teaspoons pumpkin pie spice

1 3/4 teaspoons xanthan gum

1 teaspoon salt

Stir to mix well. If the yeast is now activated and bubbly, stir into it:

3 tablespoons avocado oil

2 tablespoons non-dairy milk

1/2 cup pumpkin puree

1/4 cup vegan mayonnaise (or non-dairy yogurt)

Whisk and then mix into the dry ingredients until just combined. Turn dough out onto a flat surface covered with plastic wrap and knead just until it comes together. Spray the bowl with non-stick spray and return the dough to the bowl cover with plastic wrap and let rest about 15-20 minutes.

Turn off the preheated oven. Turn the dough back out onto the plastic wrap surface sprinkled with some of the flour and roll out to approximately 14″x10″ rectangle. Spread with a filling of:

4 tablespoons vegan margarine or avocado oil

6 tablespoons date sugar

2 teaspoons pumpkin pie spice

1 teaspoon cinnamon

Leave about 1/2″ unfilled along one of the 10″ sides to help seal the buns. Roll the dough beginning on the edge you didn’t leave unfilled and be sure to rub the last edge into the roll to seal it. Cut into 10-11 rolls* using a knife or pizza cutter (or even dental floss). Spray with non-stick cooking spray a baking dish large enough to hold the buns loosely. Or grease the dish generously with vegan margarine and sprinkle with chopped nuts or seeds if desired. Place the buns in the dish, leaving space for them to rise. Cover with plastic wrap and put in the oven to rise for approximately 2 hours until they’re about doubled in size. Remove and heat the oven to 375 degrees. While the oven heats, prepare the glaze by mixing:

1/2 cup agave nectar (or coconut nectar)

1/4 cup non-dairy milk

1/4 cup avocado oil

1/4 cup honey

*I actually cut my buns much smaller so I got 15-16 rather than the 10-11. Pour the glaze over the buns before baking.* Bake for 25-30 minutes depending on the size of the buns. A toothpick inserted in the middle of the dough part of a bun (in the middle of the pan) coming out clean means they are cooked. Remove and serve immediately. The sticky part will be on the bottom of the buns. Easily reheat in the microwave for about 30 seconds per bun.

*If preferred, use a glaze after baking instead of the honey bee glaze. Whisk together:

6 tablespoons vegan margarine

1/2 teaspoon vanilla extract

1 cup sugar-free confectioners sugar (there’s a monk fruit based one available)

1-2 tablespoons non-dairy milk

Pour the glaze over the buns before serving.

Sesame Chicken with vegetables

I’ve talked about how much I love Chinese food and here’s another luscious, mouth watering, easy to make dish. It’s a little spicy with the chili paste (or hot sauce) and grated fresh ginger but not too spicy but feel free to leave those out if you don’t want it spicy. And be sure to check before purchasing oriental chili paste because most of them (all the ones I looked at in the store) contain wheat flour and therefore gluten. Serves 2-4 depending on serving size and the vegetables you add.

First prepare the chicken:

12 to 16 ounces boneless chicken breasts and/or thighs

Remove skin and whatever fat and silver skin you see. Cut into bite-size chunks and place in a gallon food storage bag. Add:

1/3 to 1/2 cup corn starch (or arrowroot)

Close the bag and toss the meat around to make sure it’s entirely covered by the starch. Place in the refrigerator for 15-30 minutes.

In a small saucepan combine:

2 tablespoons soy sauce substitute (see recipe under sauces)

1 1/2 tablespoons ketchup (sugar free)*

1/2 teaspoon chili paste (or hot sauce which is what I used)

1 1/2 tablespoons date sugar

1 tablespoon sesame oil

1 teaspoon freshly grated ginger (or 1/4 teaspoon ground ginger)

1 teaspoon minced garlic

Stir to combine. In a small bowl whisk:

1/3 cup stock (chicken or vegetable)

2 teaspoons cornstarch, arrowroot or xanthan gum

Whisk to make a slurry and then pour it into the saucepan. Heat the sauce over medium heat, whisking often until it starts to heat up and you see a few bubbles from a slow boil then whisk constantly until the sauce is thickened. Remove from heat and add:

2 tablespoons TOASTED sesame seeds (you can buy them that way)

Stir in the sesame seeds and set the sauce aside. Over medium heat, heat a 12″ skillet with:

1 tablespoon olive oil

When shimmering hot, add the cubed chicken. Using a spatula or wooden spoon, spread out the meat so it’s in a single layer in the pan and cook, stirring often, for 5-7 minutes until the meat is cooked through (time will depend on how large the cubes are). Once the chicken is cooked, pour in the sauce and mix to combine. Cover and remove from heat.

For vegetables, whatever your family likes will work. I used 1/2 cup of shredded carrots and 1/2 cup of frozen peas which I zapped in the microwave for 2 minutes before adding to the chicken mixture. But broccoli, bok choy, snow peas, celery, onions, water chestnuts, green beans, will work just be sure to cook them before adding to the sesame chicken. Or if you prefer, leave out the vegetables and serve a vegetable dish on the side. I served this over brown rice but again, Thai noodles or linguini would also work.

*For those of you unfamiliar with the product, Organicville makes a ketchup containing agave nectar instead of sugar. No one I’ve ever served it to knew it wasn’t “real” ketchup.

Oatmeal Cookies

My husband’s favorite cookie was oatmeal raisin. These are very easy to make (if you have a food processor) and very tasty. And they don’t have very many ingredients, also a pretty good thing. If you have dried dates which most of us do since fresh dates are not always available, soak them in boiling water for 5-10 minutes to soften them before using them in this recipe.

Preheat oven to 350 degrees. Spread a medium size cookie sheet with parchment paper. In the bowl of a food processor, add:

1 1/2 cups gluten-free old fashioned oats, preferably organic

1/2 cup seed butter like sunflower or pumpkin butter or tahini

10-12 softened dates, medium sized

1/4 cup date syrup (or if you don’t have date syrup, use some of the water from soaking the dates just increase the number of dates if you want a sweeter cookie)

1/4 teaspoon sea salt

1 teaspoon vanilla extract (optional)

Blend until combined and the oatmeal is partly ground and a dough forms. This should take only about a minute. Remove from the food processor to a bowl and stir in:

1/2 cup carob chips (optional)

1/4 cup raisins or dried cranberries (optional)

Scoop out several tablespoons (to a 1/4 cup depending on how large you’d like the cookies) of the dough and form into a flat, round disc. Repeat with the remaining dough. The recipe should make approximately 12 cookies. Bake for 10-12 minutes. Let cool for about 5 minutes before removing from the baking sheet.