Sesame Chicken with vegetables

I’ve talked about how much I love Chinese food and here’s another luscious, mouth watering, easy to make dish. It’s a little spicy with the chili paste (or hot sauce) and grated fresh ginger but not too spicy but feel free to leave those out if you don’t want it spicy. And be sure to check before purchasing oriental chili paste because most of them (all the ones I looked at in the store) contain wheat flour and therefore gluten. Serves 2-4 depending on serving size and the vegetables you add.

First prepare the chicken:

12 to 16 ounces boneless chicken breasts and/or thighs

Remove skin and whatever fat and silver skin you see. Cut into bite-size chunks and place in a gallon food storage bag. Add:

1/3 to 1/2 cup corn starch (or arrowroot)

Close the bag and toss the meat around to make sure it’s entirely covered by the starch. Place in the refrigerator for 15-30 minutes.

In a small saucepan combine:

2 tablespoons soy sauce substitute (see recipe under sauces)

1 1/2 tablespoons ketchup (sugar free)*

1/2 teaspoon chili paste (or hot sauce which is what I used)

1 1/2 tablespoons date sugar

1 tablespoon sesame oil

1 teaspoon freshly grated ginger (or 1/4 teaspoon ground ginger)

1 teaspoon minced garlic

Stir to combine. In a small bowl whisk:

1/3 cup stock (chicken or vegetable)

2 teaspoons cornstarch, arrowroot or xanthan gum

Whisk to make a slurry and then pour it into the saucepan. Heat the sauce over medium heat, whisking often until it starts to heat up and you see a few bubbles from a slow boil then whisk constantly until the sauce is thickened. Remove from heat and add:

2 tablespoons TOASTED sesame seeds (you can buy them that way)

Stir in the sesame seeds and set the sauce aside. Over medium heat, heat a 12″ skillet with:

1 tablespoon olive oil

When shimmering hot, add the cubed chicken. Using a spatula or wooden spoon, spread out the meat so it’s in a single layer in the pan and cook, stirring often, for 5-7 minutes until the meat is cooked through (time will depend on how large the cubes are). Once the chicken is cooked, pour in the sauce and mix to combine. Cover and remove from heat.

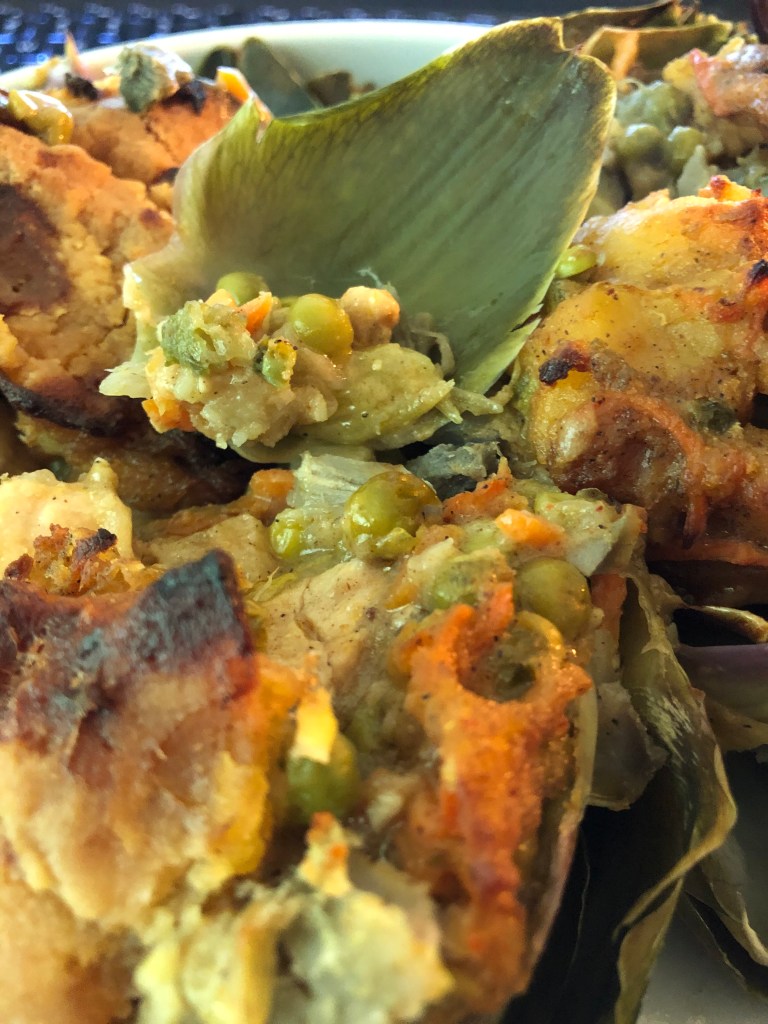
For vegetables, whatever your family likes will work. I used 1/2 cup of shredded carrots and 1/2 cup of frozen peas which I zapped in the microwave for 2 minutes before adding to the chicken mixture. But broccoli, bok choy, snow peas, celery, onions, water chestnuts, green beans, will work just be sure to cook them before adding to the sesame chicken. Or if you prefer, leave out the vegetables and serve a vegetable dish on the side. I served this over brown rice but again, Thai noodles or linguini would also work.

*For those of you unfamiliar with the product, Organicville makes a ketchup containing agave nectar instead of sugar. No one I’ve ever served it to knew it wasn’t “real” ketchup.

Stuffed Artichokes

Artichokes are one of my favorite vegetables that I don’t eat every often. This time of year, the fresh artichokes are really delicious and wonderfully large, very stuffable. And the stuffing part isn’t set in stone – I usually use a chicken stew but I made one of my curried vegetable pies yesterday and thought, when I saw a beautiful big artichoke in the store this morning, that the leftovers would be great stuffing for that artichoke! So this one is vegan but any type of stew, preferably a creamed stew, will work as filling.

Serves 4. Prepare 2 large artichokes:

Using a vegetable peeler, shave the stem and cut off the very bottom, like cutting off the bottom of a carrot or onion. The stem of the artichoke is quite edible, tastes just like the heart. Then cut the stem off at the base of the artichoke so that it will sit flat in the pot. Some people cut off the top half of the artichoke but I don’t bother, a few spines on the ends don’t bother me but feel free. Place the artichokes and stems in a steamer over water and cook until the leave are falling away from the center. Remove from the steamer and let cool (trust me you don’t want to do the next step when the artichokes are boiling hot!).

Preheat oven to 400 degrees. When the artichokes are cooled, fold back the leaves and remove the tiny center leaves to reveal the choke. Using a spoon, remove the choke trying not to break the outer leaves from the middle (but it’s okay if this happens, just lean the sections of the artichoke on the outside of the baking dish or against each other). It’s best to use a greased baking dish that is about the size of the artichoke, so for the 2 artichokes, 2 dishes are needed.

Dice the tender parts of the stems and add to the filling. For 2 jumbo artichokes, use about 4 cups of stew. SEE: Creamy Chicken Stew with Asparagus (leaving out the asparagus of course), Curried Vegetable Pie, Chicken or Turkey Pot Pie, etc. Top with seasoned bread crumbs – 1/4 cup gluten-free bread crumbs tossed with olive oil (or melted vegan butter or avocado oil) and herbs. Or if like me you have leftover curried vegetable pie, use the remaining crust as the topping (or cut out rounds of pie crust).

Bake in a 400 degree oven for about a half hour if the stew is cold, less if it’s already hot. And if topped with a raw pie crust, bake for about 40 minutes.

Seared Sea Bass with Pears (dairy-free, gluten-free, soy-free, refined sugar-free)

Food bloggers, even those like me, buy a lot of cookbooks. I found one this past week, Cooking Whole30, by Melissa Urban which had some interesting recipes, many those of us with allergies can use without modification. One, probably because it’s my favorite fish, struck my fancy except it used butter and peaches, two things I can’t eat. However, it’s been my experience that pears can often be substituted for other fruits so I thought it was worth a try. Here’s the result, DELICIOUS!

For 2 servings:

4 teaspoons avocado oil

2 sea bass fillets (cod, halibut or other dense fish could be used instead of the sea bass)

Salt and pepper to taste

1 medium pear sliced

1 teaspoon rice vinegar

1/2 teaspoon of Wasabi powder

In a medium skillet, heat 2 teaspoons avocado oil then add the fish (dry it with a paper towel first so it doesn’t splatter the oil). Use medium heat and brown well on the skin side first then turn and cover to cook the meat of the fish for several minutes. Turn back to the skin side to finish cooking. This should take less than 10 minutes.

Remove the fish from the pan, salt and pepper to taste, and cover to keep warm while you sauté the pears. Add the pears directly to the fish skillet and cook for 3-4 minutes over medium heat, turning them once to brown on both sides. Add 1 teaspoon rice vinegar and cook for another minute. Add 1/2 teaspoon wasabi powder to the remaining avocado oil and whisk to combine.

Plate the fish, spoon the pieces of pear equally over both pieces of fish. Then drizzle the wasabi oil over each piece of fish. Add some salad to the plates and serve.

While the fish is cooking, core (and peel if you want but that gets rid of the fiber and the skin will be tender when the dish is finished). Also make a salad to accompany the fish:

For the salad:

Baby red romaine (or use any lettuce your family likes)

3 inches of an English cucumber sliced

2-3 of the pear slices, cut into pieces

Non-dairy cheese crumbles

Nuts or seeds (I used pumpkin seeds) (Optional)

Light Italian Dressing: In a small 1 cup jar, add 1/2 cup avocado oil, 1/4 cup rice vinegar, 1 tablespoon agave nectar, 1/2 teaspoon salt, 1/4 teaspoon ground pepper, 1 teaspoon garlic powder, and 1 teaspoon Italian herb blend. Put the lid on the jar and shake vigorously for several minutes.

Baked Fish in Paper

I love this fish! Mainly because I use sea bass but any dense fish works well. A sole or flounder wouldn’t do for this dish but cod, trout or salmon would work well. And it’s very versatile because you can use whatever vegetables you like. Quick and easy to put together if you can wrap a sandwich in waxed paper (if you were alive when we used to have to do this rather than using a baggie!), or can fold down a paper bag, you can do this, it isn’t difficult.

For 4 meals, you’ll need:

4 4-6 ounce pieces of fish

Lemons, sliced into 8-16 slices

1 small onion sliced

2 cups of diced vegetables – here you can use anything you want – have a couple of picky kids who don’t like the same veggies, use different ones for different packets – pea pods, mushrooms, yellow or zucchini squash, thinly sliced potato (white or sweet), grated carrot, broccoli, sweet pepper, cauliflower, whatever you want or like. Of course, if you use things like pea pods and pre-grated carrot, it is even easier, 1/2 cup for each piece of fish

Salt and pepper to taste

Cooking spray

Parchment paper

Tear off four approximately 18×12″ pieces of parchment paper. Spray with the non-stick spray – DON’T FORGET THIS STEP OR IT WILL STICK TO THE PARCHMENT PAPER! Place 2-4 slices of lemon on each paper (the number you use will depend on the size of your fish.

Next, add one piece of fish to each paper and then heap the vegetables on top, doesn’t matter if they fall off slightly. Salt and pepper to taste. Once you have the vegetables you want on each paper, take the short sides of the paper and lift them up and fold like you would a paper bag until they rest on top of the fish and vegetables.

Then fold the ends like on a package you’re wrapping, fold each side in and then the entire end under the package.

Place the four packets on a sheet tray with edges or a baking dish. Bake in a 350 degree oven for 35-45 minutes depending on the thickness of the fish. The packets will expand with the steam the vegetables let off (along with the lemon). Because of this steam, the fish generally doesn’t dry out because it’s sealed in the paper.

Using kitchen scissors, cut the paper (YOU DO NOT WANT TO TRY TO UNWRAP THE PACKET!). Be careful of the steam released when you cut it, you don’t want to burn yourself.

Using a spatula, lift each piece of fish onto a plate along with the vegetables (you don’t want to serve the lemon slices). The fish is delicious as is or you can serve with extra lemon slices or a tartar sauce. I often make a sauce using an avocado based vegan mayonnaise and some Chosen Lemon Garlic dressing mixed together.

Chicken or Turkey Pot Pie (Dairy-free, gluten-free, egg-free)

One of my husband’s favorite dishes is a pot pie.  This one has lots of tender chicken or turkey for my husband along with plenty of vegetables to satisfy me.  If you pre-bake the bottom crust, it won’t get as soggy from the gravy while baking.  Feel free to change up the vegetables — lima beans, mushrooms, garlic, etc. can be added along with greens like kale or spinach (chopped of course).  I had some leftover mushrooms that I sautéed, cut up and added to my stew.  Some diced sweet potatoes would also do well in a stew or any diced and cooked winter squash.

First make some chicken or turkey stew:

  • 1/2 medium onion diced
  • 1/2 cup diced celery
  • 1/2 cup cooked peas
  • 1/2 cup cooked string beans
  • 1/2 cup sliced carrots
  • 1 cup cooked chicken or turkey diced
  • 3 cups chicken or turkey stock
  • 1/4 cup brown rice flour
  • Herbs, salt and pepper to your taste

Cook the onions and celery in a little oil under tender, about 3 minutes.  Add 2 1/2 cups of the stock and herbs.  Whisk the brown rice flour into the other 1/2 cup of stock and add it to the stockpot and whisk until the mixture thickens.  Add the cooked meat and vegetables and cool in the refrigerator until you’re ready to make the pot pie or whatever you want to do with the stew (you could also use this for chicken and dumplings or a chicken casserole with a cauliflower crust).

If you don’t cool the stew before adding it to the pot pie, the bottom crust will get too soggy, even if you pre-baked it.

You can either make your own gluten-free crust (see my recipe for pie crust), use a mix (Bob’s Red Mill makes a very tasty mix) or purchase a ready-made gluten-free crust.

Heat your oven to 400 degrees.  Pre-bake your crust per package directions.  When cool, add the cooled stew to fill the pie crust.  Add top layer and bake approximately 40 minutes until pie bubbles and top crust is browned.

Leftovers Casserole (dairy-free, gluten-free, egg-free)

This is a great casserole for using up leftovers after a big meal like Thanksgiving or just a family Sunday dinner.  It takes the meat, gravy, stuffing, vegetables, and potatoes and puts them together into one dish that’s easy and my family loves it.  You’ll want a deep casserole dish so that you can get four layers. You could also make this quick and easy using rotisserie chicken or turkey breast.

Grease a 9″ round, 5-7″ deep casserole dish. Preheat oven to 350 degrees.

The first layer consists of:

  • 2 cups of diced meat (chicken, beef, turkey, pork)
  • 2 cups  gravy (see recipe under Sauces)

The second layer consists of:

  • 2-3 cups of stuffing (see recipe under side dishes)

The third layer consists of:

  • 2-3 cups of leftover vegetables (I used my leftover string bean casserole; see recipe under side dishes)

The last layer consists of:

  • 2-3 cups of mashed potatoes, or in my case, mashed celery root and parsnips (see recipe under side dishes)

Bake 30-45 minutes until the gravy starts bubbling to the top and the top is browned.

Tomato Vegetable “Stoup” (vegan, dairy- free, gluten-free)

This time of year with all the fresh vegetables, this is one of my go to dishes.  My husband and I love this soup/stew.  Its one that is easy to customize to your taste since its basically whatever vegetables you have on hand.  Instead of using canned diced tomatoes, I peeled and chopped some of my husband’s fresh off-the-vine tomatoes sitting on my counter top.  Best of all, its delicious whether you serve it hot or cold.  Add some croutons for crunch (made with gluten-free bread of course!).  In the winter, this soup is a great vehicle for cooked chicken. Feel free to play with it and make it your own by adding the vegetables your family likes the best.  But keep the carrots since they add that sweetness that takes care of the acidity in the tomatoes (the parsnips help with that as well).  Makes 8-12 servings.

Peel as needed and dice into like size pieces:

  • 1 medium onion (I used a red onion)
  • 6-8 stocks of celery
  • 1 medium purple top turnip (or a regular one if you like them but the purple top have a milder flavor)
  • 1 medium yellow squash
  • 1 medium zucchini squash
  • 2 small parsnips
  • 2 baby bok choy (you could use regular chopped cabbage instead of the bok choy and then add some kale or spinach for the greens of the bok choy)
  • 1/2 pound mushrooms (I like to mix them up so I used half baby bella and half porcini)
  • 1 cup chopped or grated carrots
  • 1 cup green peas
  • 1 cup green beans

Add 4 cups (1 quart) of vegetable stock to a large stock pot (if you want, you could add 4 cups of chicken stock).  Be sure to use stock and not broth for that “cooked all day” flavor.  Add the onion, celery, turnip, squashes, bok choy and mushrooms and cook covered over medium heat until the vegetables are tender, about 20 minutes.

Add:

  • 1 cup diced tomatoes
  • 1 28 ounce can of crushed tomatoes (I find the Muir Glen organic canned tomatoes taste less metallic than regular canned tomatoes)
  • 1 12 ounce can of your favorite beans (I love the cannellini beans or great northern)

Cook over low heat for another 10-15 minutes until tomatoes and beans are heated through.

Quinoa Salad (gluten-free, dairy-free)

This is easy to make and one of those dishes where you can follow my recipe exactly or add whatever vegetables your family likes.  Quick and easy.  To turn this side dish into a meal, simply add 12 ounces of flaked tuna or salmon, or cooked chicken.  If you want to add more fiber, you can add some sunflower or pumpkin seeds, or even some hemp hulls or chia seeds.  This recipe is also very easily reduced to make fewer servings.

Put in a 2 quart saucepan:

  • 1 cup plain or red quinoa
  • 2 cups water

Cover and cook on medium heat until water is absorbed, about 15 minutes.  Remove from heat and fluff with a fork before you put it in the fridge to cool.

To a 10-12 inch skillet heat:

  • 1 tablespoon olive oil

Add:

  • 1 small red onion chopped
  • 1 small zucchini sliced
  • 1 small summer or yellow squash sliced
  • 1-2 cloves of garlic depending on size
  • 1 small yellow, orange or red pepper chopped

Saute over medium heat until softened.  Put aside to cool.

Add to the pan:

  • 1/2 cup shredded carrot (I like to use the rainbow)
  • 1/2 cup diced jicama (or if you prefer apple)
  • 1/2 cup sliced snap or snow peas
  • 1/2 to 1 cup of cooked green peas
  • 1/2 cup cooked yellow or white corn

In a large mixing bowl, add the quinoa and all the vegetables.  Add 1/2 to 3/4 cup of your favorite vinaigrette and mix thoroughly.  Chill.  You may need to add more of the vinaigrette after you’ve chilled it since it may dry out as the quinoa absorbs more of the liquid.  I like to serve this on a bed of red leaf lettuce.  This recipe serves 8-10 as a side dish.