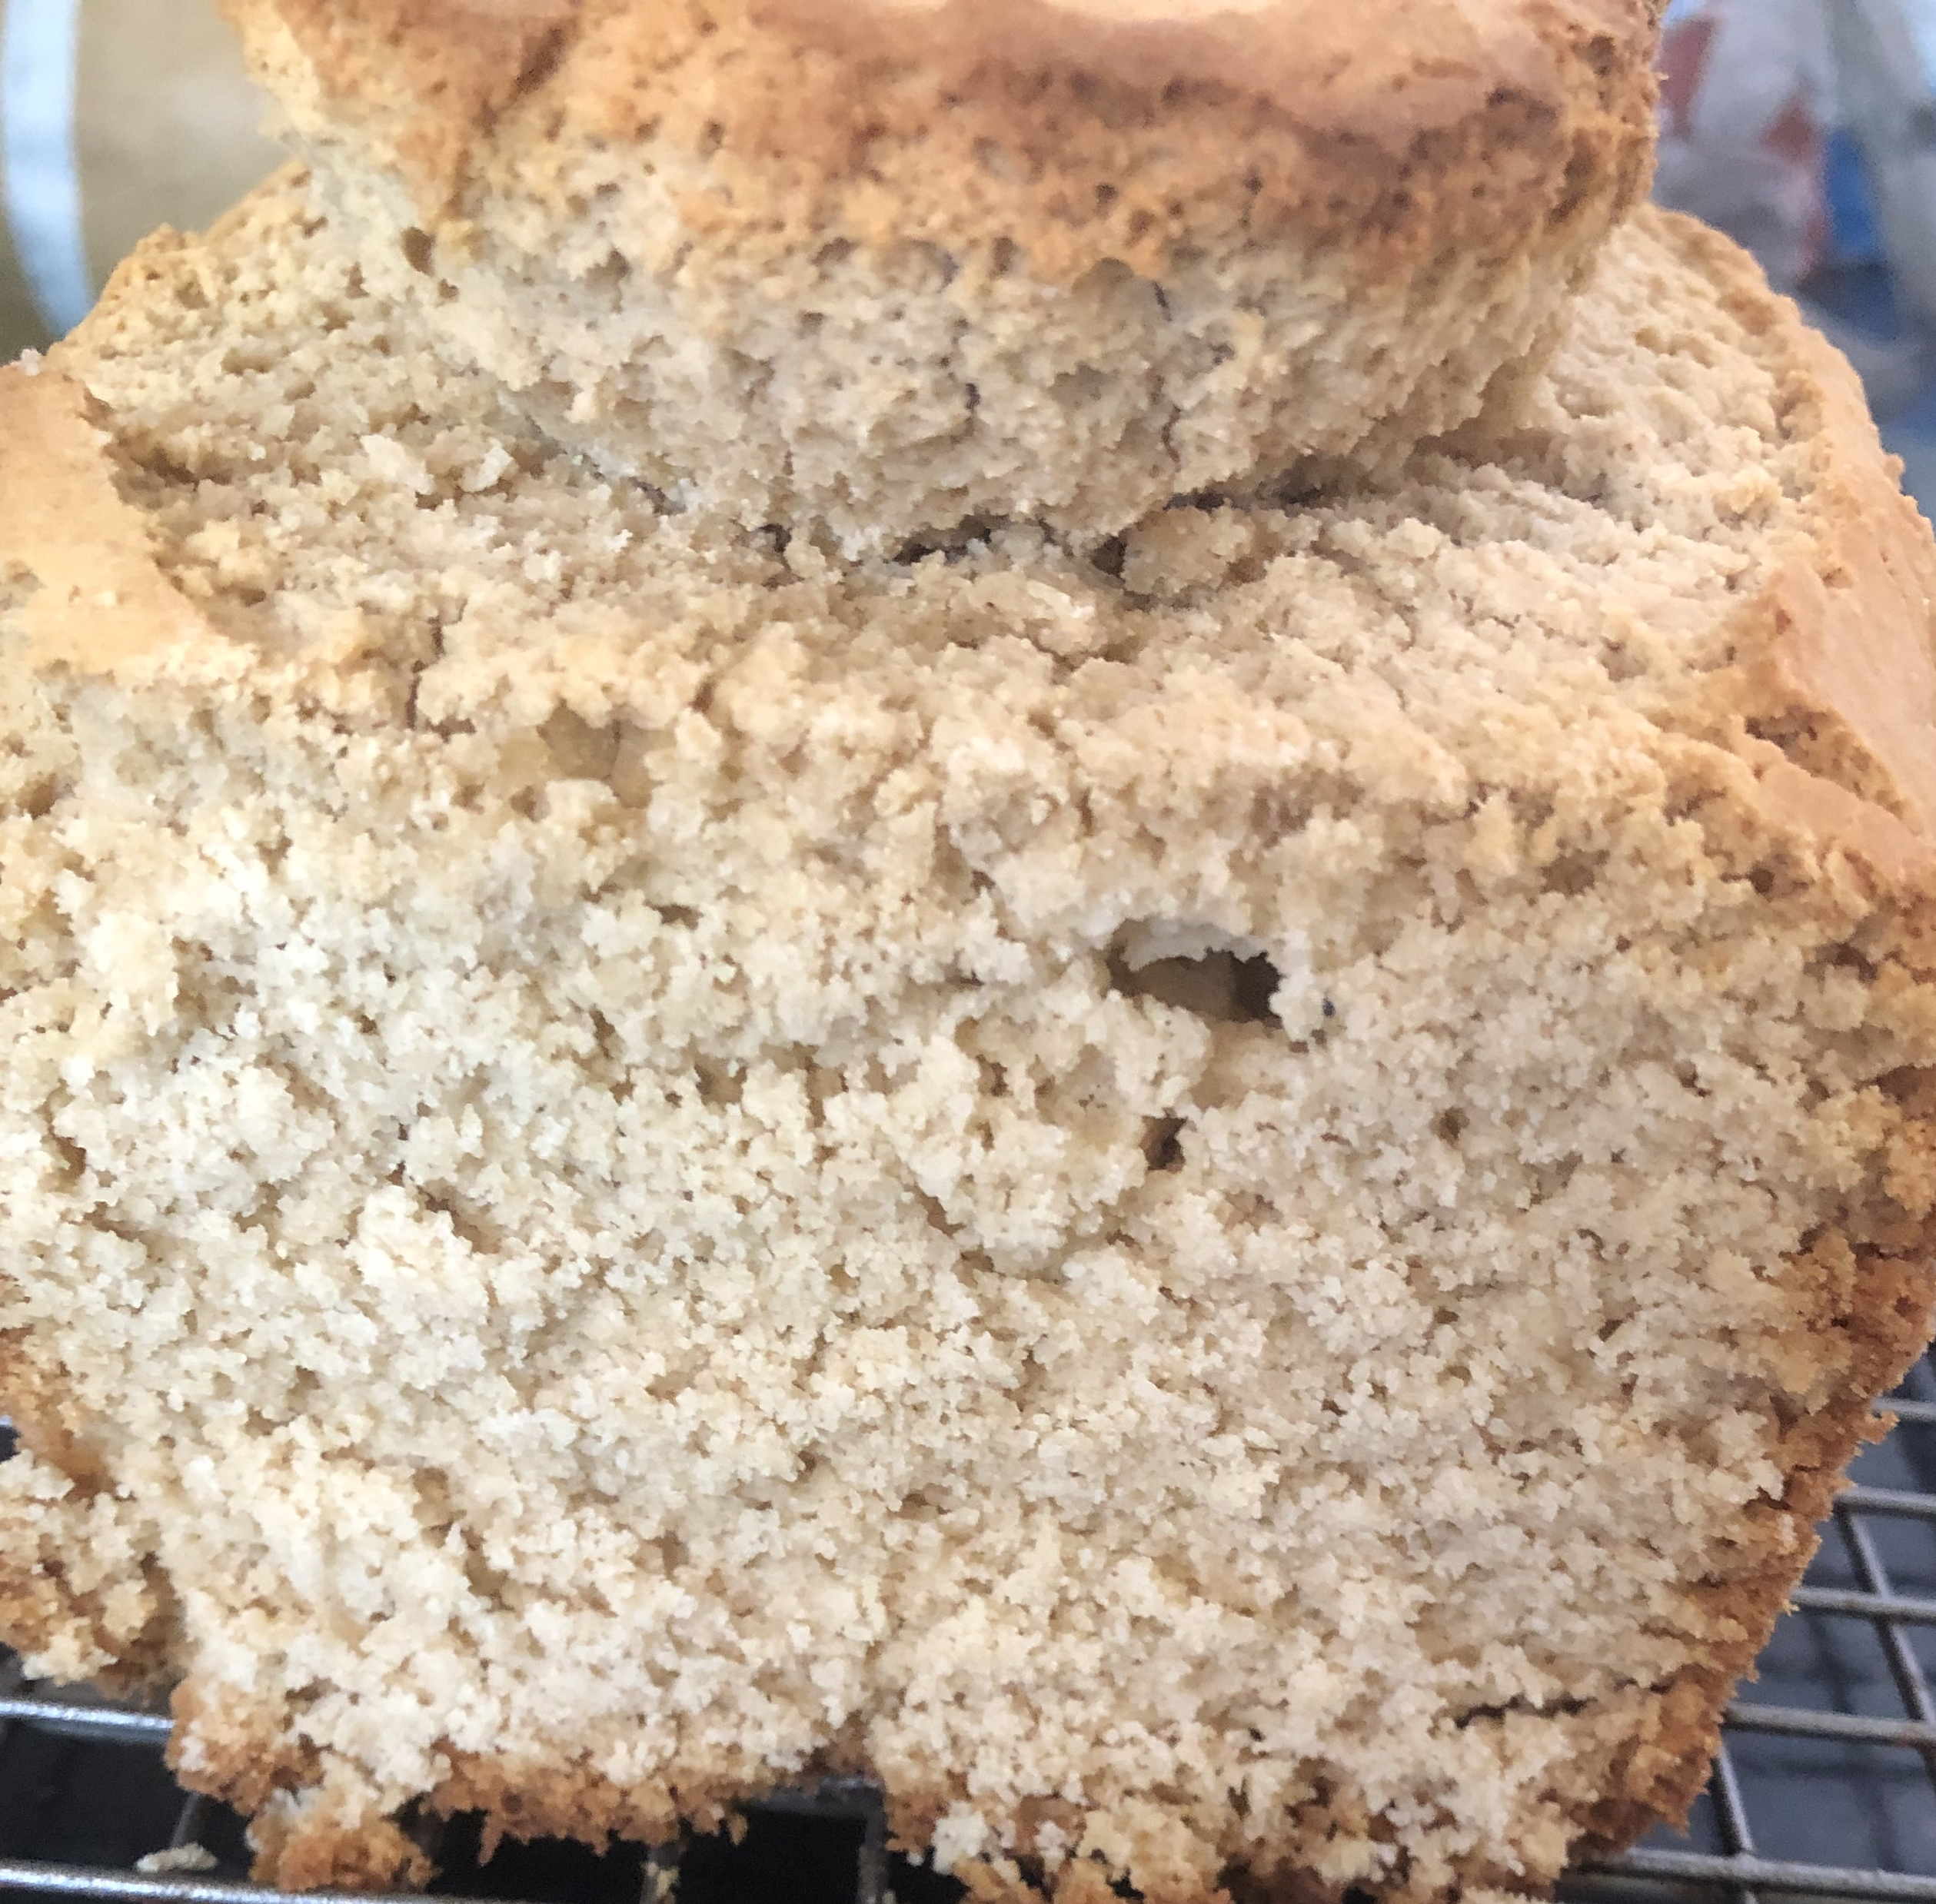
I’m always looking for different gluten free bread recipes. Most of the light, fluffy gluten free breads use eggs for that lightness. But it is possible to make gluten-free breads using baking powder instead of yeast and/or eggs.
Preheat oven to 400 degrees. Liberally grease an 8×5″ loaf pan (preferably glass for even cooking). In a medium bowl, combine:
2 cups brown rice flour
1 cup of all-purpose gluten free flour (oat, white rice, etc., would also work)
1 teaspoon baking powder
1 teaspoon baking soda
1 teaspoon guar gum or xanthan gum
1/4 teaspoon salt
Whisk or stir to combine and aerate. In a smaller bowl, combine:
2 cups non-dairy milk
3 tablespoons oil
1 tablespoon vinegar
1 tablespoon maple syrup
Whisk or stir before adding to the dry ingredients. Using a large spoon or hand mixer on low, mix until combined. Batter will be the consistency of a cake batter. Pour into the prepared pan. Place in the middle of the oven. Bake for 50-60 minutes until a toothpick comes out clean or with a few dry crumbs. Cool completely before removing from the pan.
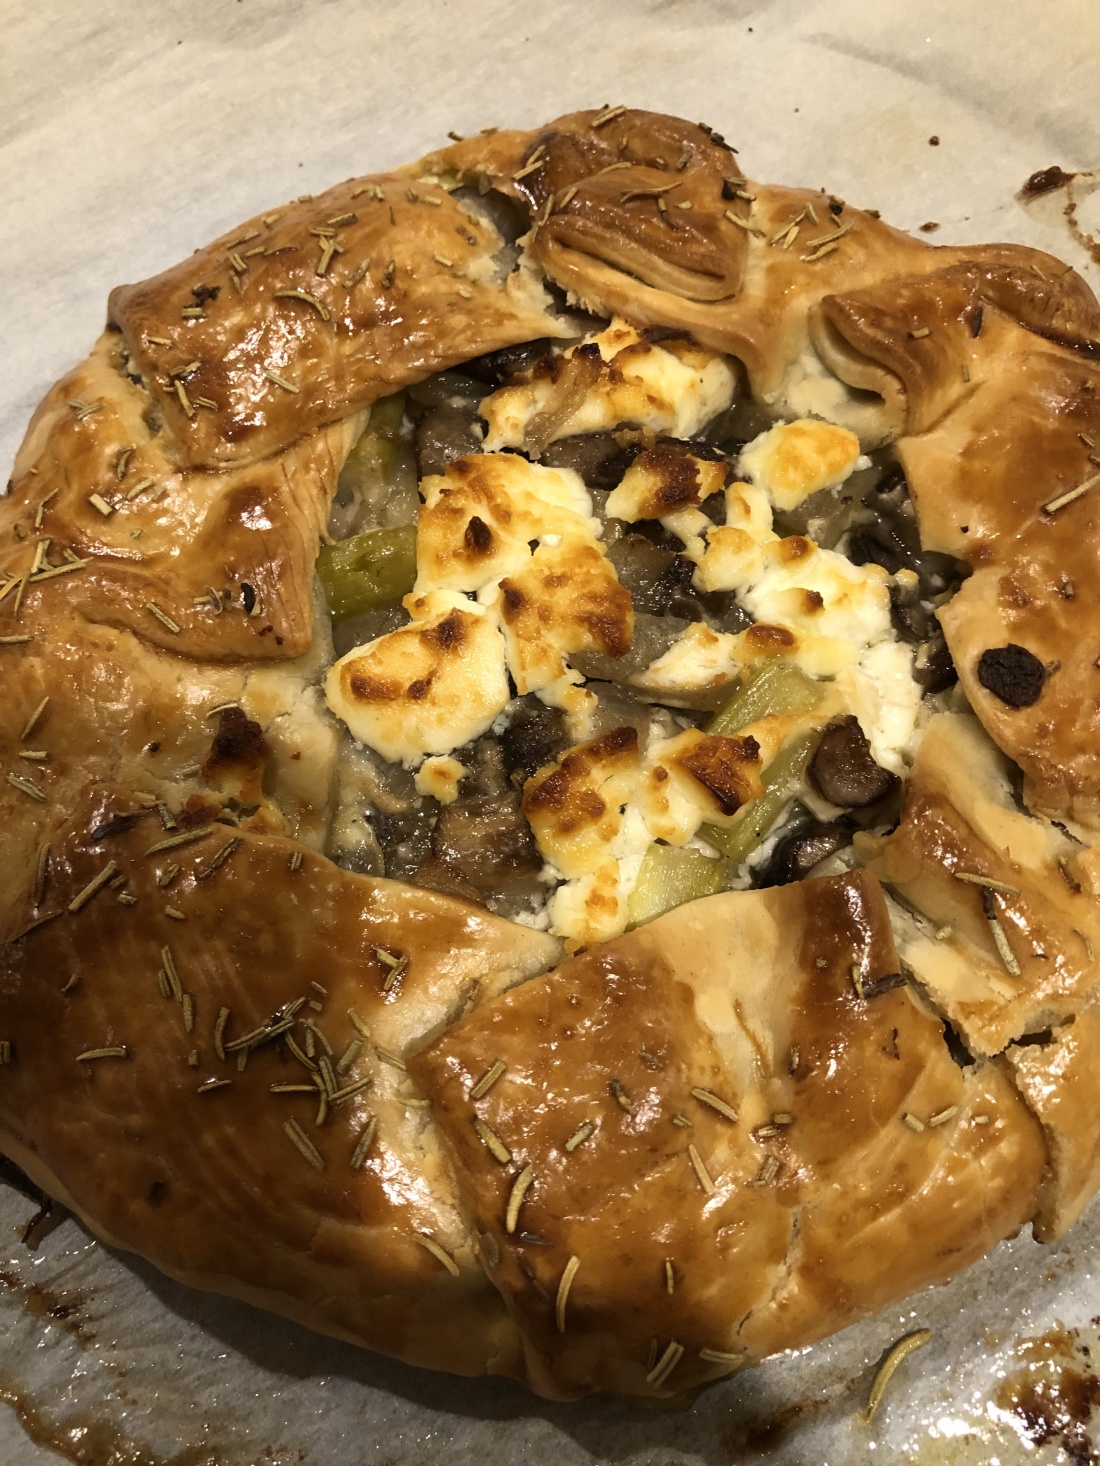
My grandson loves asparagus so when I saw a recipe for this in a magazine, I knew I had to make it for him. And it was a big hit! So big in fact that he ate the entire thing, except for a couple of pieces his parents managed to snitch. It’s easier to make than a pie and just as tasty. And the asparagus and mushrooms can easily be replaced by other veggies to meet your family’s tastes. I’m thinking about making another one using green beans and mushrooms or some of those great roasted veggies I prefer like parsnips and carrots.
First, prepare a gluten-free pie crust, enough for one 12-inch crust (I have several recipes on this site or use your favorite) and put it in the frig to chill.* Then, prepare the vegetables. You’ll need:
1 pound asparagus
1 medium sweet onion (or 2 stalks of leeks, white part only, or 4 shallots)
1/2 pound of baby bella or shitake mushrooms
4 ounces of soft vegan cheese
1 tablespoon fresh thyme
Salt and other herbs to your taste
To make the galette:
Wash and cut into 1-2″ pieces One pound of asparagus
Peel, cut in half, and then into slices, a medium sweet onion (or if you prefer, you could use shallots or leeks, washed and cut into 1/4″ slices)
Clean and slide a half-pound of baby bella or shitake mushrooms
Heat over medium heat, 2 tablespoons olive or avocado oil before adding the vegetables
Sprinkle with 1/2 teaspoon to 1 teaspoon (depending on taste) of salt and cook until veggies are softened, about 5 minutes
Preheat the oven to 400 degrees
Take the pie crust dough out of the frig and roll it out to a 12″ round (I did this on a piece of parchment paper already on a baking sheet (without sides) for easier assembly)
Crumble your favorite vegan soft cheese over the cooled vegetable mixture and add the fresh thyme
Spoon the mixture onto the pie crust to within 2″ of the edge (want to leave that 2″ to fold back up over the vegetable mixture)
Fold up the edges of the crust, pleating it as you go, leaving the middle of the galette open
Brush the folded crust with non-dairy milk (optional, or if you can have egg, you could use one beaten egg for this)
Sprinkle with more cheese to taste
Bake in pre-heated oven for 30-35 minutes or until golden brown
Let stand a few minutes before cutting
*I find the pre-formed gluten-free pie crust impossible to remove from its aluminum pie plate so I don’t recommend using those for this.
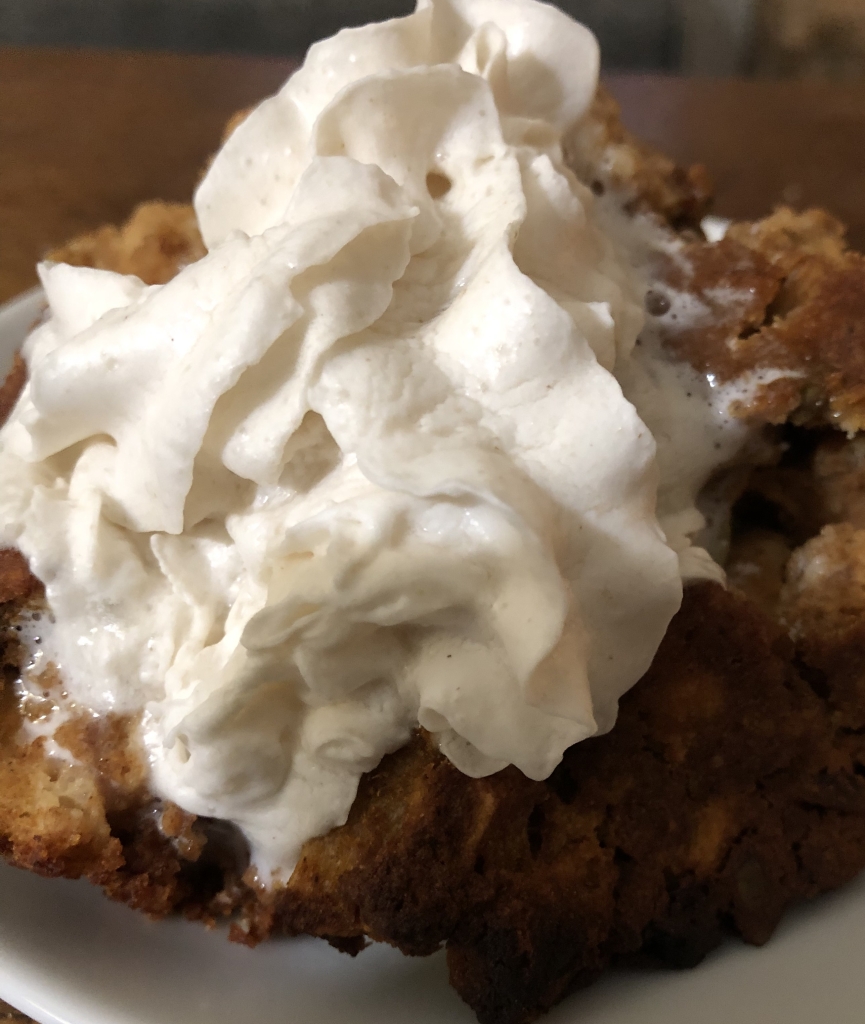
I remember my mother making chocolate bread pudding, my father’s favorite, when she had stale bread. That usually happened in the fall and winter months since bread pudding really is a heavy dessert that wouldn’t go well during warmer months. Yet this gluten-free bread pudding I found to be much lighter than what I remember. I haven’t had or made bread pudding in years although it’s come to my attention a lot in recent months watching bakers make a variety of bread puddings on the Food Network. And of course, there was a long stretch when bread just wasn’t a part of my diet since I wasn’t particularly fond of those bricks of rice bread that crumbled if you tried to eat them and weren’t really that tasty. But gluten-free breads have come a long way in the last several years. I hope you enjoy this as much as my family did! Feel free to change up whatever you need to for your family’s tastes. For example, if nuts are in your diet, chopped walnuts or pecans would work instead of the pumpkin seeds. And raisins or currants can be substituted for the dried cranberries. Serves 8-12 depending on serving size.
Preheat oven to 350 degrees. Grease the bottom and sides of a 9×15″ baking pan. In a large bowl whisk to combine:
1 cup date sugar (or coconut; syrups would work as well)
1 teaspoon ground cinnamon (or allspice)
1 teaspoon ground nutmeg
1 15ounce can pumpkin puree
1 tablespoon baking powder (because we’re not adding any eggs)
2 tablespoons arrowroot
1/4 teaspoon salt
1/3 cup pumpkin protein powder
Add:
3 cups non-dairy milk (anything except soy)
1 teaspoon vanilla extract
Whisk until smooth before adding:
6 cups diced stale bread (I used an entire 8 ounce loaf, 12 slices)
1/2 cup pumpkin seeds
1/2 cup dried cranberries
Stir to combine and refrigerate for at least 15 minutes. I let mine sit in the fridge for almost 2 hours before I got around to baking it. Spoon the mixture into the prepared pan and bake 50-60 minutes or until a toothpick inserted in the middle comes out clean. Let stand at least ten minutes before serving. Serve warm with your family’s favorite “nice” cream or non-dairy creamer if desired. Refrigerate any leftovers.
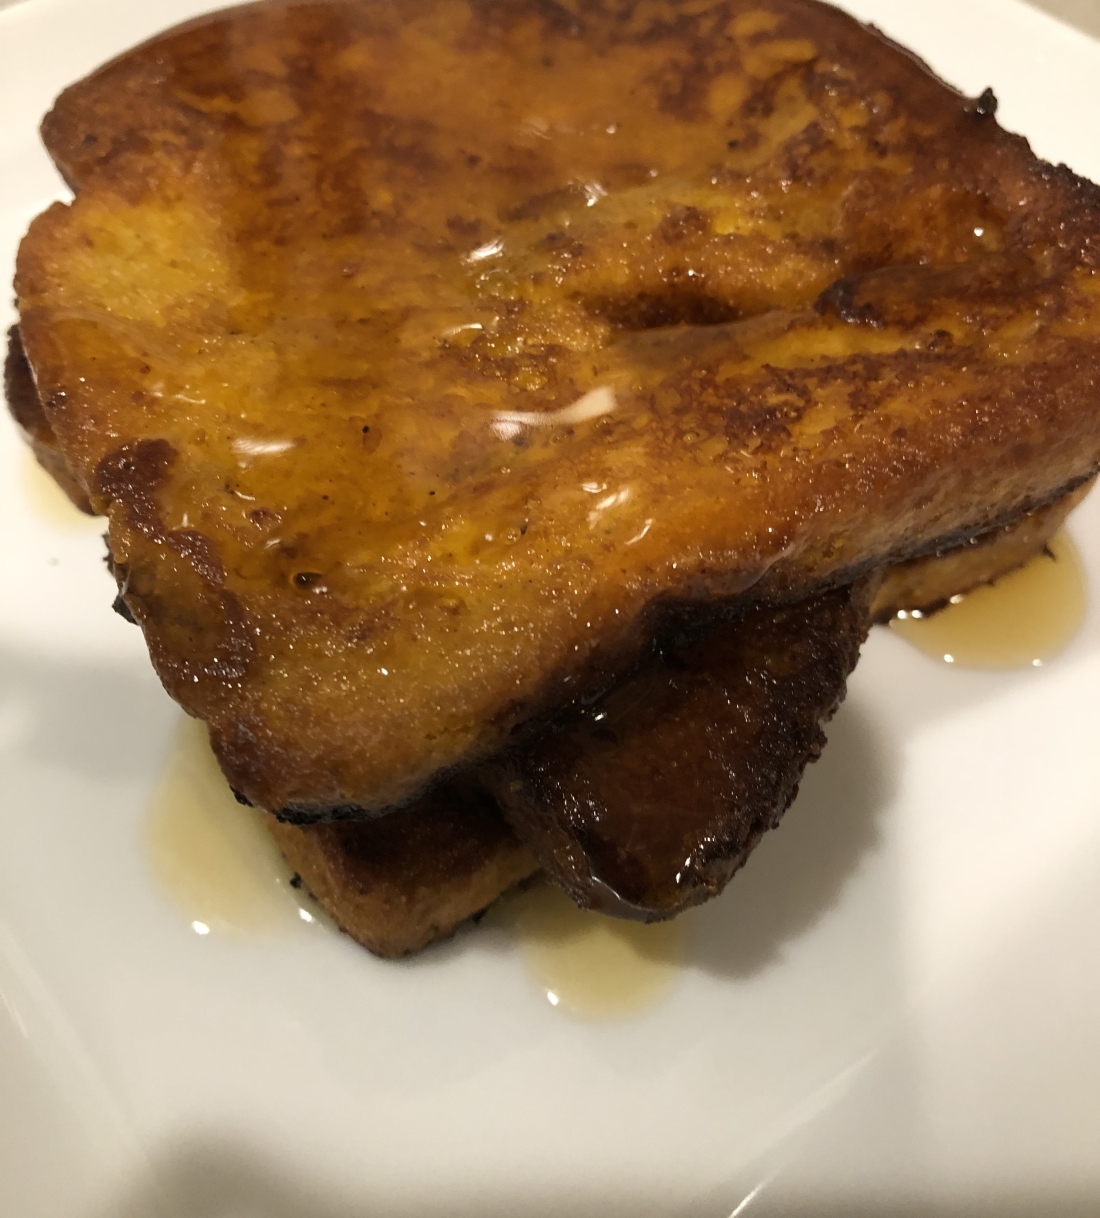
So good it doesn’t need maple syrup, not that you shouldn’t feel free to top this toast with a little. There is maple syrup in the recipe, so it already has some sweetness. I found putting syrup on the toast masked the flavor of the pumpkin and spices so if you must, a little dab’ll do you as the old saying goes. Of course, you can substitute sweet potato or squash puree for the pumpkin and the spices can also be altered depending on your family’s tastes.
In a one-inch-deep bowl combine:
1/4 cup pumpkin puree
1 cup non-dairy milk
1 tablespoon arrowroot
1 1/2 tablespoons pumpkin protein
2 tablespoons maple syrup
1/2 teaspoon nutmeg
1 teaspoon cinnamon (or allspice)
1/2 teaspoon vanilla extract
pinch of salt
Whisk together until well combined. Over medium high heat, in a large skillet heat:
2 tablespoons olive oil
Using a total of 8 slices of gluten-free bread, soak slices in the mixture (I found pressing down on the second side helps it absorb the pumpkin mixture). When the oil is hot, add the bread. Continue dipping slices until the skillet is full. Brown on the first side for about 3-4 minutes before turning and cooking on the second side for about the same time or until brown and crispy. You may want to turn them several times to get all sides browned and crispy. Add more slices as you remove those that are cooked. The last slice may need a little help absorbing the liquid since most of it will already be used. I took a spoon and scrapped the last remaining mixture onto the second side. Serve immediately. Makes 4 servings of 2 slices each.
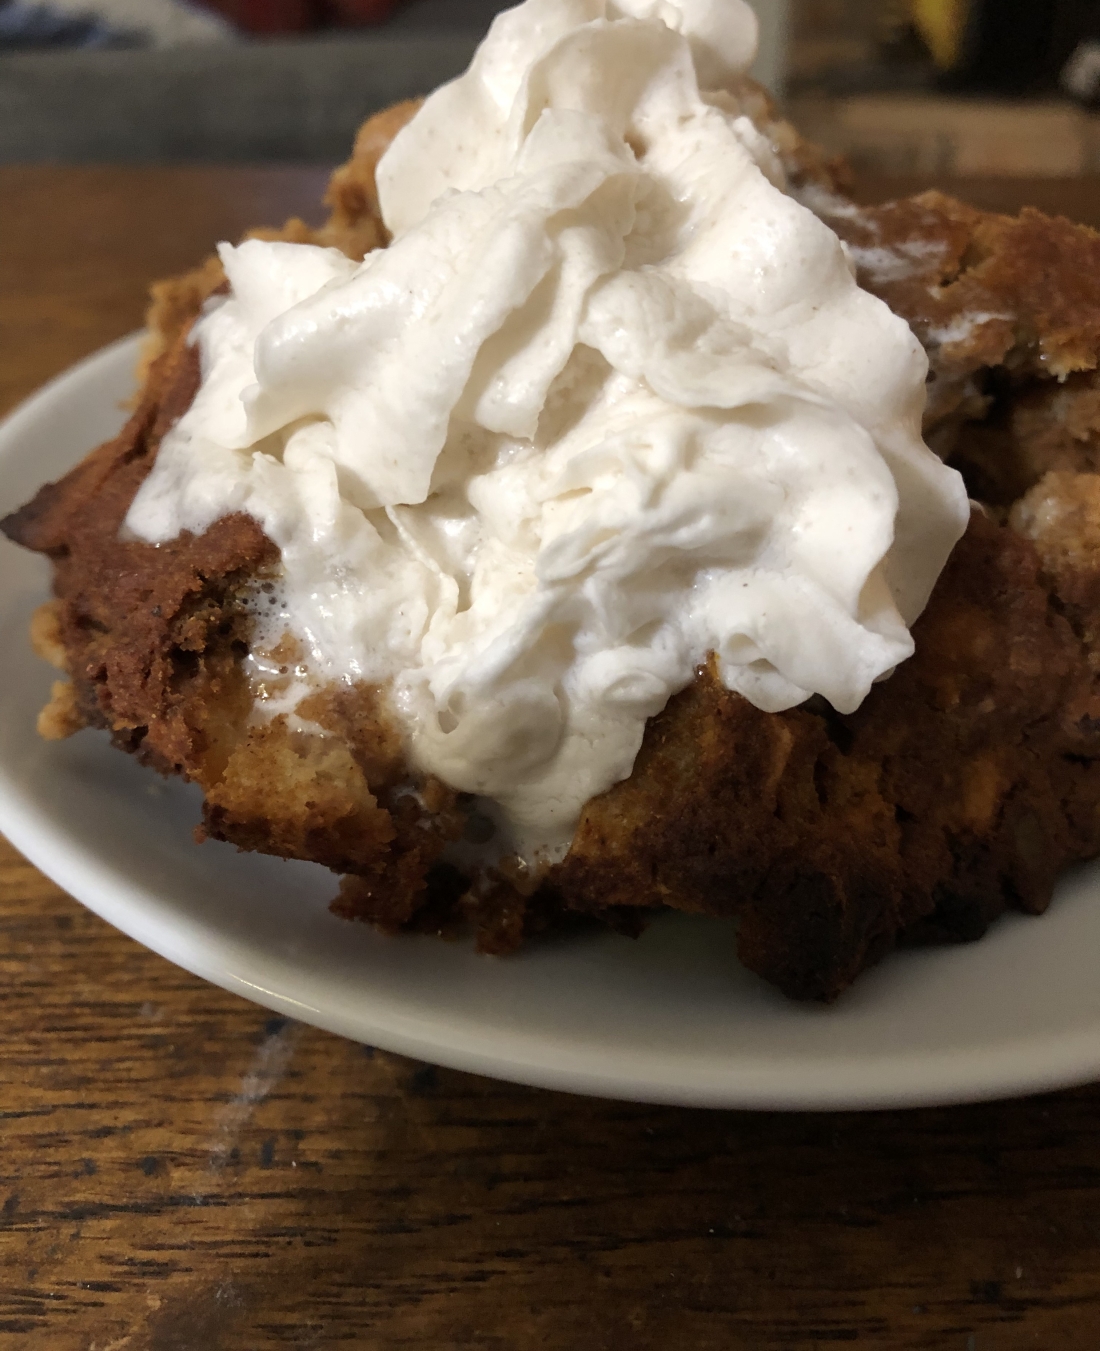
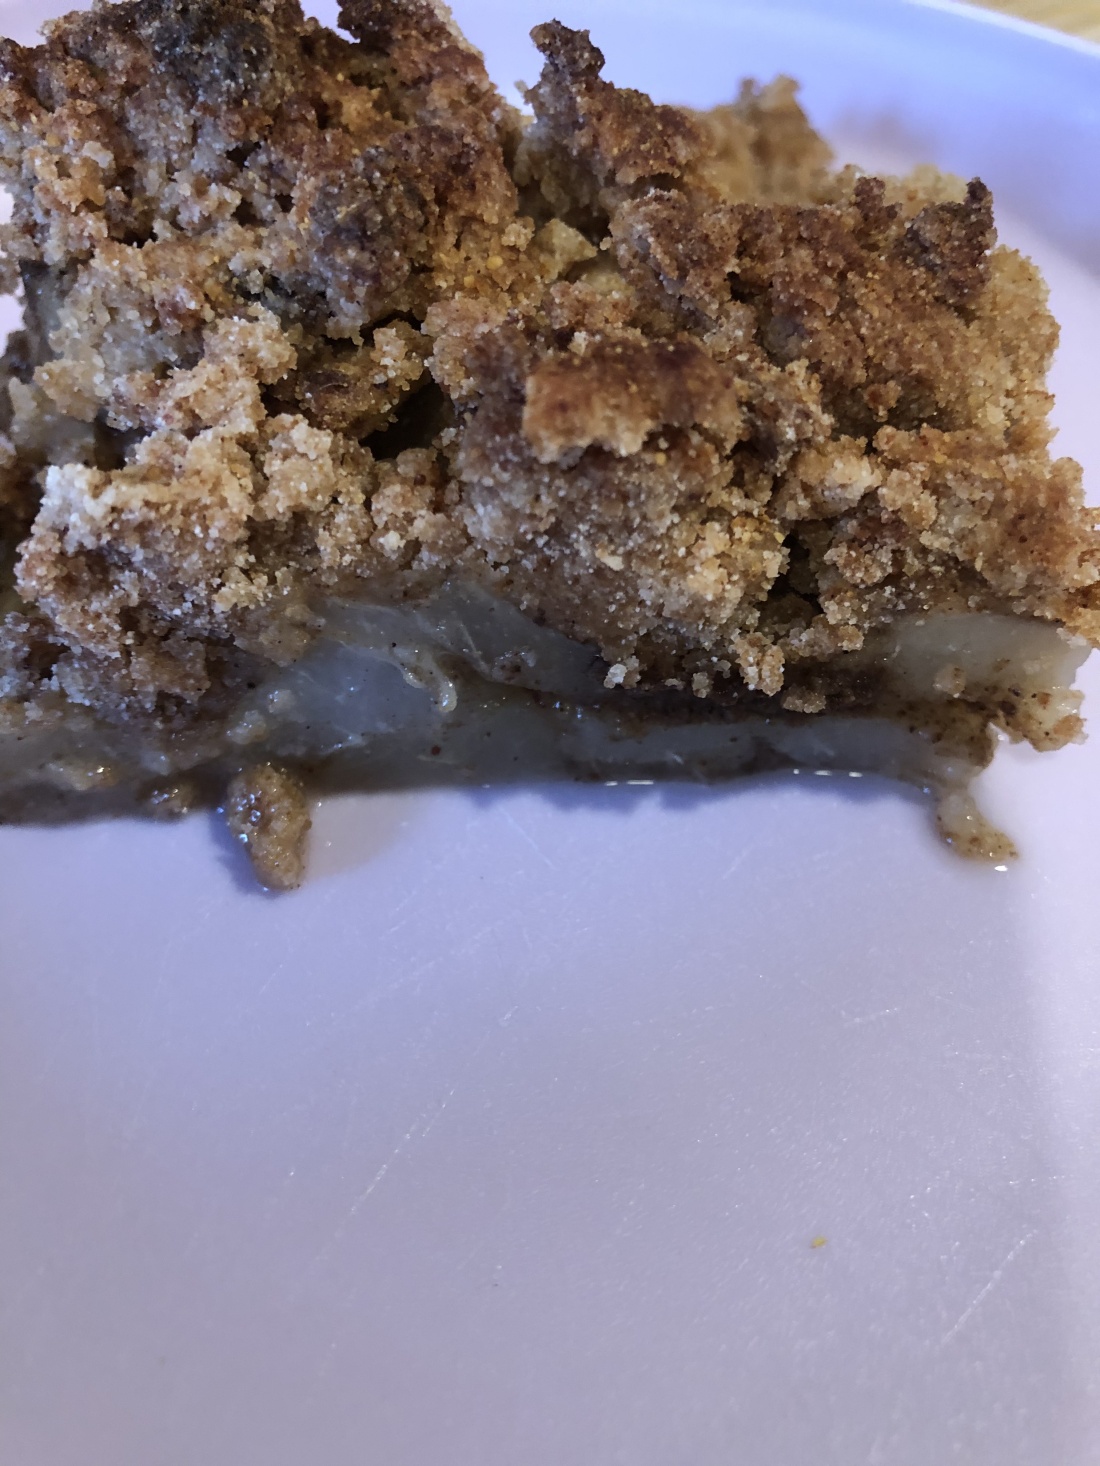
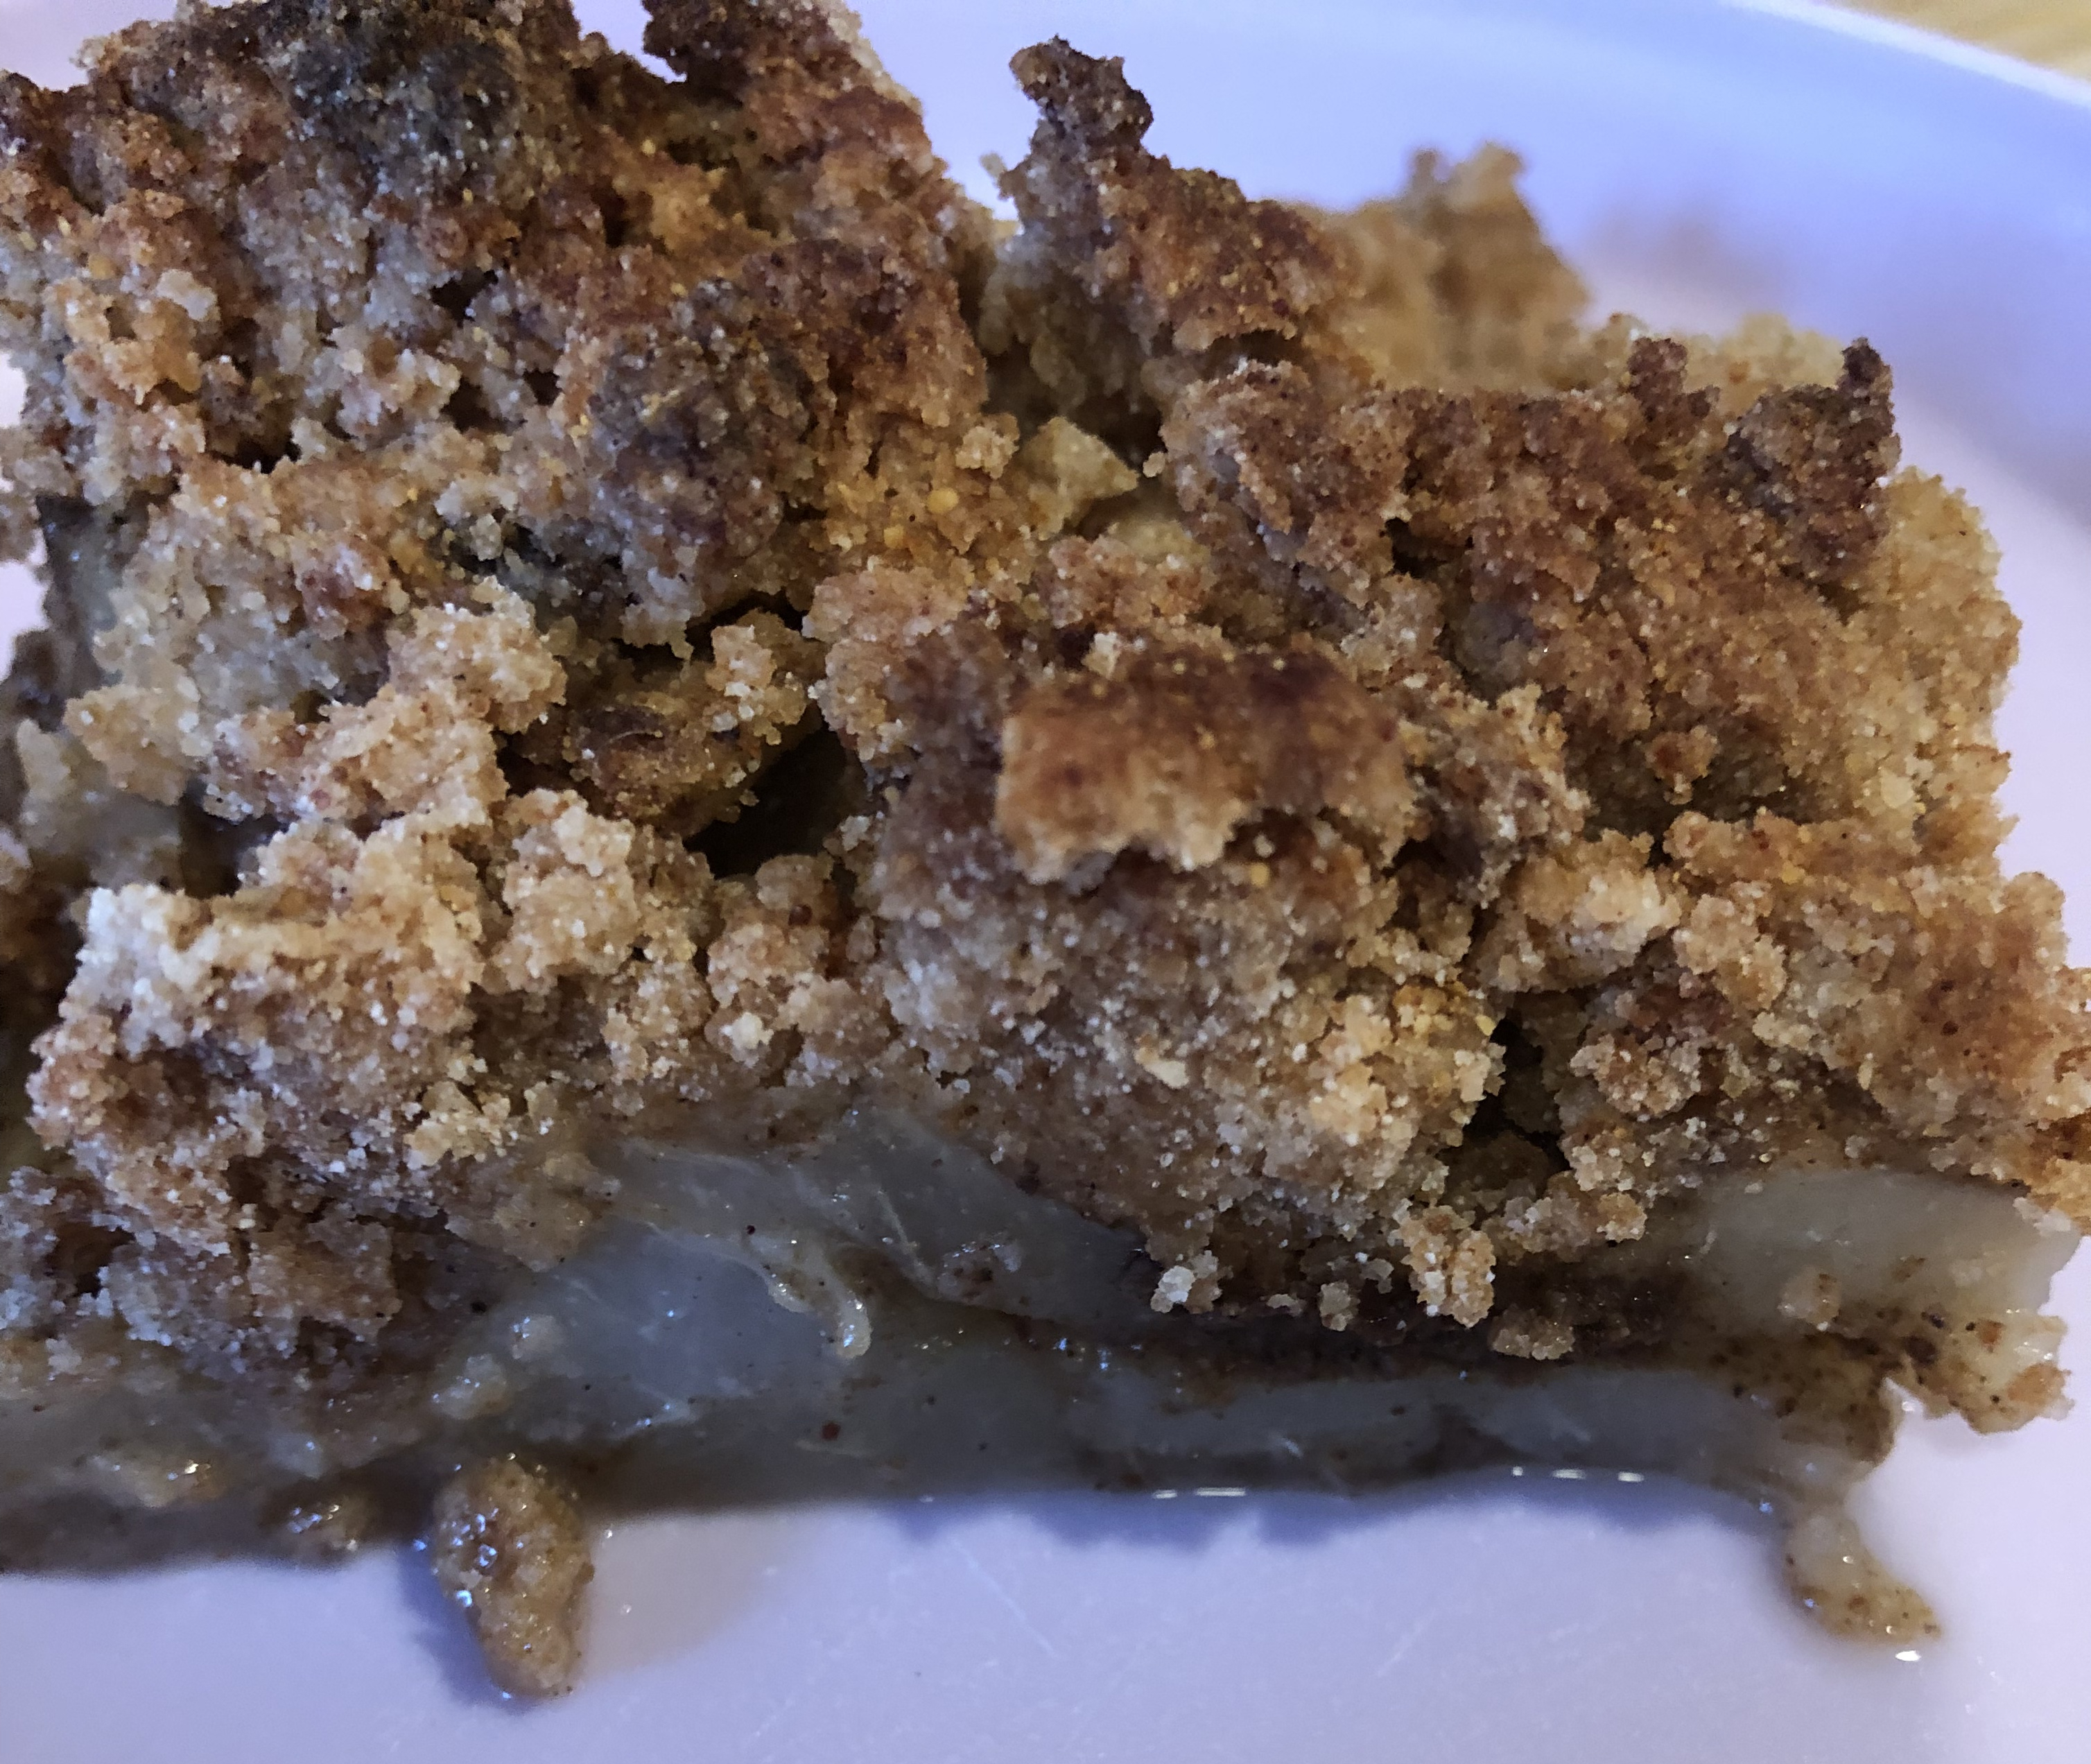
I was looking on the internet the other day for alternatives to pumpkin pie for Thanksgiving and found this using apples. I think it would be excellent with most fruits. It’s more like what we’d call in the United States a crumble. Easy to make and tasty, the most difficult part is peeling and cutting up the fruit. I used pears but apples, peaches, plums, figs, raspberries or blackberries, would work very well. And any combination of spices that your family likes would work as well as the three I used, cardamom, allspice, or ginger for example.
First, preheat oven to 350 degrees then peel and cut up:
about 2 pounds of fruit (4 cups, I used four large pears)
Try to make the fruit all the same size so it cooks evenly. Toss the fruit with a mixture of:
1 tablespoon date sugar (or any granulated sugar you like)
1 teaspoon cinnamon
1 teaspoon nutmeg
1/4 teaspoon cloves
Lightly grease a 9″ pie plate then pour in the fruit. In the same bowl as you had the fruit, mix together:
3/4 cup melted vegan butter or avocado oil
1/2 cup granulated sugar (any kind)
1/4 cup brown sugar (again I used date)
1 tablespoon rice vinegar
1 teaspoon vanilla
Whisk to combine until the sugar is dissolved. If you can use eggs, feel free to substitute 1 egg for the vinegar (be sure to cool the vegan butter before adding the egg). Once combined, add the following ingredients which you’ve sifted together:
1 cup all-purpose, gluten-free flour
2 teaspoons baking powder (if you used an egg reduce this to 1/2 teaspoon)
1/4 teaspoon salt
Stir to mix thoroughly, mixture will be thick and almost crumbly if you didn’t use the egg. Spread over the fruit and then sprinkle with another teaspoon of granulated sugar. Bake for 45 to 50 minutes until crust is fully cooked. Let cool before serving for easy cutting. Can be topped with any non-dairy cream or whip.
I apologize for not having a photograph to go with this post. These got eaten up so quickly after I made them that I didn’t manage to get a photo. Nonetheless, this is worth the read. One of the quickest and easiest ways to cook boneless chicken thighs (you could also use boneless chicken breasts if you wanted but they might take a little longer if cooked whole). Prep and cook time is about twenty minutes. And it’s very versatile – substitute the listed herbs for a different flavor or serve it with different sides (I made mine with some Thai brown rice noodles that we all love, gluten-free of course). The sauce that cooks with the chicken coated the noodles for a delightful bite. Serves 4.
First, clean and dry:
1 1/2 to 2 pounds boneless skinless chicken thighs (about 6-8 depending on size)
Coat each thigh evenly on both sides. Heat a large skillet with 2 tablespoons olive oil over medium high heat. Add the chicken thighs, spread flat and cook for 5 minutes until golden and crispy. Flip over to other side and cook for 2-3 minutes. Remove the chicken to a plate (take the skillet off the heat while you do this so the oil doesn’t burn). Add:
2 tablespoons garlic puree or minced garlic
Move pan back to the heat, reduce to medium and sauté until you can smell it, about 30-45 seconds. This is a good time to put a large pot of water on to boil if you plan on serving the thighs with a type of pasta. Add to the pan:
1 cup chicken stock
8 ounces of sliced mushrooms
1/2 cup of frozen peas
half of a medium onion, diced
3 stocks of celery, diced
Stir the contents of the pan, scraping up any browned bits from the bottom with a wooden spoon. Bring the stock and vegetables to a boil before adding the chicken back into the pan being sure to add any liquid that’s on the plate along with the chicken. Let mixture simmer and reduce for about five minutes until it’s reduced to about half. Add:
1/2 cup non-dairy milk (or if you can have it, 1/2 cup white wine)*
Continue simmering until chicken is cooked which should only take a couple more minutes. Remove from the heat and taste for seasoning, add more salt and pepper if needed. Remove chicken to a plate and toss whatever pasta (or rice) into the sauce, top with the cooked chicken thighs and serve immediately. Sit back and watch it disappear!
*If you add wine instead of the milk, add with the stock and vegetables.
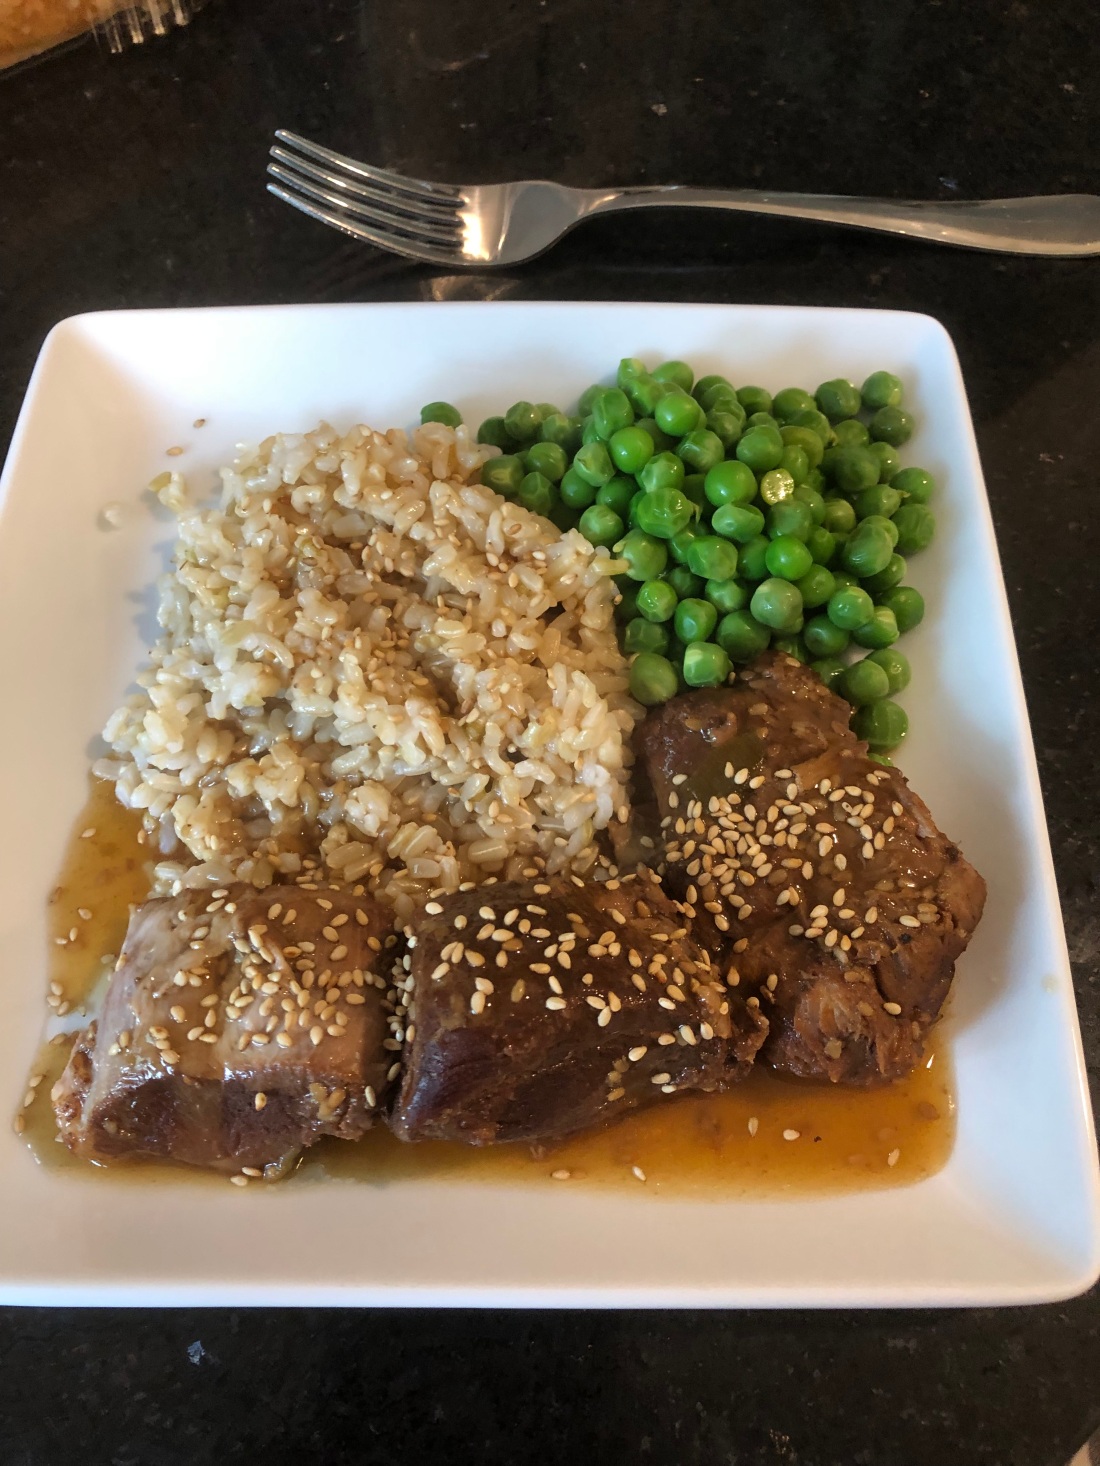
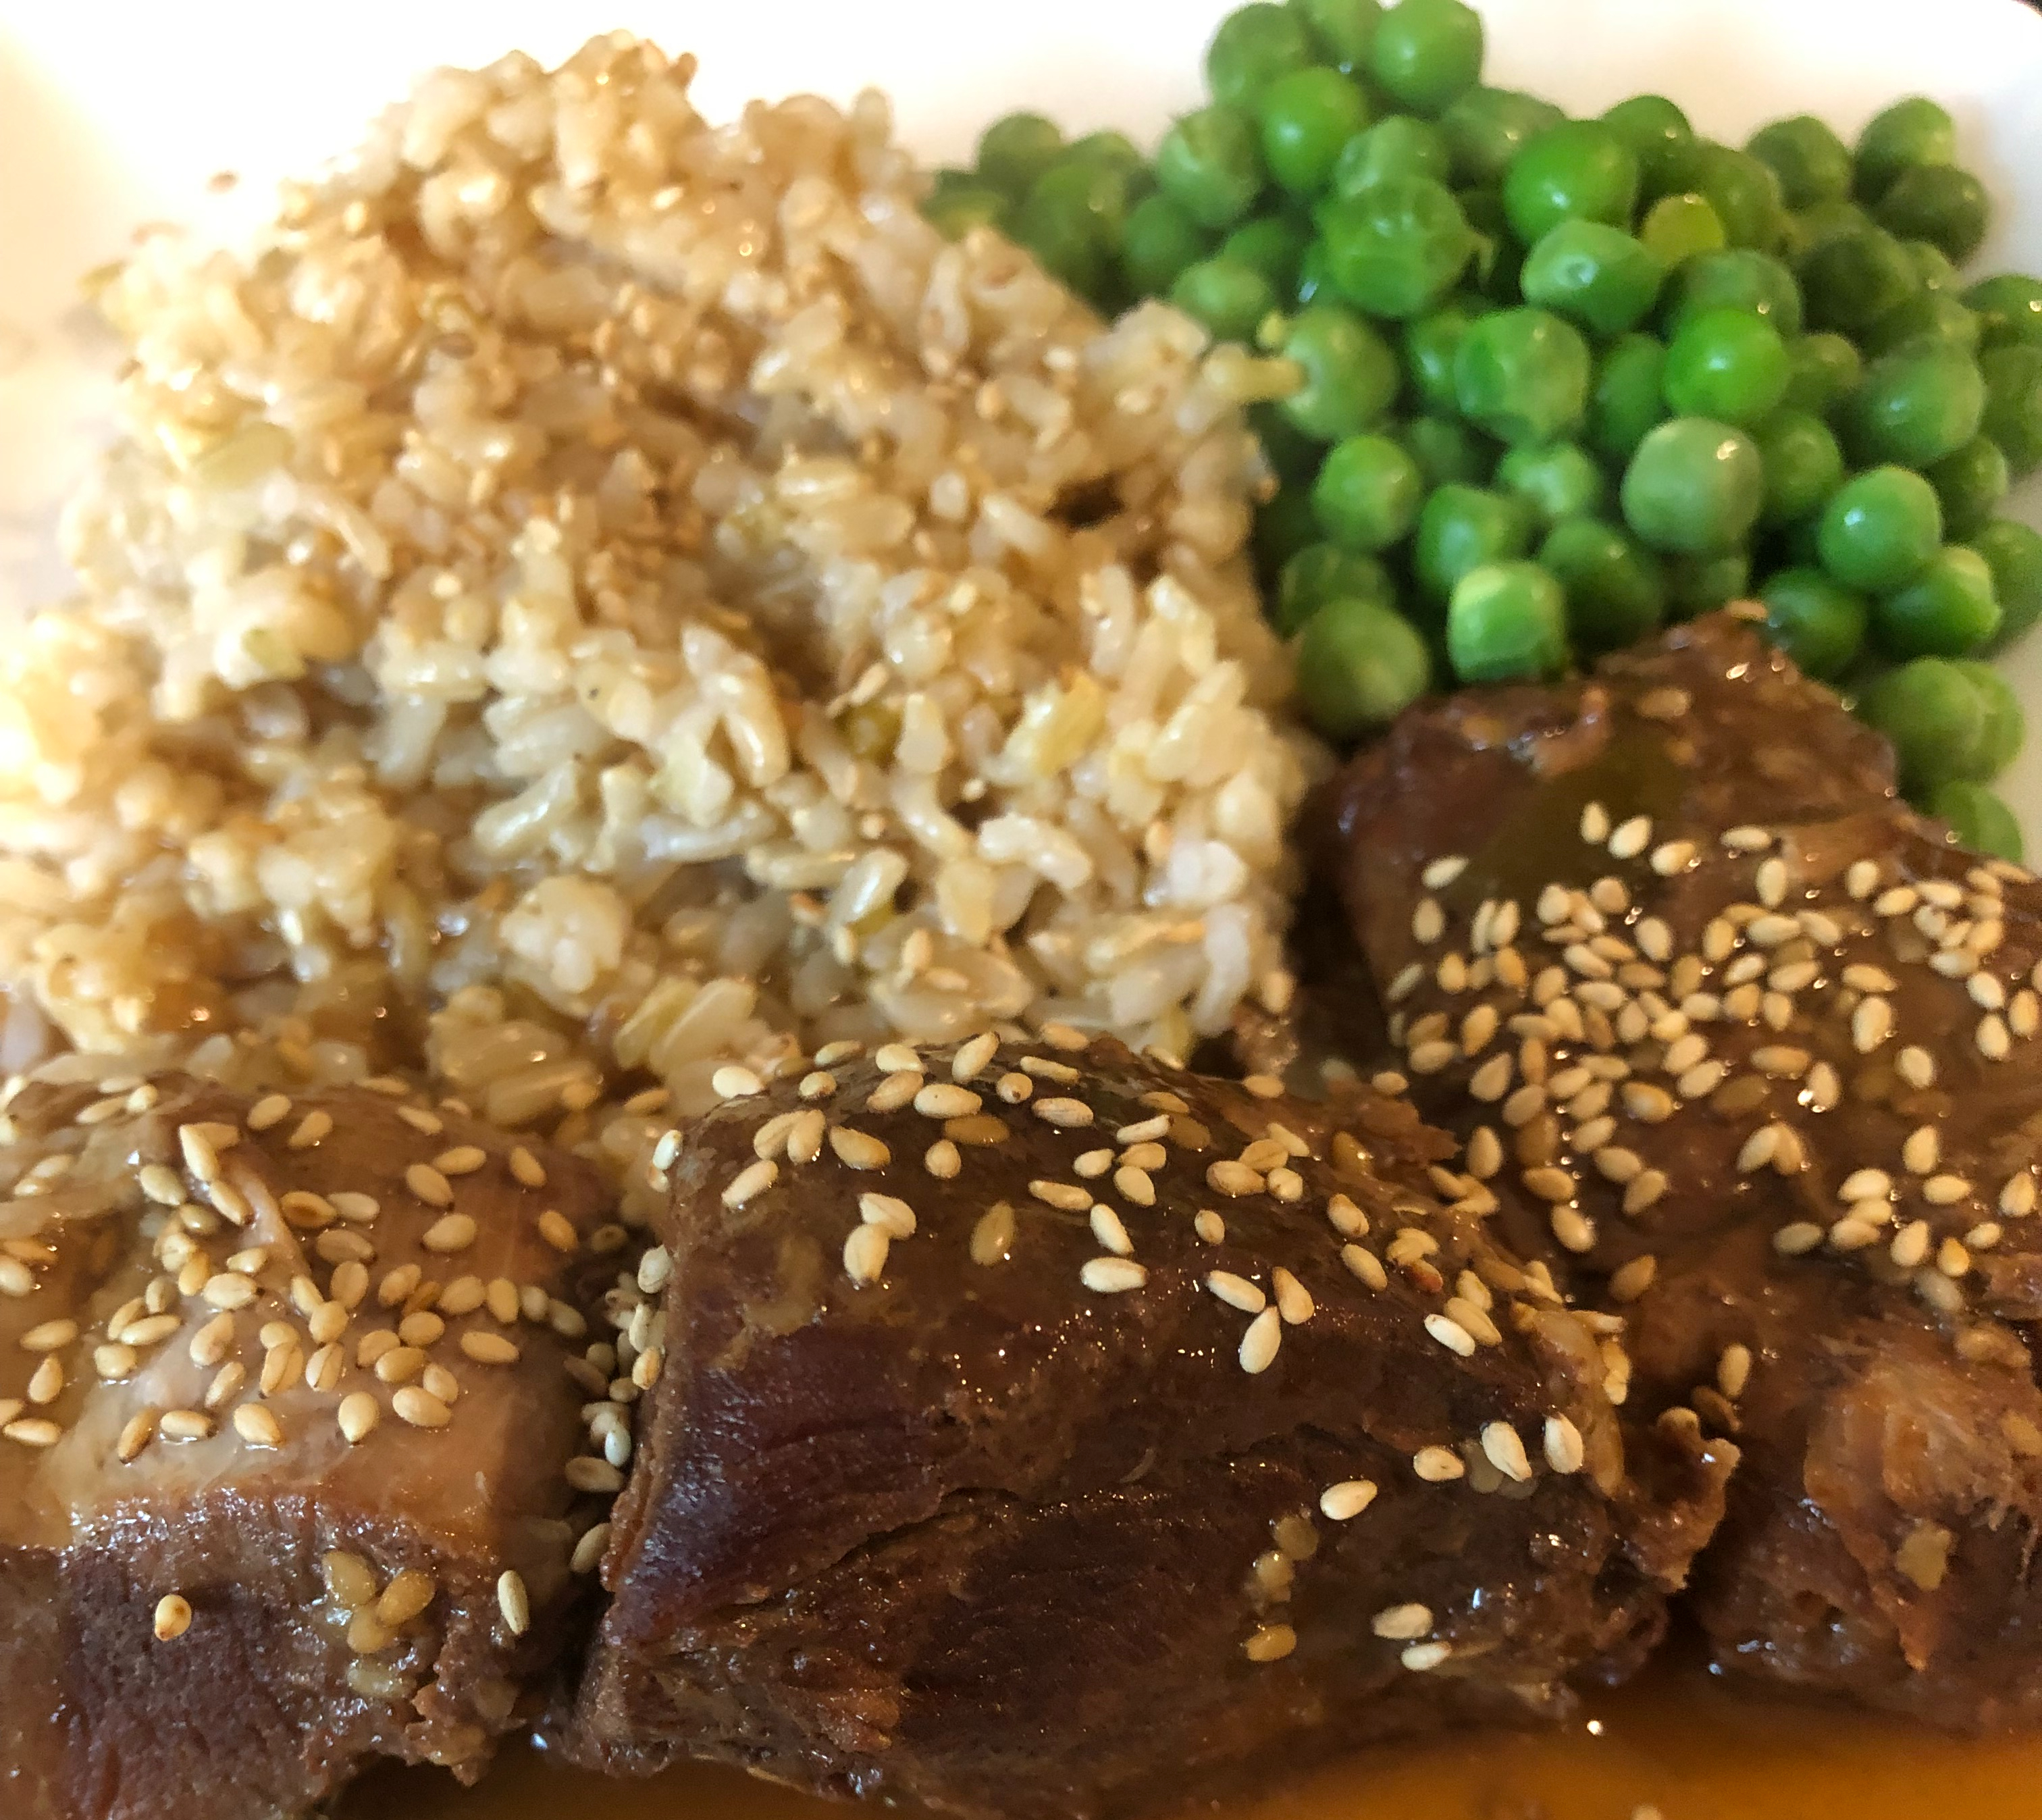
My son and I share a love for pork. Mine definitely comes from growing up on a farm where my father raised at least four pigs every year. I have fond memories of driving about twenty miles south to a butchery outside of Concord where my parents sent the hams for smoking every year. And a local grocer in Tilton would turn much of the meat that wasn’t usable as roasts or chops (or ribs) into ground pork and especially, my father’s favorite, pork sausage. I’ve tried several recipes for pulled pork but they turn out so dry and stringy. Here’s one that’s quite the opposite probably because it’s marinated overnight. Good umami flavor!
Combine in a bowl:
2 1/2 cups mushroom stock (if you can use soy, use 2 cups water and 1/2 cup soy sauce)
1/4 cup toasted sesame seeds
1/4 cup unsulfured molasses (or date syrup)
1/4 cup white or rice vinegar
2 teaspoons garlic powder
1/4 teaspoon paprika
Whisk to combine and then pour half the marinade into a large gallon food storage bag. Pour the other half into a storage container and refrigerate. Then add to the bag:
4 pounds of pork – if using a boneless roast, cut in half to make two thinner pieces and then cut each half in half; if using a bone in roast, slice into thinner pieces leaving the bone area intact
Make sure all the meat is covered by the marinade. I put the bag into a casserole dish in case of leakage and placed it in the refrigerator. Marinate overnight (I actually left mine in the fridge for two days).
When ready, drain the marinade from the bag and discard. Put the roast into an instant pot, add the reserved marinade, cover and cook for about 35 to 40 minutes. (Of course, if you prefer you can use a slow cooker on high for one hour and then on low for approximately 8 hours.)
When done, remove the meat to a serving dish. Shred, if you like, using two forks. Pour the liquid from the cooker into a fat separator and then pour the juices into a small saucepan. Combine:
2-3 tablespoons arrowroot depending on how much liquid is in the saucepan
1/4 cup water
Whisk to dissolve the arrowroot before adding the mixture to the juices in the saucepan. Bring the sauce to a boil whisking constantly until it thickens, about two minutes. Garnish the roast with:
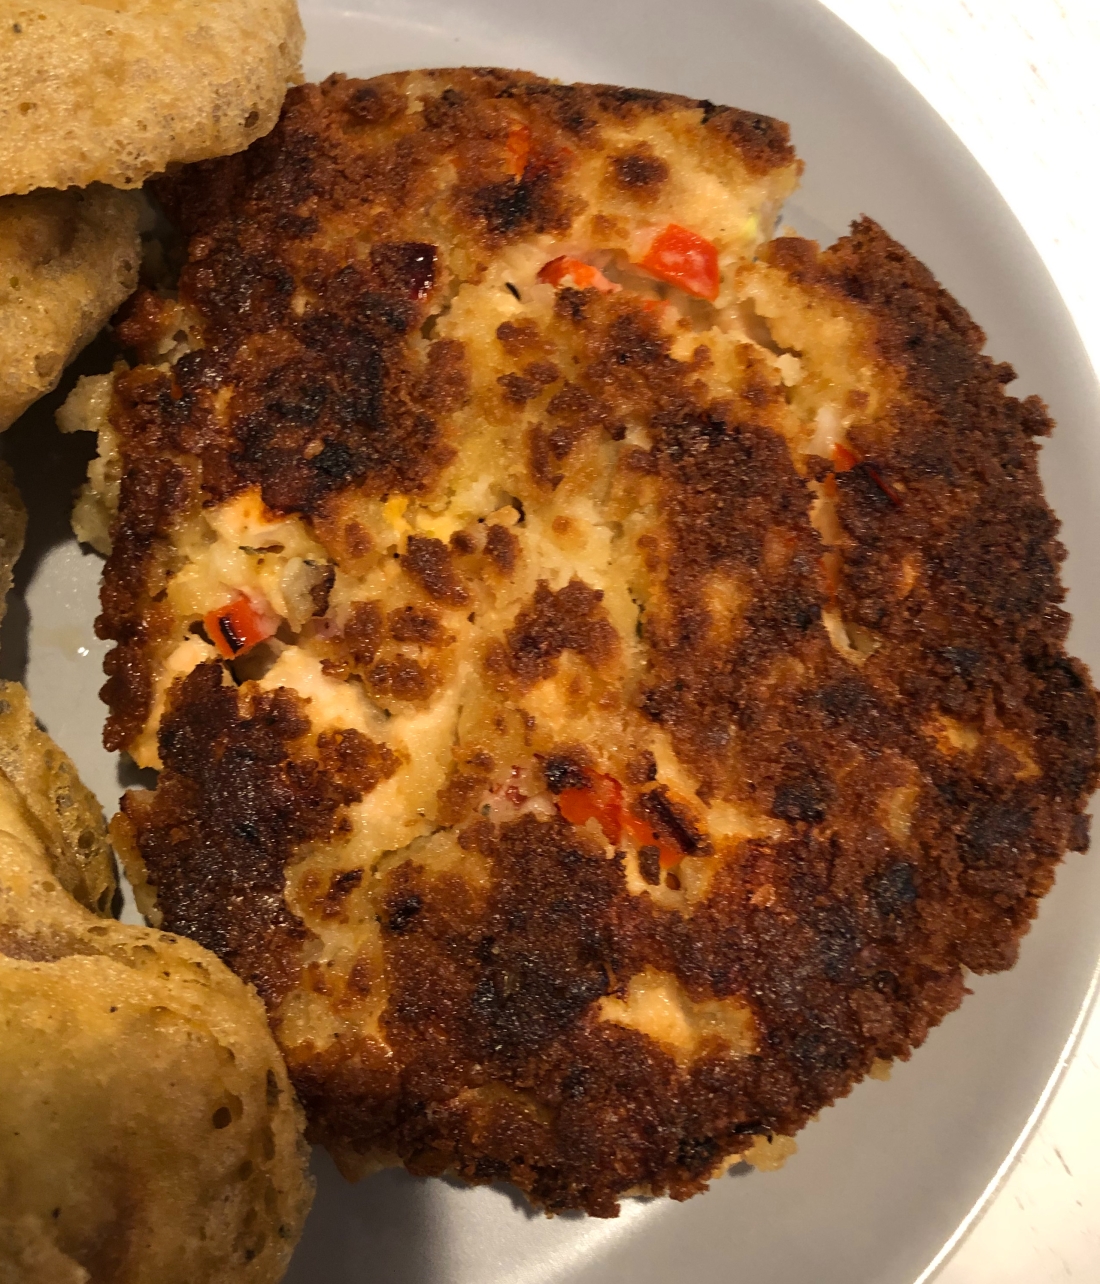
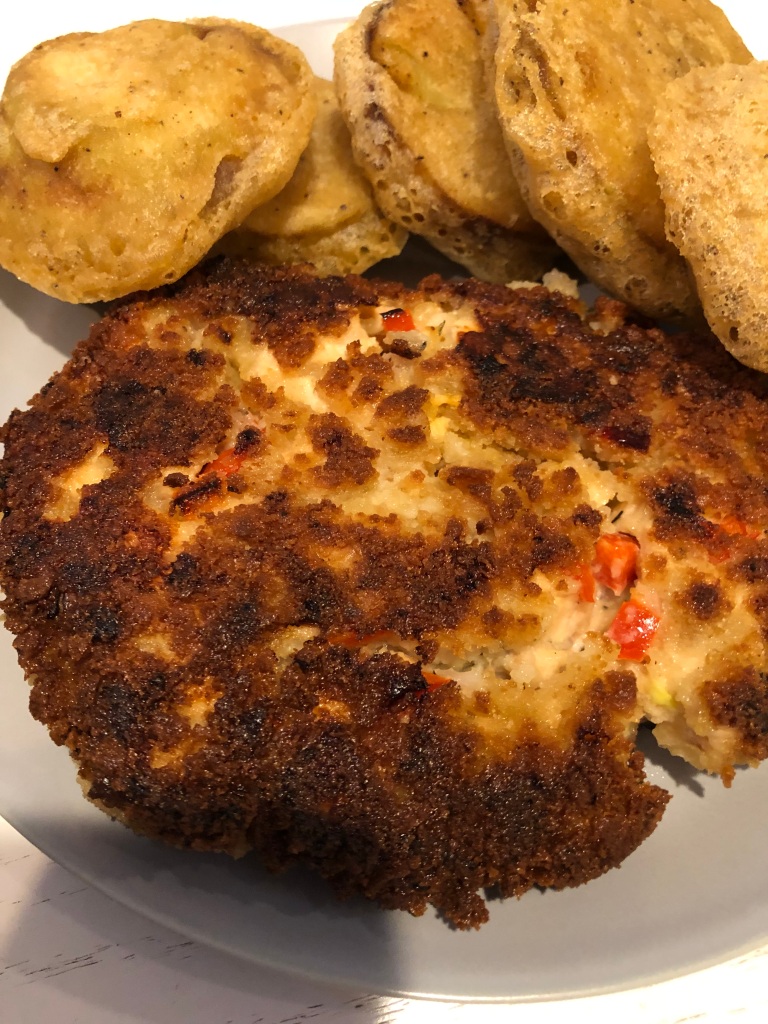
Not my favorite fish by a long shot but my grandson loves salmon. So I thought I’d give these a try and to my amazement and his delight, they turned out delicious. Quite easy to make as well but it does take some planning ahead since the mixture has to sit for several hours before the patties are formed. This allows the bread crumbs to absorb some of the liquid so that the patties will hold their shape. It could be done the night before so that the next day the patties can be formed and cooked.
First, in a small skillet heat over medium heat:
1 tablespoon olive oil
When hot, add:
1/4 cup sweet onion, minced
2 tablespoons minced red pepper
2 tablespoons minced celery
1/4 teaspoon salt
1/8 teaspoon ground black pepper
Cook mixture about 5 minutes or until onion is translucent. Next mix together in a medium bowl:
1 1/4 pounds fresh salmon, roughly minced
1/4 cup vegan mayonnaise
1/4 cup gluten-free bread crumbs, unseasoned
1 teaspoon minced garlic
1 teaspoon mustard
1/8 teaspoon paprika
1/8 teaspoon Old Bay seasoning
1/4 teaspoon salt
1/8 teaspoon ground black pepper
Mix thoroughly then cover bowl and refrigerate for at least two hours (but it can sit overnight). Then form the salmon mixture into four patties about 1 inch thick. In a plate with an edge (like a pie plate) mix together:
1/4 cup gluten-free bread crumbs
1/4 teaspoon salt
1/8 teaspoon ground black pepper
1/8 teaspoon garlic granules
1/8 paprika
Coat the salmon patties with the breadcrumb mixture. Heat a large skillet that will hold all four patties. Add:
1 tablespoon olive oil
4 salmon patties
Cook on each side until golden brown and cooked through (the patties will not give when touched) on both sides, about 4-5 minutes per side. Serve with lemon slices or a tartar sauce.
Before I get to the recipe, I want to apologize to all my followers for the lack of posts the past several months. Mid-February was hectic with finishing packing up my apartment and then moving in with my son and his family. I finally unpacked the last of the boxes last week and feel at home once again. I’ve been collecting new recipes the past three months and will get them posted this coming week. But lets start with one of my favorite foods – chicken salad.
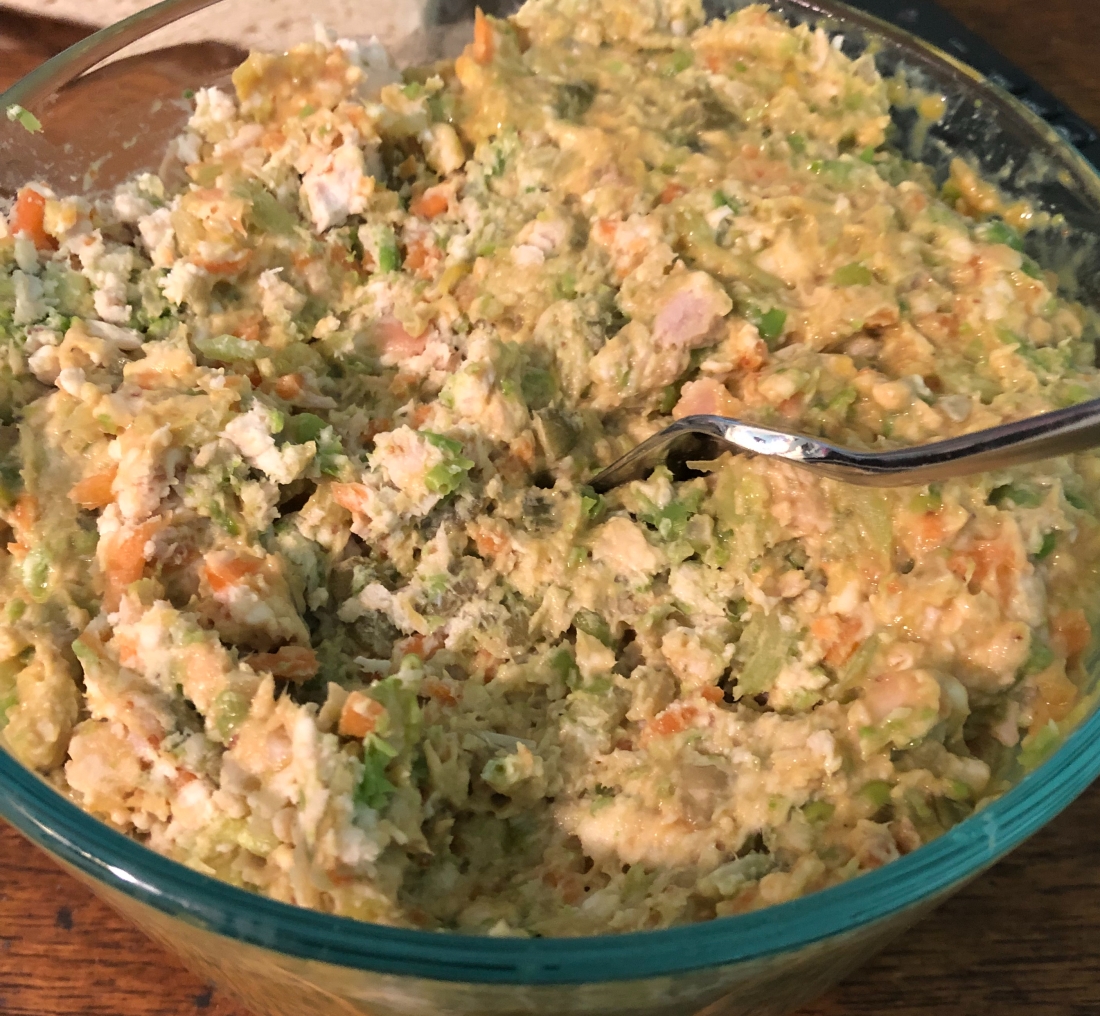
I eat a lot of chicken salads this time of year and I try to vary the flavors to make them more interesting. I alternate between vinaigrette and mayonnaise based salads. I’ve also changed them by doing a honey mustard vinaigrette, a creamy cole slaw dressing as well as an avocado one.
Several days ago while at my local market, I found some very ripe mangos and wondered how they might taste in my chicken salad. So I peeled and cut them up in my food processor, added the vinaigrette ingredients and tried mixing a small amount into a little chicken salad mix. Delicious!
If you haven’t tried mango, think of a peach on steroids. But be sure they are ripe or their sweetness doesn’t come through. Right now the yellow variety is in season so look for one that is completely yellow and getting soft to the touch. When ripe, the skin will pull right off once started with a knife.
Start either with the chicken or the mango dressing, either way works.
For the mango vinaigrette, in the bowl of a food processor or blender add:
2 peeled and sliced mango (not the seed of course)
1/4 cup olive or avocado oil
2 tablespoons mustard (whatever kind your family prefers)
2 tablespoons date syrup
1/4 cup rice vinegar (if using a different vinegar, probably use less since the rice is very mild)
1/2 teaspoon salt
1/4 teaspoon pepper
Blend until no lumps of mango remain. Makes about 1 1/2 cups of vinaigrette. That’s enough to make about five cups of chicken salad. I used a rotisserie chicken that was missing it’s wings and one thigh and leg.
About 4 cups chicken
3-4 stalks celery
1/2 cup pumpkin seeds (or another nut if you can have them)
1/2 cup shredded carrot
1/2 cup cooked peas
I like to grind the chicken, celery, pumpkin seeds and carrots in the food processor which makes a smoother salad. It’s a trick a friend who worked for a caterer taught me. Easy then to stuff it into a hollowed out tomato. It also makes a creamier sandwich.
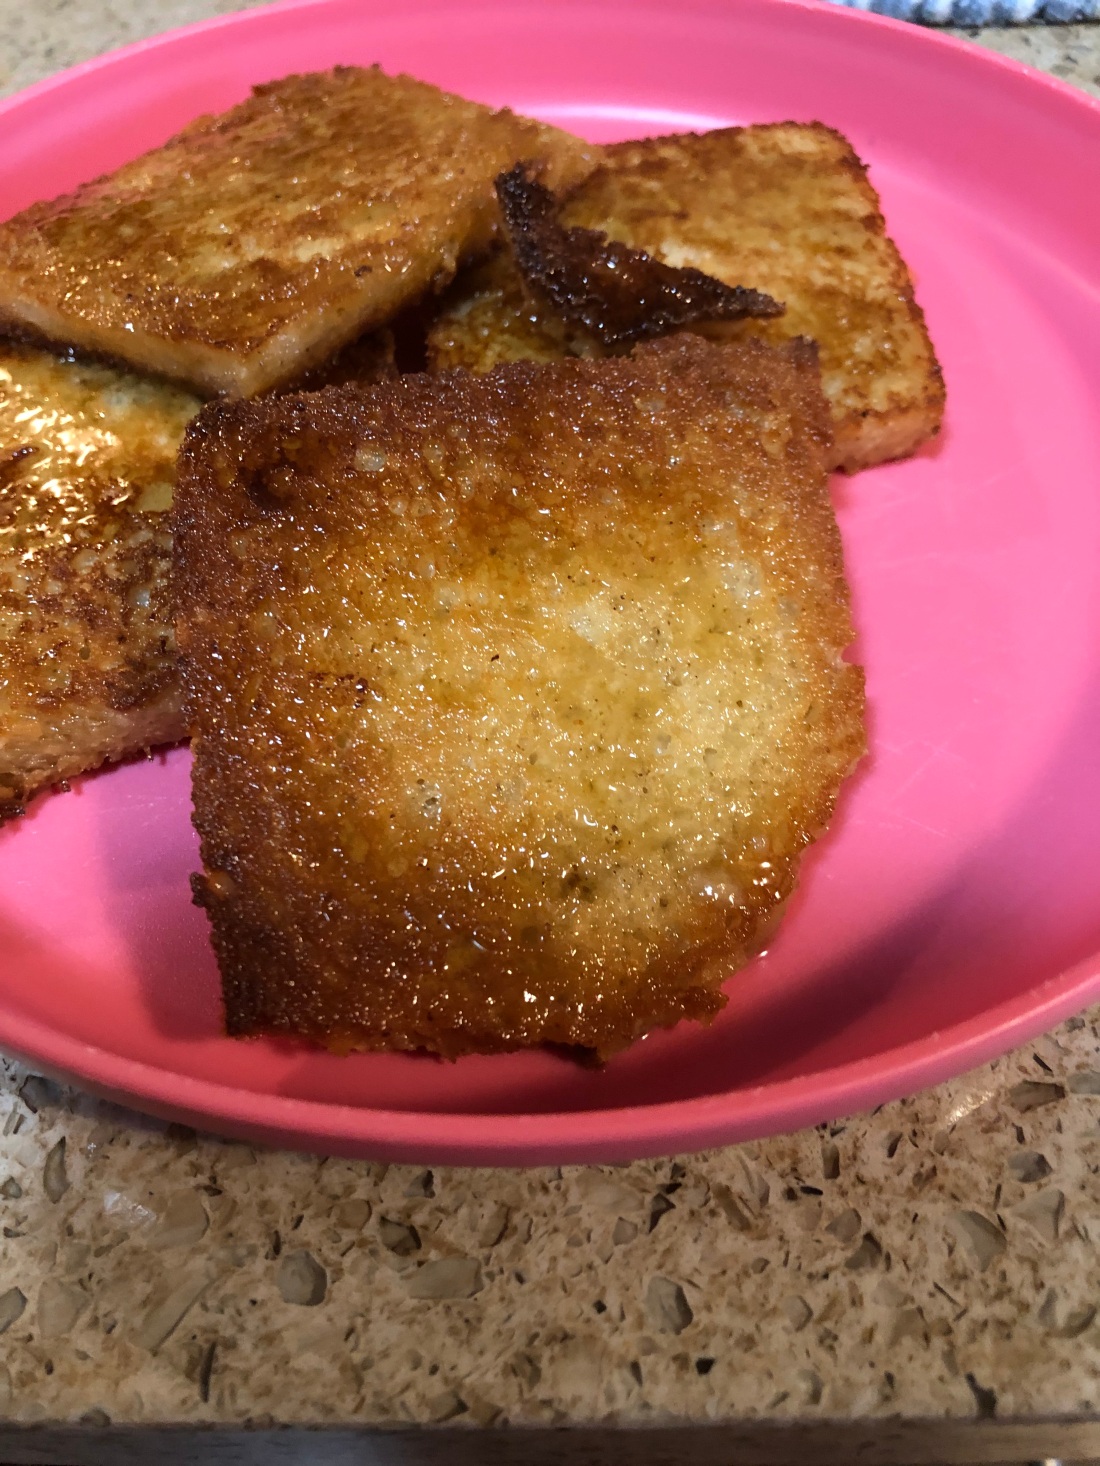
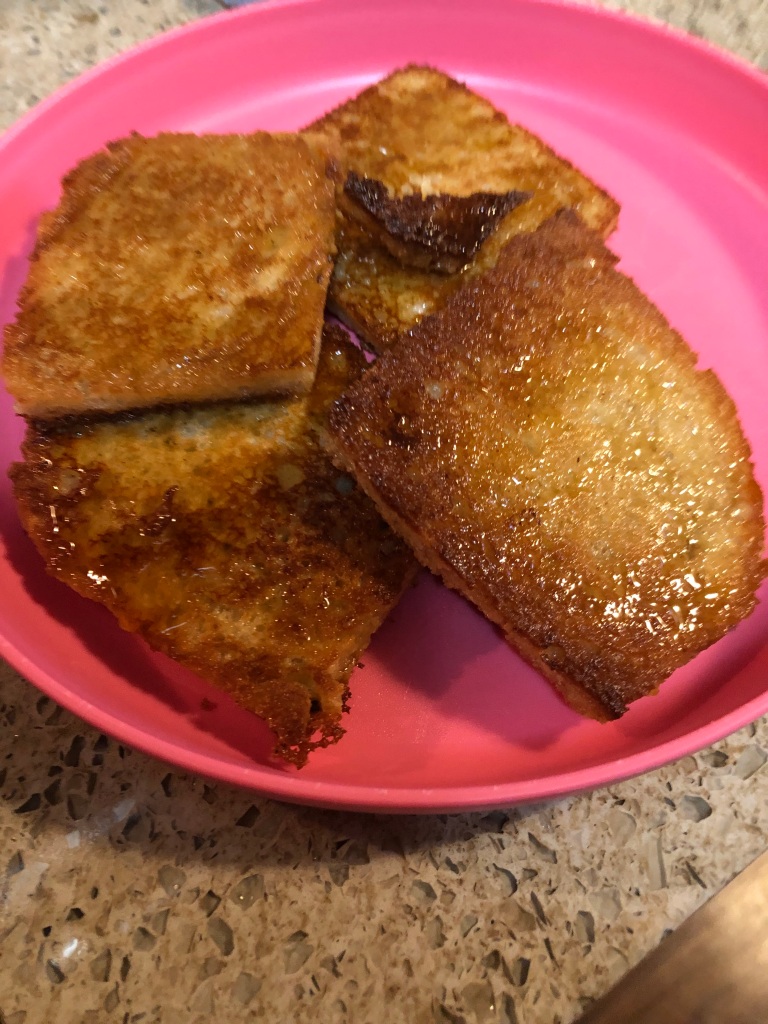
I’ve blogged a French toast recipe before now but I think this one is even easier and tastier than the previous one. This recipe is so easy a child can do it for themselves or parents. Just a couple of ingredients, which can be changed depending on the taste you’re looking for (i.e., nutmeg, cinnamon, allspice, cloves, ginger, etc.) on a particular day. I found, using hot oil, that the outside gets very crunchy while the inside stays soft and tender.
Whisk together in a 3-cup bowl (wide enough to put a slice of bread into):
3/4 cup non-dairy milk, your choice
1/2 teaspoon spice, again your choice (I prefer allspice but use whichever spice you like)
dash of salt
1/2 teaspoon vanilla extract
1 tablespoon arrowroot
Set aside and heat over medium high heat in a 12″ or larger skillet:
2 tablespoons oil
Dip into the milk mixture, one at a time:
6 gluten-free slices of bread, again your choice as to what kind*
The milk mixture may take more than six slices depending on the density of your bread. You may want to do this before heating the oil and let the slices of bread sit for a minute in the milk mixture since gluten-free bread can be denser than other breads and may need to soak a little longer; remove each slice after soaking to a baking sheet if doing prior to heating the oil. The oil will splatter because of the liquid in the bread so use a splatter guard if possible. Once the bread begins to brown, reduce heat to medium after flipping the slices over. Brown on the second side; the hot oil will get them nice and crispy. It takes about 2-3 minutes per side. Serve with jam or maple, agave, or date syrup.
I know, more brown food!
*FYI, I made a batch of old-fashioned donut muffins, didn’t add the topping, sliced them in half crosswise and used them instead of bread and they were scrumptious! BTW, not the photo above.