Three Squash Mash (dairy-free, gluten-free, egg-free, sugar-free, vegan)

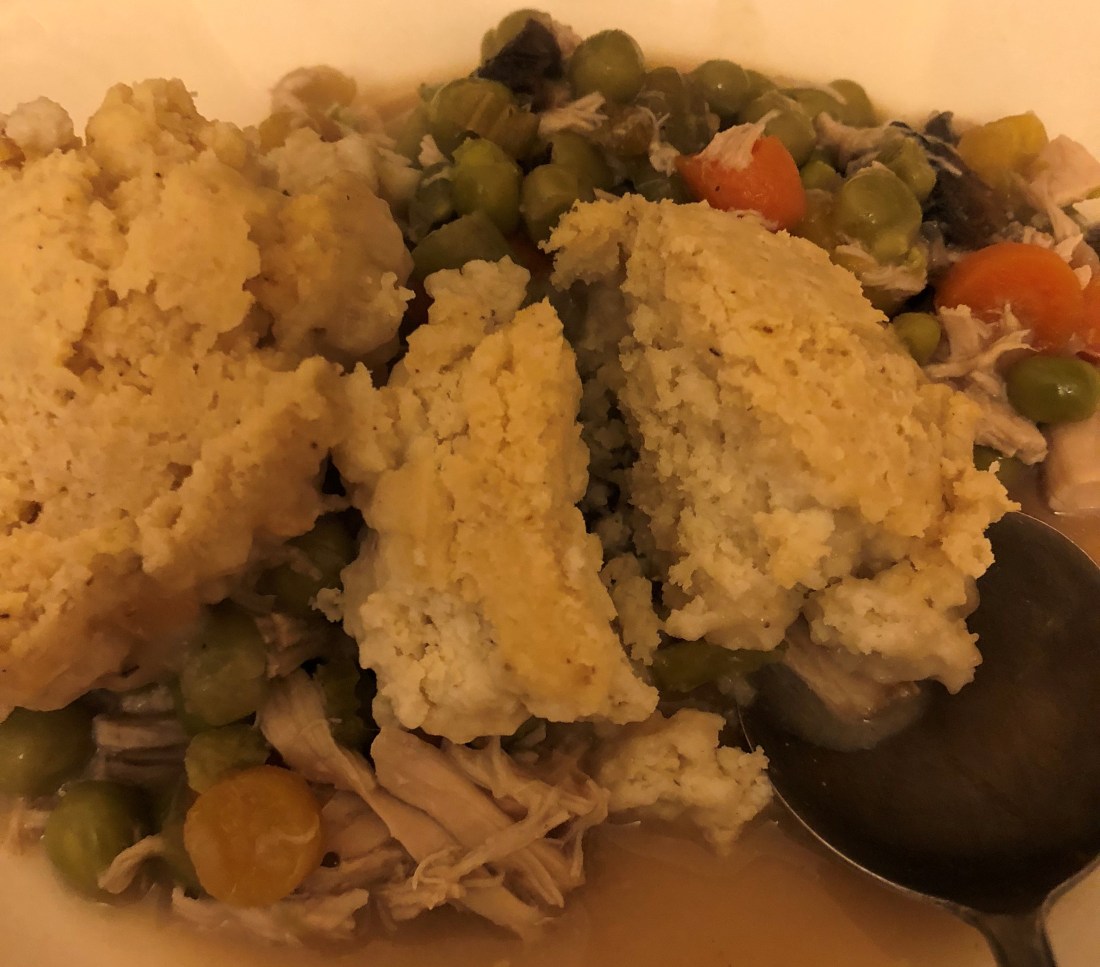
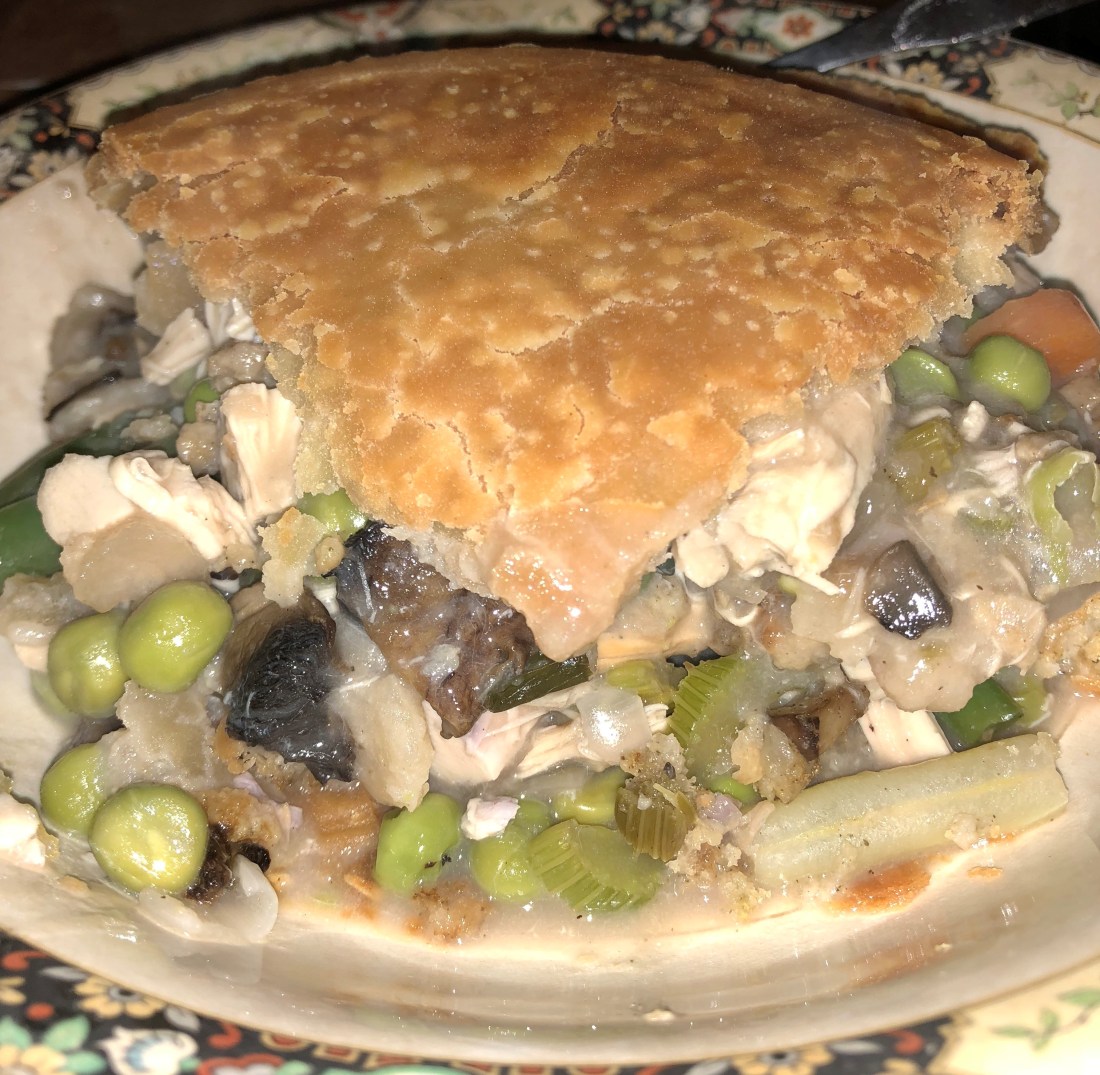
My father loved winter squash — any variety, he raised them all and loved to eat all of them.  His least favorite was the most common, the butternut.  It was too wet for his taste so when we cooked one, we had to mix it with other winter squash to dry it out.  He always doused it with a good amount of gravy, so it had to be dry to begin with so the gravy would sink in (he also liked his potatoes very dry for the same reason).  There’s a wide variety of winter squash to choose from — blue hubbard, acorn, butternut, buttercup, kabocha, carnival, dumpling, delicata, etc — I used an acorn, buttercup, and delicata in my mash but you can use any combination you want.  I also use the very smallest I can find since, unless my older brother shows up, I have to eat it all by myself since my son and husband don’t like it.

Wash 3 winter squash and then stab them with a sharp knife to pierce the squash into the center so that the steam can escape while you cook them.  Put them in a baking dish with about 1 inch of water and put the dish into a 400 degree oven until the squash are soft. In my case, it took around an hour.  Remove them from the oven and allow them to cool for at least 15 minutes (unless you like burned fingers) before you clean them.

Using some paper towels to collect the seeds and strings from the center and a bowl to collect the meat, cut each squash in half and scoop out the seeds and strings onto the paper towels.  Once you have them basically out (its okay if a few strings get into the mash), scoop the meat of the squash into a bowl large enough to hold the meat from all 3 squash.  Repeat for each squash.

Once you have the meat separated, mix in:

  • 2 tablespoons to 1/2 cup avocado oil, or if you can use it, vegan margarine; the amount you’ll use depends on how much squash you have in your bowl (for my 3 very small squash, I used 2 tablespoons)
  • 1/2 to 2 teaspoons pumpkin pie spice
  • Salt and pepper to taste
  • 1 tablespoon to  1/4 cup agave, maple syrup, or honey (optional) — I actually think winter squash is sweet enough without adding any sweetener, especially if you use a delicata, carnival or dumpling in your mix

Stir briskly with a large spoon (or if you have a lot, use a hand mixer on a low setting) until the squash types and additions are well mixed.  If your squash is now too cool to serve, put the squash into a greased baking dish and return to oven to heat up, roughly 15-20 minutes if your oven is already hot.

Chicken and Dumplings (dairy-free, gluten-free, egg-free)

Another thing we always did with leftovers was make a stew and then either serve it with dumplings or put it in a pie crust and make a meat pie with it.    And you could easily do it with a rotisserie chicken or turkey breast from the store.  And you can adjust the vegetables to your taste, i.e., add some cooked diced turnip, parsnips or some lima beans, etc.

In an 8-quart dutch oven mix:

  • 2 cups diced chicken
  • 1 cup cooked peas
  • 1 cup cooked green beans
  • 1/2 cup cooked diced onion
  • 1/2 cup cooked diced celery
  • 1/2 cup cooked diced carrots
  • 1 cup cooked diced sweet potato

Add stock until the pot is 2/3 full; this should take 3-4 cups and needs to cover the meat and vegetable mixture.  Mix up your dumplings in your food processor:

  • 1 1/2 cup brown rice flour
  • 1/2 cup tapioca flour
  • 3 teaspoons baking powder
  • 1 teaspoon xanthan gum
  • 1 teaspoon sea salt
  • 1/4 teaspoon black or white pepper

Pulse in:

  • 1/4 cup vegan margarine OR 1/4 cup avocado oil

Once there are pea sized crumbs, add in 3/4 to 1 cup of non-dairy milk depending on if you used the margarine or the oil (I use rice milk but soy would work as well; you want a milk that doesn’t have a strong aftertaste).  Pulse until well mixed and the batter is smooth.  If your like your dumplings more flavorful, you can add 1/2 teaspoon of an herb mixture OR 1/4 cup fresh parsley to the sifted dry ingredients.

Drop by tablespoons into your boiling stew.  Cook uncovered for 10 minutes and then cover and cook an additional 10 minutes or until dumplings look dry on top.  Makes about 12 smaller dumplings or 6 large dumplings (the larger ones will take longer to cook so I usually make them smaller for ease of cooking and my husband usually eats 2-3 of them.

Remove the dumplings into a dish and keep warm in the oven while you thicken the stock.  Mix 1/4 cup of brown rice flour into 1/2 cup of cold stock until its smooth without any lumps.  Add to the boiling stew, stirring constantly until the gravy thickens.  If its too thin, make another slurry of brown rice flour and cold stock (a tablespoon at a time) until it reaches the desired thickness.  Be sure the gravy boils before you add more flour slurry since it will thicken more as it boils.  And be sure to stir scraping the bottom of the pot so that the gravy doesn’t burn on the bottom (also reduce the heat; you don’t want to do this on a high heat).

Return the dumplings to the pot and serve.  Makes 6-8 servings.

Chickpea Brownies (dairy-free, gluten-free, egg-free, nut-free, soy-free, sugar-free)

These are probably the best brownies I’ve ever eaten.  Fudge brownies are good but difficult to master when you’re making gluten-free and egg-free brownies.  These are always moist, unless you really overcook them, as well as rich and oh so decadent while they are still so good for you!  Unbelievably good.  Instead of using a baking pan, I put some parchment paper on a cookie sheet, spray it with my olive oil spray and spread the batter on it.  It makes a thinner brownie that bakes faster and I’m less likely to overcook it.

In your food process add:

  • 1 drained 12 ounce can of garbanzo beans
  • 2 teaspoons vanilla extract
  • 1/3 cup tahini (or you can use any nut butter if you can have nuts)
  • 1/2 cup protein powder
  • 8-12 pitted dates OR 1 teaspoon monk fruit powder OR 1/4 cup honey
  • 2 teaspoons baking powder
  • 1/2 cup carob powder (or cocoa if you can have it)
  • 1 cup of cold water, after adding 3/4 cup, add a little at a time (1 tablespoon) until you have a smooth, mashed potato like consistency — if you use the honey, you’ll have to use less water

Process until smooth and then process for a couple more minutes.  I’ve found that even when I think all the garbanzo beans are processed, there are still some larger pieces in the mix; and if the garbanzo beans are reduced, the dates may still have some large pieces.  So keep processing it even when you think its done for at least 2 more minutes.  During these last couple of minutes add:

  • 2 tablespoons chia seeds
  • 2 tablespoons hemp hulls
  • 2 tablespoons ground flax

Spread your batter in your prepared pan; either cookie sheet or large 9×12″ baking dish.  I like to sprinkle carob chips on top but that’s optional.  Bake 20-25 minutes if you’re using a cookie sheet and 35-40 minutes for a baking dish.  Cool before cutting.

Fudgy Brownies (dairy-free, gluten-free, soy-free, nut-free, egg-free, sugar-free)

I am a brownie lover; its the only baked good where I’ll actually eat the batter as well as the baked goods.  The only technical thing with brownies is not overcooking them and this is the one thing you really have to watch out for with gluten-free brownies.  I baked mine 22 minutes and they were dry instead of fudgy.  Still very rich and decadent but I’ll probably make hemp cream sundaes out of them instead of eating them plain.  So watch the clock closely when you make these.

Grease an 8×8″ baking dish.  Pre-heat your oven to 350 degrees.

In a medium size bowl mix:

  • 3/4 cup avocado oil
  • 1 1/2 teaspoon monk fruit powder
  • 2 teaspoons vanilla
  • 1/2 cup aquafaba

When they are well mixed, add:

  • 1 cup buckwheat flour
  • 3/4 cup carob powder (you can use cocoa if you want)
  • 1/4 teaspoon salt
  • 1/2 cup protein powder
  • 3/4 cup club soda

Beat just until mixed; don’t overbeat.  You can also add 1/2 cup of carob chips (or chocolate if you can have it) and some hemp hulls (or nuts if you can have them).  Batter will be very thick.  Spread evenly in your baking dish and bake for 15-20 minutes or until a toothpick comes out with some crumbs but not raw batter.  Cool and cut into 9-12 pieces.

Clam Chowder (dairy-free, gluten-free, fat-free)

Growing up in New England, chowder was part of everyone’s diet.  Fish chowder, seafood chowder, corn chowder, clam chowder, didn’t make any difference.  Several times a month we ate chowder (pronounced chow-dah for those of you not from New England).  This recipe can be altered to make any of these very easily, just substitute corn (and chicken for protein) for the clams; or add some crab and/or lobster and shrimp; or put in some white fish, usually cod.  Recipe makes enough for 4 appetizer servings or 2 entrée servings.

You’ll need:

  • 1 medium to large sweet potato, peeled, diced and cooked (if you prefer, you can use russet potato instead)
  • 1/2 cup cooked peas (I usually add them to the pot with the sweet potatoes)
  • 1/2 medium onion, sautéed until soft
  • 2-3 slices of bacon, cooked and diced (I use uncured turkey bacon but feel free to use whatever bacon your family likes)
  • 1 can of diced or chopped clams (6-8 ounces) OR 1 pound of fresh clams steamed, cleaned and diced (be sure to save 1/4 cup of the steaming liquid to add to the chowder)
  • 2 cups of rice milk (you could use any milk you like but rice is the mildest and in chowder, you don’t want a milk that interferes with the taste of the clams)
  • 1 tablespoon brown rice flour made into a slurry with 1/2 cup of the rice milk
  • Salt and pepper to taste

After you cook the sweet potatoes and peas, drain and put back into the pot.  Add the onion, clams (don’t drain them but add the juice as well as the clams), and the milk to the pot.  Bring to a boil and add the slurry of brown rice flour and stir until the chowder starts to thicken.  We don’t want it really thick, just enough to get a good “mouth feel” when you eat the chowder.  Add the bacon and serve.  You can garnish it with diced scallion or chives if you like.  My mother always served chowder with oyster crackers but those are also optional.  Its so thick and hearty that you really don’t need crackers with this chowder.

Gluten-free Pancakes (dairy-free, gluten-free, egg-free, sugar-free)

I do love pancakes, one of my favorite breakfasts on Sundays, the only day I allow myself something other than a smoothie.  Its been hard to find a recipe for gluten-free pancakes that doesn’t result in a gummy pancake.  This one fits the bill.

In a small bowl mix:

  • 1 cup non-dairy milk, preferably unsweetened
  • 1 tablespoon vinegar

In a medium size bowl combine:

  • 3/4 cup brown rice flour
  • 1/4 cup tapioca flour
  • 2 tablespoons ground flax (I use the golden and it doesn’t change the color of my baked goods)
  • 3 teaspoons baking powder
  • 1/2 teaspoon sea salt
  • 1/2 teaspoon xanthan gum
  • 1 teaspoon cinnamon (optional)

In a small (4-cup) bowl, whip:

  • 2 tablespoons aquafaba
  • 1/8 teaspoon cream of tartar
  • 1/4 teaspoon monk fruit powder

Whip on medium until stiff peaks form and then increase speed to maximum and whip another 4-5 minutes.

Add to the flour mixture:

  • 1/4 cup avocado oil OR 1/4 cup fruit puree
  • 2 teaspoons vanilla extract

Add the milk mixture and stir until combined.  Gently fold in the aquafaba mixture.  Drop by 1/4 cups onto greased, heated skillet and cook until bubbling and then turn over and cook for another 2-3 minutes.  Add some maple syrup and enjoy.


Gluten-free Waffles (dairy-free, gluten-free, egg-free, sugar-free)

One of the most difficult recipes to adapt, in my opinion, has been waffles and pancakes.  If they taste great, they’re gummy.  Not these — light and fluffy and at the same time very crispy and oh so good.  And I learned a great tip for cleaning my waffle iron (that doesn’t come apart to wash) — after you’re done cooking your waffles and the iron is still hot, place a flat wet paper towel inside the iron and close the lid and it will steam clean your waffle iron.  In my 4-waffle iron, this batter made 8 waffles.

In a small bowl combine:

  • 1 1/4 cups non-dairy milk
  • 1 tablespoon vinegar

In a medium size bowl place:

  • 3/4 cup brown rice flour
  • 1/2 cup millet flour
  • 1/4 cup tapioca flour
  • 1/2 teaspoon xanthan gum
  • 3 teaspoons baking powder
  • 1/4 teaspoon sea salt

Stir dry ingredients to mix.  In another bowl (4-cup capacity), beat on medium:

  • 3 tablespoons aquafaba
  • 1/8 teaspoon cream of tartar
  • 1/4 teaspoon monk fruit powder

Beat until stiff peaks form and then increase speed and continue to beat for another 2 minutes until they become marshmallow like.  Increase to highest speed and beat for an additional 2-3 minutes.

Make a well in the middle of the dry ingredients and add:

  • 2 teaspoons vanilla extract
  • 1/4 cup applesauce or other fruit puree
  • 1/2 cup avocado oil

Add the milk mixture and combine until well mixed.  Gently fold in the aquafaba mixture.  Grease your waffle iron and make sure it is hot.  Pour 1/4 cup of batter (per waffle) into your waffle iron and cook.  You may need a little more than a 1/4 cup — as you can see from the picture, mine could have taken a little more batter to completely fill the waffle iron.  Add syrup and enjoy!

Savory or Sweet Seed Crackers (dairy-free, gluten-free, sugar-free, egg-free)

Sometimes the best comfort food is something small, quick and within reach.  These seed crackers fit that need for me since I can’t have anything pre-made like store-bought cookies or crackers.  The savory crackers go well with hummus, guacamole, or other dips and even with some non-dairy cheeses.  The sweet ones are tasty by themselves or with some hemp cream.  And with both of them, you can vary the herbs and seasonings to fit your taste.

Preheat oven to 375 degrees.

For the savory or sweet crackers, put in your food processor:

  • 1 1/2 cups cooked quinoa
  • 1 cup cooked brown rice
  • 1/4 cup chia seeds
  • 1/4 cup flaxseeds
  • 1/4 cup sesame seeds
  • 1/2 teaspoon sea salt
  • 1/3 cup water

Process until blended and the rice is broken down, adding small amounts of water as needed.  The amount of water used will depend on the moisture in your rice and quinoa. The mixture should have a dough consistency.  Remove half from the processor and form into a ball.  Make a hollow in them middle and add herbs such as:

  • 1/2 teaspoon garlic powder
  • 1/2 teaspoon onion powder
  • 1 tablespoon dry parsley
  • Salt and pepper to taste

Need herbs into the dough.  Place dough on a piece of greased parchment the size of your baking tray (preferably one without sides so you can slide the rolled out dough onto the sheet easily, before and after baking.  Place a second greased parchment sheet on top and using a rolling pin or heavy can, roll out dough until very thin.  The thinner you can make it, the crispier the crackers after baking.  Place on baking sheet, remove top layer of parchment and bake 20-25 minutes.  Remove from over, flip over (this is always difficult for me and I usually end up with some of the dough underneath so I have to pull it open again but if you’ve cooked it long enough, this is easily accomplished), and cut into cracker sized squares.  Put back into the oven for another 20-30 minutes until crackers are crispy and browned on the edges.  If you have some that are thinner than others (usually the middle of my crackers are slightly thicker), remove the thinner ones and continue cooking the thicker ones until they are dry and crispy.

For the sweet crackers, you should have left half the dough in the food processor.  Return the bowl to the processor and add:

  • 2 tablespoons carob or cocoa powder
  • 1 teaspoon vanilla
  • 1/2 teaspoon monk fruit powder
  • 2 tablespoons hemp hulls

Process until well mixed; you shouldn’t need to add more water but if you do, add it by tablespoons being careful not to get mixture too wet.  Remove from processor, and follow rolling and baking directions above.


Tahini Cheesecake with Chewy Brownie Crust

What a wonderful combination!  Who can resist a rich, decadent, chewy fudge brownie topped with a nutty creamy cheesecake.  This is not one of my quick, easy desserts; it takes some doing but not a great deal of skill, other than folding the brownie dry ingredients into the meringue.  Well worth the trouble.

First make the brownies.  Heat oven to 350 degrees; grease 8×8″ pan.  In a medium size bowl, combine:

  • 1/2 cup aquafaba (bean water)*
  • 1/4 teaspoon cream of tartar

Whip the aquafaba and cream of tartar to stiff peaks and then continue whipping for several more minutes.  Slowly beat in the monk fruit powder and then the date sugar and continue beating for 2-3 more minutes.

  • 3/4 teaspoon monk fruit powder
  • 1/3 cup date sugar

Sift:

  • 3/4 cup carob powder (or cocoa if you can use it)
  • 1/2 cup brown rice flour
  • 1/4 cup tapioca flour
  • 1/2 teaspoon baking powder
  • dash of salt

Pour into the meringue.  Add on top of the dry ingredients:

  • 1/4 cup avocado oil
  • 3 tablespoons hemp milk (or soy or rice milk) [If you use almond butter in the cheesecake, you could use almond milk here]
  • 2 teaspoons vanilla extract

Using a folding mix technique (using a spatula, bring the meringue from the bottom middle out to the edge in a sweeping motion; turn the bowl 1/4 of the bowl and repeat until the mixture is well mixed) mix the dry and wet ingredients into the meringue.  It will deflate somewhat.  Pour into the baking dish and spread out in an even layer.  Bake 12-15 minutes, remove from oven and top with the cheesecake mixture.

For the cheesecake mixture, combine in your food processor:

  • 12 ounces non-dairy cream cheese
  • 1/2 cup tahini (or nut butter if you can have one)
  • 1/2 cup agave nectar (or 1 teaspoon monk fruit powder, or 1/2 cup date sugar)
  • 2 teaspoons vanilla extract
  • pinch of sea salt
  • 1 tablespoon lemon juice (optional)

Blend until smooth.  Pour over brownie in an even layer.  Return to oven and bake an additional 25-40 minutes depending on your oven.  If you have some sugar free chocolate or carob chips, you can sprinkle them on top of the cheesecake mixture before baking.  Turn off oven and open door and let cool for a half hour before removing from the oven.  Cool on draft-free counter for an hour before placing in the refrigerator.  This will keep the cheesecake layer from splitting.  Serve ice-cold, if you can keep your family from eating them sooner!

*Aquafaba is the liquid you drain from a can of beans and usually discard.  It is a great substitute for eggs.  Usually used is garbanzo bean liquid.

Chicken or Turkey Pot Pie (Dairy-free, gluten-free, egg-free)

One of my husband’s favorite dishes is a pot pie.  This one has lots of tender chicken or turkey for my husband along with plenty of vegetables to satisfy me.  If you pre-bake the bottom crust, it won’t get as soggy from the gravy while baking.  Feel free to change up the vegetables — lima beans, mushrooms, garlic, etc. can be added along with greens like kale or spinach (chopped of course).  I had some leftover mushrooms that I sautéed, cut up and added to my stew.  Some diced sweet potatoes would also do well in a stew or any diced and cooked winter squash.

First make some chicken or turkey stew:

  • 1/2 medium onion diced
  • 1/2 cup diced celery
  • 1/2 cup cooked peas
  • 1/2 cup cooked string beans
  • 1/2 cup sliced carrots
  • 1 cup cooked chicken or turkey diced
  • 3 cups chicken or turkey stock
  • 1/4 cup brown rice flour
  • Herbs, salt and pepper to your taste

Cook the onions and celery in a little oil under tender, about 3 minutes.  Add 2 1/2 cups of the stock and herbs.  Whisk the brown rice flour into the other 1/2 cup of stock and add it to the stockpot and whisk until the mixture thickens.  Add the cooked meat and vegetables and cool in the refrigerator until you’re ready to make the pot pie or whatever you want to do with the stew (you could also use this for chicken and dumplings or a chicken casserole with a cauliflower crust).

If you don’t cool the stew before adding it to the pot pie, the bottom crust will get too soggy, even if you pre-baked it.

You can either make your own gluten-free crust (see my recipe for pie crust), use a mix (Bob’s Red Mill makes a very tasty mix) or purchase a ready-made gluten-free crust.

Heat your oven to 400 degrees.  Pre-bake your crust per package directions.  When cool, add the cooled stew to fill the pie crust.  Add top layer and bake approximately 40 minutes until pie bubbles and top crust is browned.