Easy Creamy Asparagus Soup

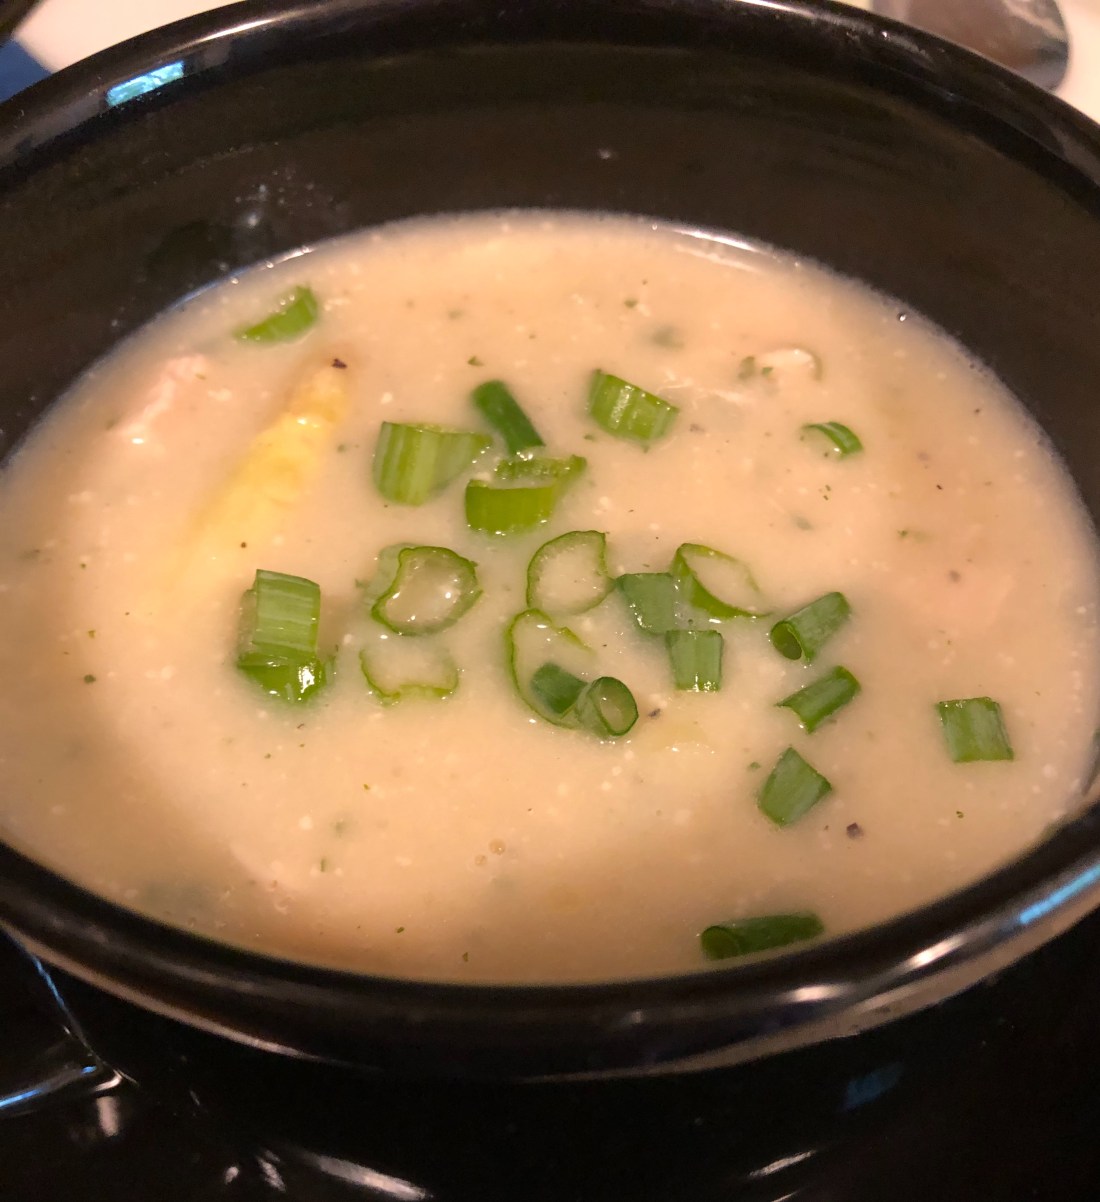
I love asparagus. It’s my favorite vegetable. But alas, again it’s one of those things I shouldn’t eat anymore. Not allergies this time but due to a medication I take. So green asparagus is out! But what about white asparagus. Tastes just like the green stuff but for me it’s a definite YES! Feel free however, to make this soup with the green asparagus remembering that your’s won’t look like mine.

In a 2 quart saucepan, heat:

2 cups vegetable broth* (or chicken stock)

1 pound of asparagus cleaned and cut into chunks**

Cook over medium heat until the asparagus is tender, the length of time will depend on the size of the asparagus used, smaller pencil asparagus will obviously cook much faster than the larger stalks.***

Remove about half of the asparagus pieces to add back into the soup once it’s blended. Using an immersion blender (or a regular blender if you don’t have an immersion one****, blend the stock and asparagus until smooth. Remember if you’re using an immersion blender to turn it off before lifting the blender out of the soup mixture so that it doesn’t splatter all over the stove (and you!).

Whisk together in a small bowl:

1/2 cup non-dairy milk (any kind other than soy which won’t thicken), I suggest using oat so it doesn’t interfere with the taste of the soup

1 tablespoon gluten-free all purpose flour

Make sure there aren’t any lumps in the milk mixture before adding it to the soup. Bring the soup back to a slow boil and stir until it thickens, about a minute. Reduce the heat to medium low and add the pieces back into the soup, season with salt and pepper to taste and add:

1 tablespoons chopped fresh parsley (or 1/2 teaspoon of dried parsley)

And it’s ready to serve! Add any protein you like, I added some diced chicken breast but some white beans would also work. Makes approximately 4 1cup servings. Garnish with some cut scallion greens or chives (instead of cutting them with a knife, I use my kitchen scissors, much easier).

*I generally like to use stock rather than broth but in this instance if using vegetable, we don’t want the strong flavor of mushroom to overpower the asparagus so a lighter broth works best, preferable one without mushrooms.

**If you are using a larger stalk asparagus, add the largest pieces to the stock/broth first so that the smaller pieces don’t get too mushy since those are what you’ll probably want to save out before blending and add back into the soup

***The larger stalks often times have very thick skins so peel them with a potato peeler before chopping and adding to the stock/broth.

****If using a regular blender the mixture will either need to cool down a bit before blending or hold down the lip of the blender with a kitchen towel to prevent it flying off when you turn on the blender as it releases the hot air from the mixture and will pop that cover right off if you’re not careful. I always try to cool the soup first when using a regular blender, much safer!

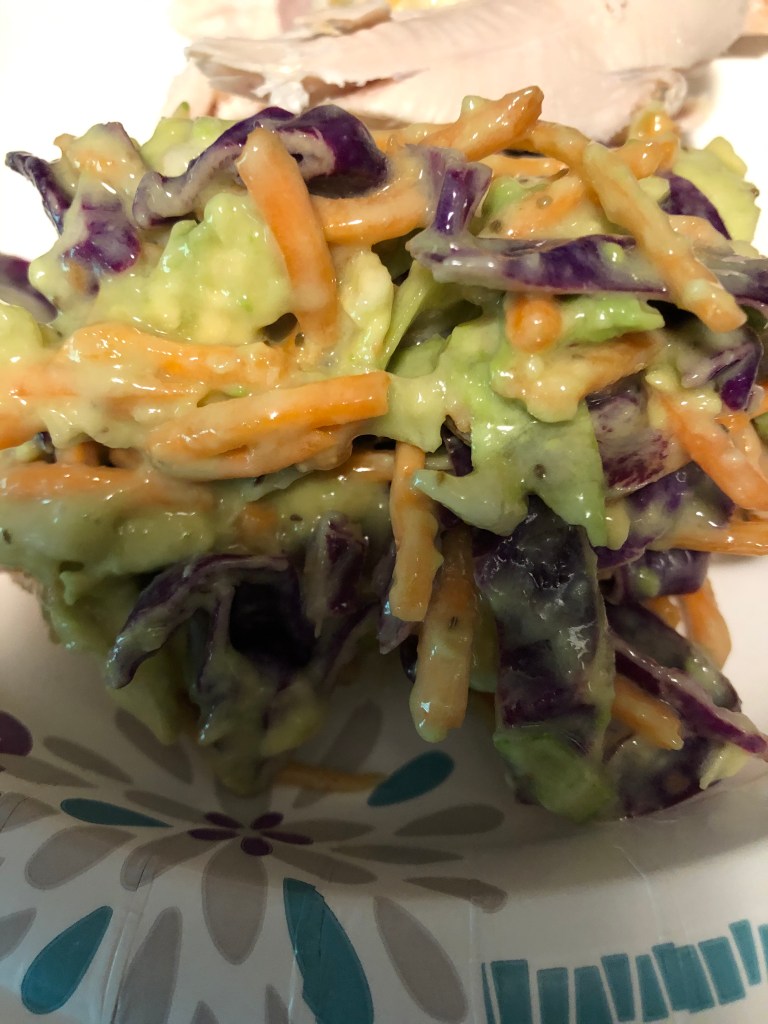
Avocado Coleslaw

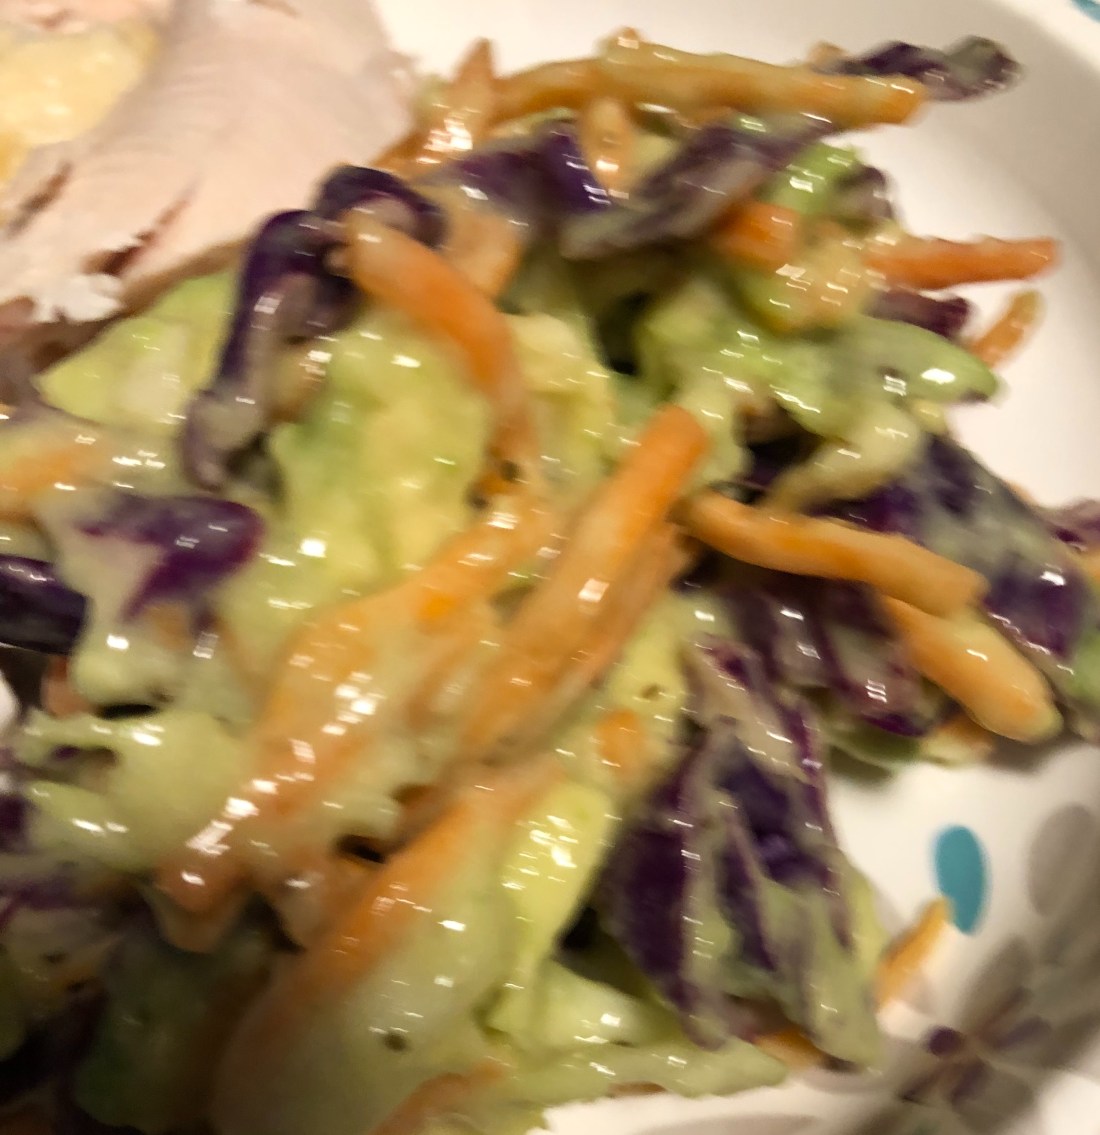
I think I’m definitely getting lazier in my old age. Or perhaps it’s just a case of now only having to cook for myself so I don’t care anymore if someone else is going to like it. Anyway, instead of buying a small cabbage that I have to prepare, along with carrots, I’ve started buying the bagged coleslaw mix at the supermarket. So easy and so tasty.

Place in a medium size mixing bowl:

contents of one bag of prepared coleslaw vegetables – cabbage, red cabbage and grated carrots

1/2 to 1 cup of additional grated carrots*

In the bowl of a food processor (or blender) combine:

1 avocado peeled and seeded

1 cup vegan mayonnaise

2 tablespoons vinegar

1 tablespoon agave nectar (or coconut nectar or honey)

1 teaspoon celery seed

Blend until smooth. If too thick, add several tablespoons water until it’s the right consistency. This will depend on the thickness of your mayonnaise since different brands can be thinner or thicker.

Combine the dressing with the coleslaw vegetables and stir until well mixed. Cover and refrigerate until ready to serve.

*TIPS: Liven up your coleslaw by adding some diced apple, pear, or jicama. I’ll also sometimes finely dice another 1/2 an avocado and add that to the mix.

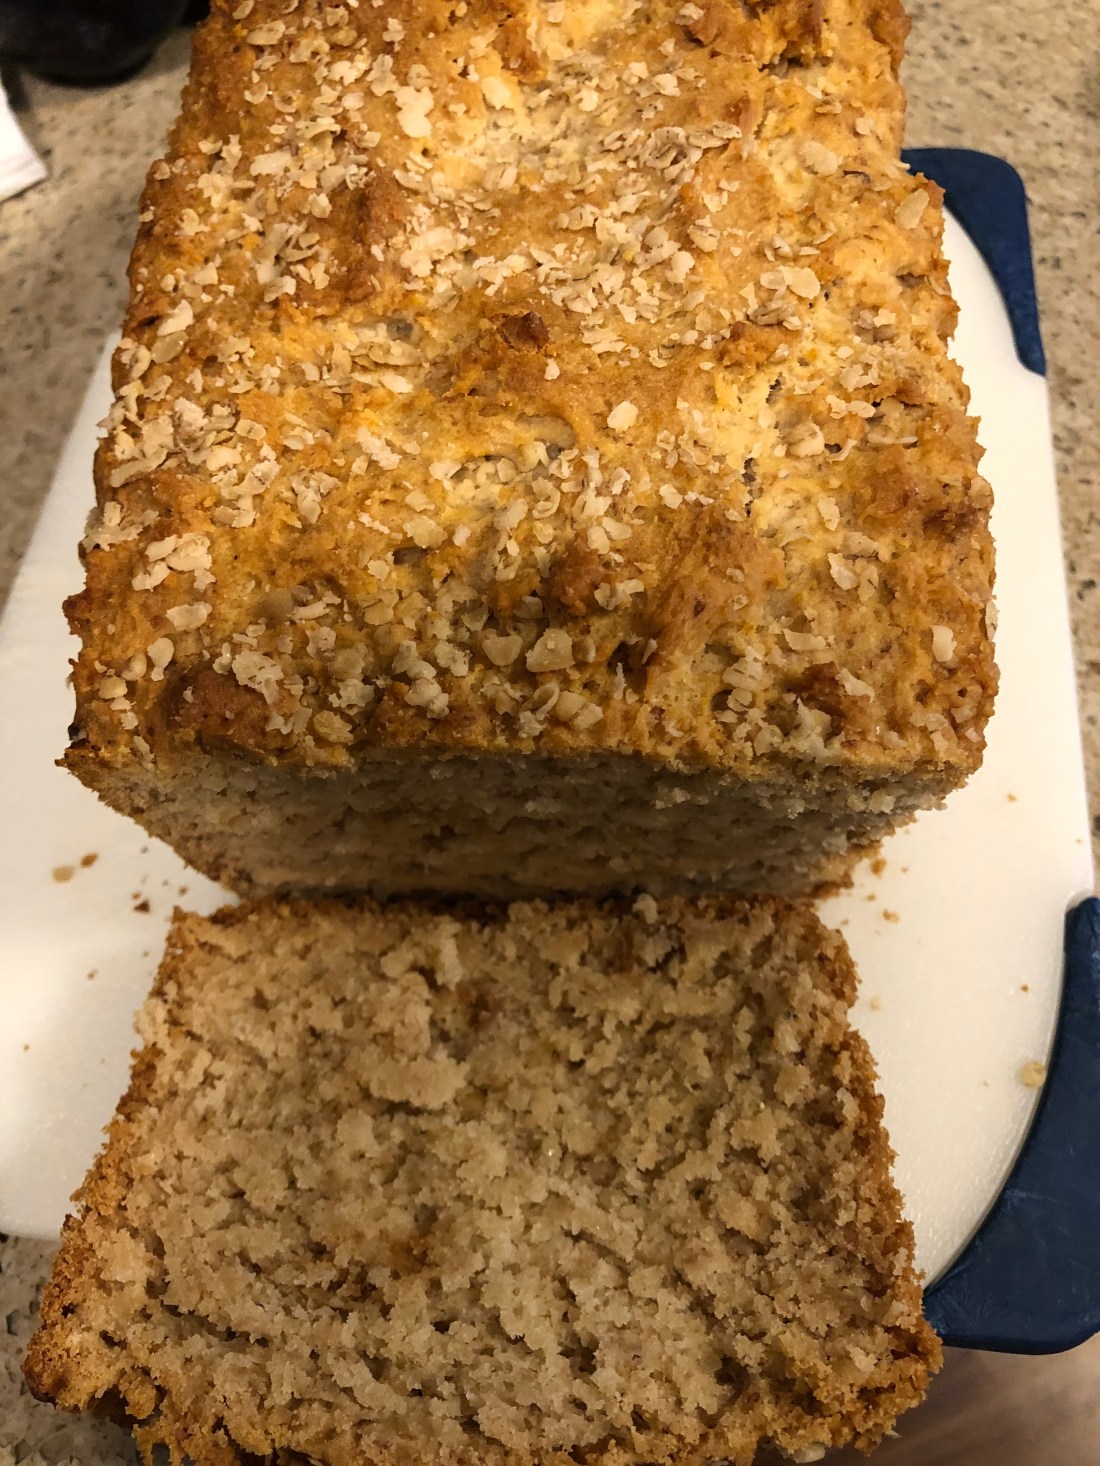
Honey Oatmeal Quick Bread

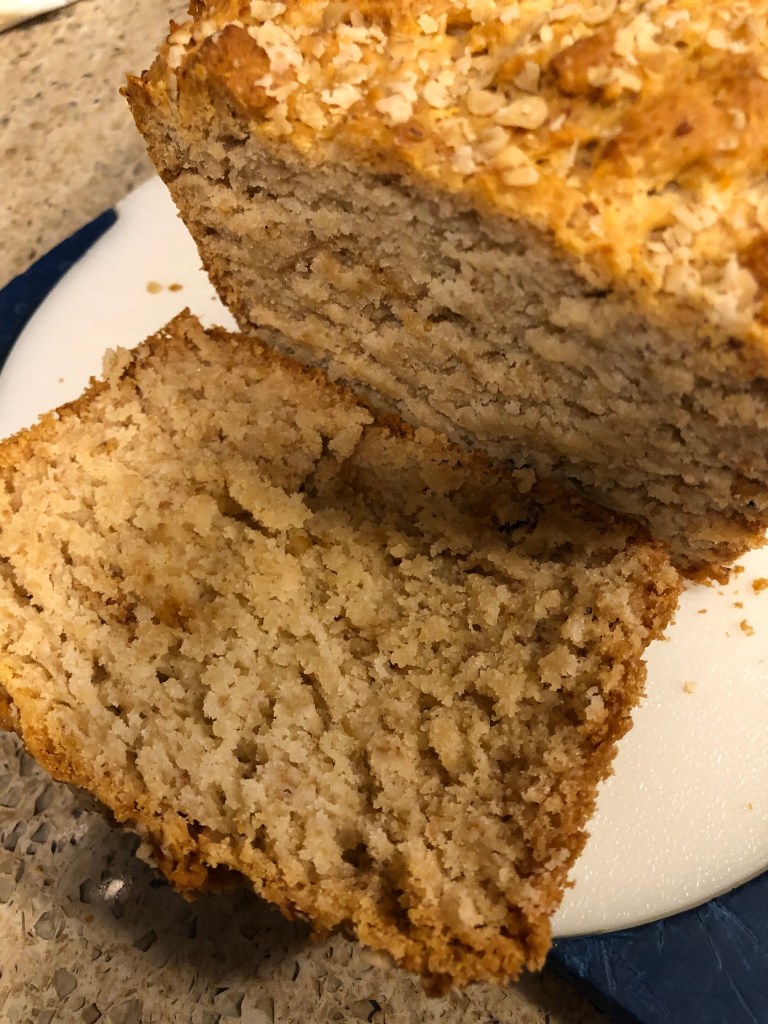
Like many people who have to live gluten free I’ve searched long and hard for a tasty gluten-free bread that doesn’t feel like a brick! Right? Most weigh a ton and most of the recipes I’ve tried also come out like bricks. And the ones that don’t weight a ton have eggs in them. So I was quite surprised by this recipe adapted from “Feelin’ Fabulous with Kayla”. It is fairly light in texture, great for eating warm from the oven with a spread, French toast, or for grilled sandwiches. I don’t recommend that you put it in your toaster because it can be quite crumbly. But it is DELICIOUS! And I do promise you I will continue to seek a allergy-free bread that we can enjoy that isn’t heavy and stays together when we want a sandwich. Feels like it’ll take my lifetime to find it but it is my one of my most sought after goals.

In a medium large bowl combine:

2 tablespoons ground golden flax

1/3 cup aquafaba

Let sit for 5 minutes until flax gel forms. Grease a GLASS loaf pan, for some reason for this bread glass works better than the metal pans. Whisk into the flax gel:

1 cup rolled oats

1 cup vegan mayonnaise less 1 tablespoon

1 tablespoon vinegar

1/4 cup honey

1/4 cup avocado oil

Whisk until combined and then add:

3/4 cup non-dairy unsweetened milk

Whisk in the milk. In a separate bowl combine:

2 1/3 cup gluten-free all purpose flour (use King Arthur’s Measure4Measure, Cup4Cup or Bob’s Red Mill’s 1:1)*

2 1/4 teaspoons baking powder

1/4 teaspoon baking soda

1 teaspoon sea salt

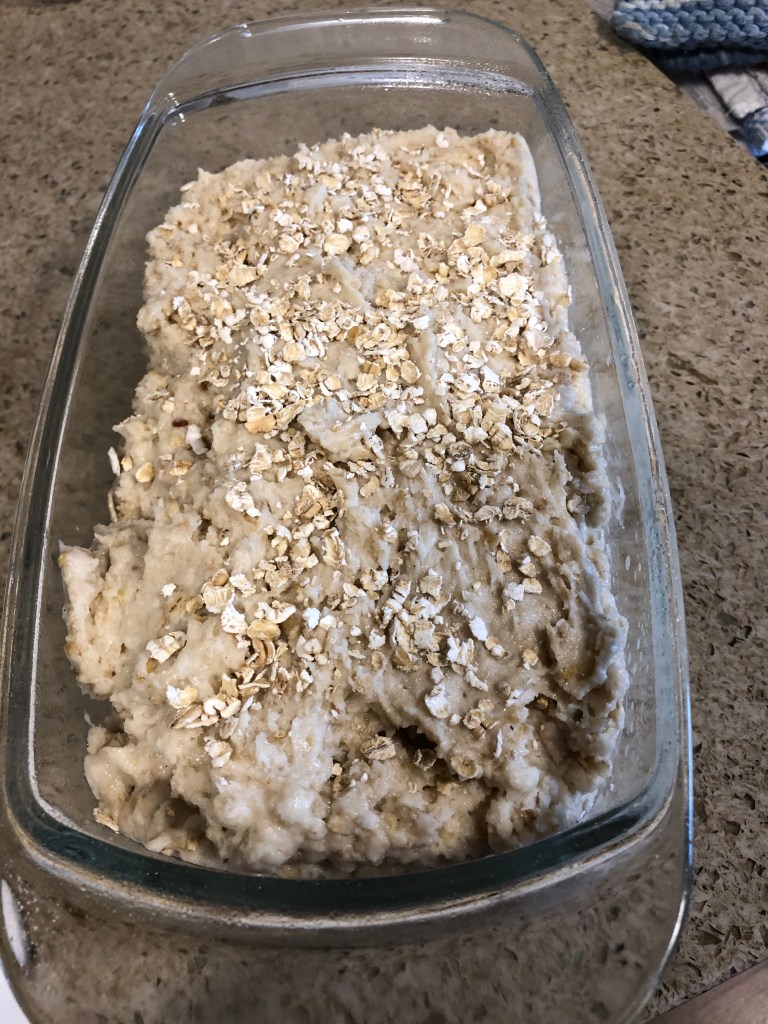
Mix to combine before adding to the wet mixture. Stir to combine wet and dry mixtures. Spoon into the prepared loaf pan. Sprinkle with oats. Set aside for 15-20 minutes while the oven heats to 350 degrees. You want to let any gluten-free dough sit for a few minutes before cooking so that the dry can absorb some of the liquid or the end result will be too moist.

Bake 45-60 minutes or until a toothpick inserted in the center comes out clean. Let cool in the loaf pan for about a half hour and then let cool completely before cutting (center may still be slightly warm).

*We want to use one of these all-purpose gluten-free flours because we’re not adding any guar gum or xanthan gum and other various flour mixtures will measure differently.

Zucchini Cupcakes

I think if I’m going to continue to post cupcake recipes, I need to buy a regular size muffin pan! Again, I just placed the cupcake papers in a rectangular pan and once again I have cupcakes of all shapes and sizes. But delicious cupcakes nonetheless. This is a very thick batter so the dry mixture will need to be combined with the wet using a spoon instead of a mixer.

Preheat oven to 350 degrees. Makes 15-24 cupcakes depending on size so line appropriate number of muffin pans with paper cupcake liners.

In a large bowl combine:

9 tablespoons ground flax

1 cup aquafaba (I use a powdered aquafaba which you can find on on-line so I used 1 tablespoon aquafaba powder and 1 cup of warm water)

Let sit until it forms flax gel, about 3-5 minutes. Add:

1 1/3 cup date sugar

1/2 cup oil (I used olive but any oil will work)

1/3 cup orange juice

2 tablespoons rice vinegar

1 teaspoon vanilla extract

Mix using a hand mixer until well combined. In a separate bowl stir together:

2 1/3 cup all purpose gluten-free flour

1 teaspoon xanthan gum

2 teaspoons ground cinnamon

2 teaspoons baking powder

1 teaspoon baking soda

1 teaspoon salt

1/2 teaspoon ground cloves

Add the dry ingredients and the zucchini to the wet and mix until thoroughly combined. Depending on the amount of moisture in your zucchini, you might need to add a few tablespoons of water or flour but mixture should be very stiff. Fill the cupcake papers 2/3 full and smooth top if possible. Bake for 25-30 minutes depending on size. Cool completely before frosting. I used carob ganache but 7 Minute Frosting would also be good if you want a very sweet frosting.

Tater Tots

I know, I know, another fried recipe! I try not to fry too many things because it’s not the healthiest way of cooking but some things, like potatoes, just love being fried. And they taste soooooooo good! I found a recipe for “Grown Up Tater Tots” in my aquafaba cookbook* and thought I’d give them a try. Of course, I had to make it my own, for some reason all my life, I’ve never been able to follow a recipe exactly, always changing something about it to make it my own and this one is no exception. The recipe, depending on the size of the potato you use and the size of your “tots” will make 10-12 pieces.

You’ll need:

1 large baking potato

Salt and pepper to taste

1 tablespoon vegan margarine

2-3 tablespoons potato STARCH

1/4 cup aquafaba

1/2 to 2/3 cup gluten-free bread crumbs

1/4 teaspoon garlic powder

1/2 teaspoon sweet paprika

1/4-1/3 cup non-dairy parmesan shreds (Follow Your Heart makes an excellent one)

Olive Oil, about 2 cups to fill a skillet 1/2″

First, naturally, peel and dice the potato. Boil until soft (be sure to always start boiling potatoes in cold water so that they cook evenly and only put in enough water to cover them with about 1/4″ to spare). Add a little salt to the water as well. This should take only about 10-15 minutes; be sure to reduce the heat once they come to a boil to medium. Drain and be sure there’s no water left in them.

Mash the potato (I used my immersion blender) but a ricer or masher will work as long as there are no lumps in the potato. It needs to be very smooth and creamy. Add salt and pepper to taste (I used my herbamare instead of salt), the vegan margarine, cheese, and the potato starch. Stir to combine. The final mixture should hold together in a ball but it might be a little gummy. If it’s too gummy or soft, add another tablespoon of potato starch.

Place the aquafaba in a shallow bowl and the bread crumbs, seasoned with some salt, pepper, garlic powder and the paprika in another bowl.

With wet hands, using about 1-2 tablespoons of the potato mixture, roll into logs, repeat until all the mixture is rolled. Then roll each log in the aquafaba being sure to moisten all sides. Roll in the seasoned bread crumbs. I suggest you do each one in both processes before doing another log. Wet your hands frequently (I actually wet them between each log, washing off the breadcrumbs).

Heat the olive oil to about 375 degrees. If you don’t have a cooking thermometer, the oil will shimmer when it is close to the right temperature. If you heated it on high, be sure to reduce it to medium high before adding the tater tots. Cook each tot for approximately 3-5 minutes per side or until golden brown. If the tots are getting too dark too quickly, your oil is too hot and will cause the tots to burst.

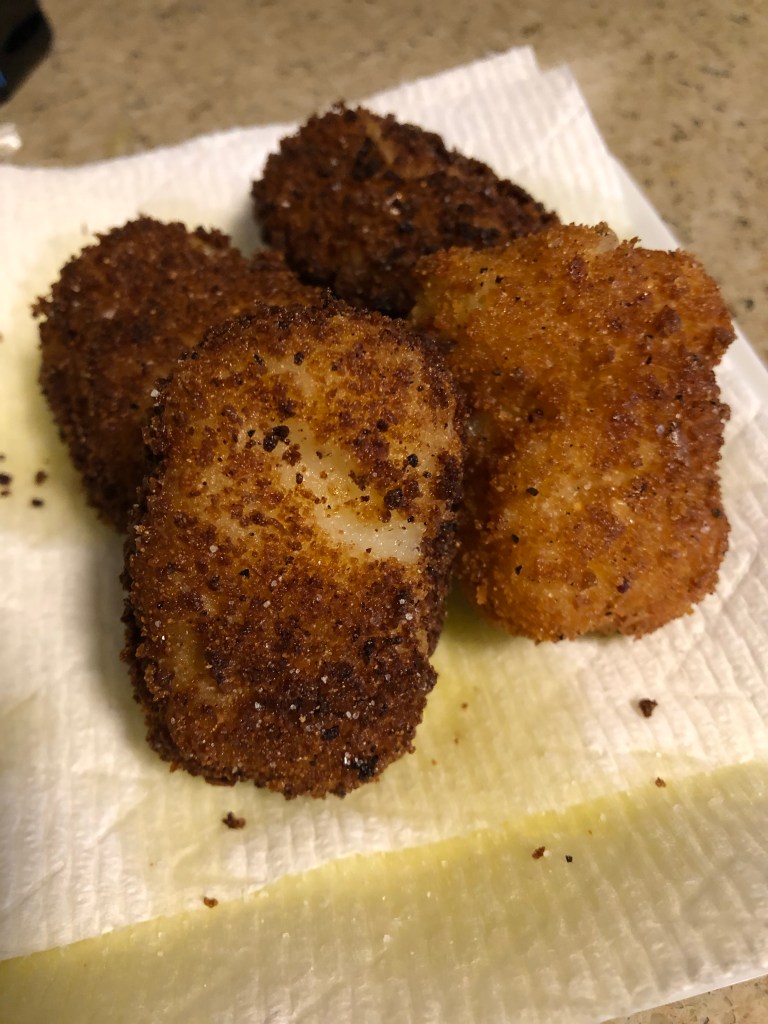
Remove them from the oil when browned on all sides, about 10-12 minutes, onto paper towels and sprinkle with salt. Serve as a side dish or use as a topping for a casserole.

TIP: To make them more flavorful, add some finely diced green onion or chives; bacon bits; or a small piece of non-dairy cheese in the middle of the log – or even all three! If you’re a fan of parsley, some dried parsley would also work well in these tots.

*Rebecca Coleman, Aquafabulous; 100+ Egg-free Vegan Recipes Using Aquafaba (Toronto, Canada: Robert Rose, 2017)

Pumpkin (or Sweet Potato) Oatmeal Cookies

My husband’s favorite cookie was oatmeal. After looking though dozens of oatmeal cookie recipes, this one came out first in the ones I thought sounded really delicious and easily converted to allergen free. With a food processor, it was very easy to put together and turned out delicious! As with many cookie recipes that are allergen free, these should be flattened before baking and bake a little longer than most cookies.

In a small pot, bring to a boil:

12 ounces of dates with sufficient water to cover them

Once they come to the boil, remove from the heat and let cool slightly. Meanwhile, put into a food processor:

1 1/2 cups pumpkin seeds

Blend until the seeds are well ground but not turning into butter, larger chunks are okay. In a medium bowl, blend:

2 cups quick cooking organic gluten-free oatmeal

the ground seeds

2 teaspoons baking powder

2 tablespoons chia seeds

1 teaspoon cinnamon

1/2 teaspoon allspice

Place the cooled dates into the food processor along with:

2 cups cooked pumpkin or sweet potato or a 15 ounce can of pumpkin or sweet potato puree

1/2 cup of the date boiling liquid (or if a fruity flavor is desired, 1/2 cup of any fruit juice)

Blend until smooth. Add the date/pumpkin mixture into the dry ingredients and blend until all the dry ingredients are incorporated. Let the dough sit for 15-20 minutes so that the oats and chia seeds can absorb some of the moisture in the dough. Preheat oven to 350 degrees. Line 2-3 medium cookie sheets with parchment paper.

When the dough is ready, scoop by tablespoon onto the baking sheets and flatten the cookies with the back of a wet spoon. Depending on how it’s measured, the dough should make 2 1/2 to 4 dozen cookies.* Bake in the preheated oven for 20-30 minutes depending on size and thickness or until the outside of the cookie is golden brown. I found getting the cookies as thin as possible leads to a cookie that is browned and crispy around the outside and chewy on the inside. Cool on baking sheets and then store in air tight container.

*I actually used about 2 tablespoons per cookie and the dough made 29 cookies.

Carob Orange Tapioca Pudding

Used to love vanilla tapioca pudding as a child. Hadn’t thought of it in years. You know the kind, with the nutmeg on top, all creamy with the little balls of tapioca. There was a restaurant in Derry, New Hampshire, when my husband and I lived there that still served it. Don’t know if they’ve survived the pandemic. So anyway, I wondered about other possible flavors for tapioca pudding and happened upon a recipe for orange and changed it up a bit, obviously replacing the whole milk and white sugar. Pretty easy to make, but not something you can walk away from!

In a small saucepan, bring to a boil:

1 cup water

Stir in:

1/4 cup small tapioca pearls

Reduce heat to medium low and continue to simmer, stirring frequently, until most of the water is gone and the tapioca pearls are swollen and translucent. Add to the pot:

3/4 cup non-dairy milk

1/4 cup honey

2 tablespoons unsweetened carob chips

the tapioca pearls just cooked

Cook, stirring frequently, until the mixture thickens (it will still be fairly loose), about 3-5 minutes. Stir in:

juice and zest from 1 orange

1/2 teaspoon vanilla

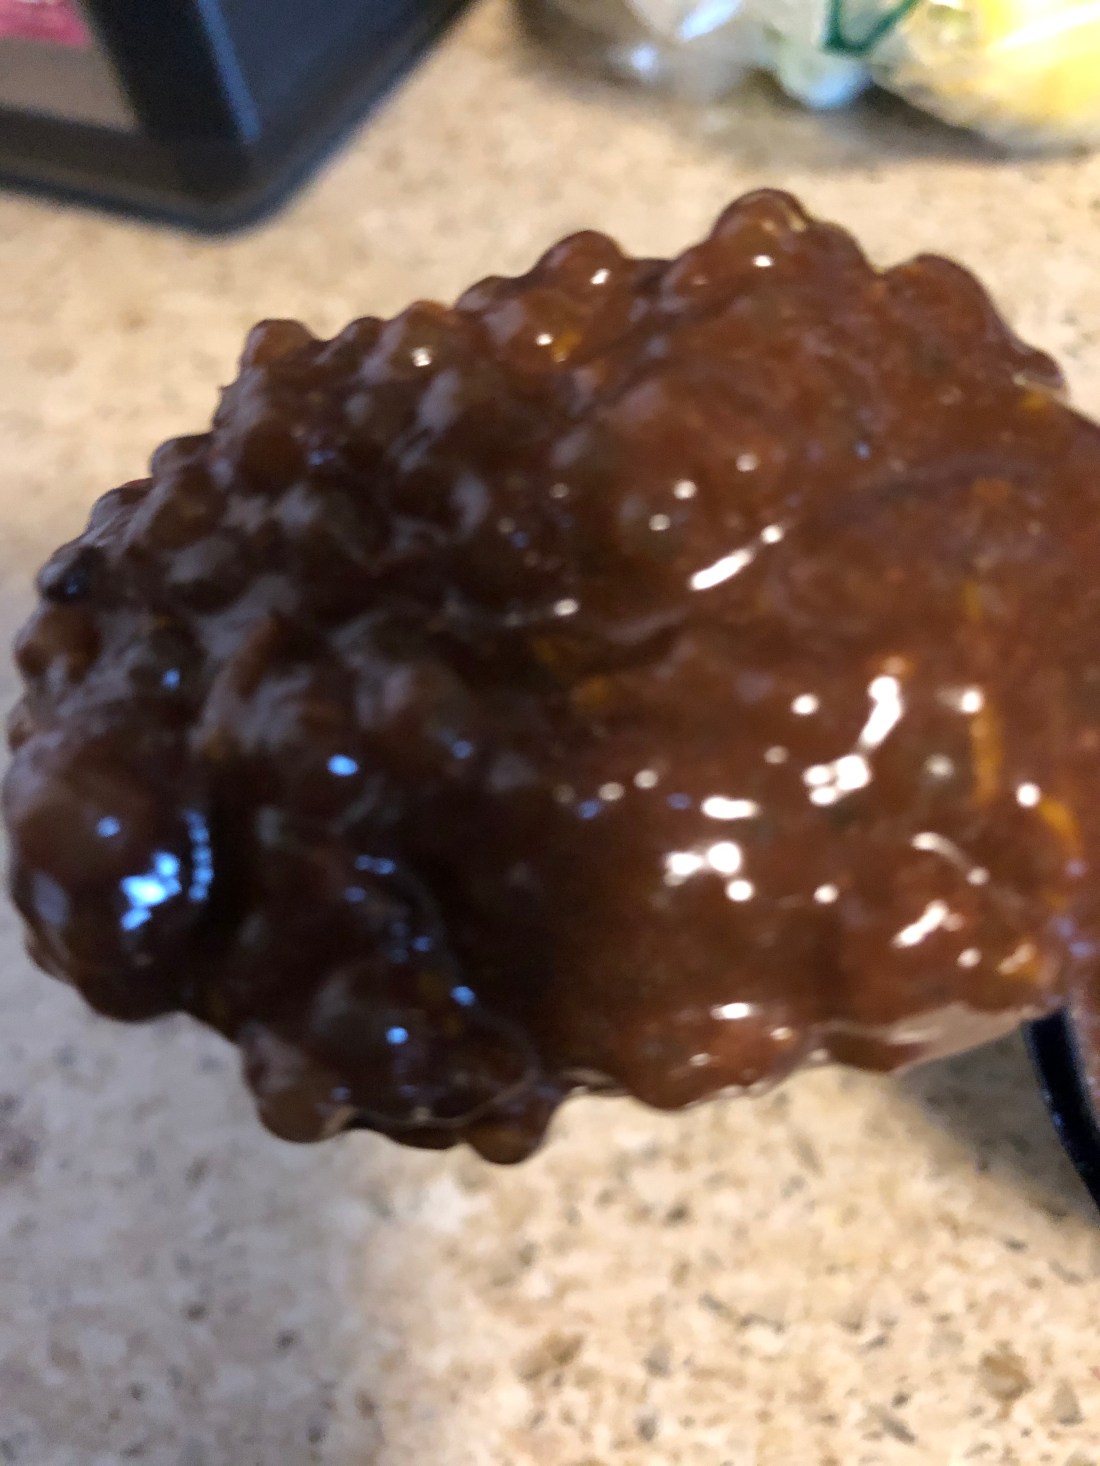
Let cool slightly before spooning into individual serving bowls or glasses. Cover and chill. Makes four servings. It can be eaten warm but is much better after it’s sits overnight and firms up.

Curried Popcorn

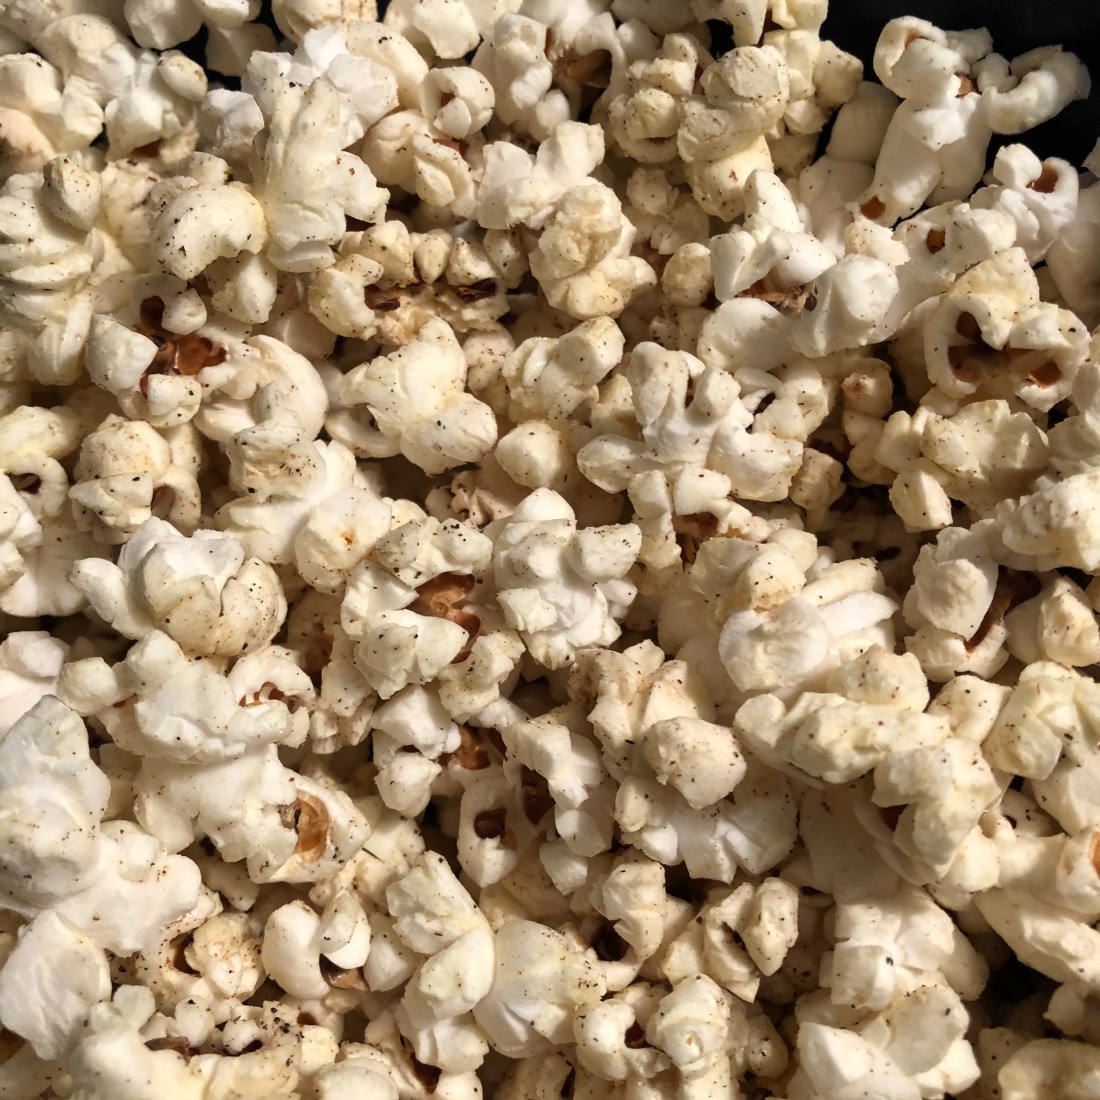
If you’ve only ever had microwave popcorn, you really don’t know how good popcorn can be. It’s very easy to make on the stovetop once you know the rules:

  1. Start your pan (a deep-sided pan with a lid, preferable glass so you can see the popcorn) on high heat
  2. Add oil and let it come to a shimmer
  3. Add popcorn and seasonings, like curry
  4. Cover with lid if clear, if not leave uncovered
  5. When you see the popcorn start to sizzle, turn the heat down to medium low and cover
  6. Shake the pan occasionally and leave the cover at an angle so the steam can escape
  7. When there’s 3-4 seconds between pops, turn off the heat but don’t move the pan from the burner
  8. Let it sit for several minutes
  9. Remove the lid, add salt and put it in a bowl

It’s really that simple. In my 12″ high-sided skillet, I use:

1/4 cup avocado oil

1/3-1/2 cup popcorn

1 teaspoon curry powder

To keep the curry powder from burning too much, add the popcorn before the curry. If you’ll be buttering your popcorn after it’s popped (not a good idea because liquid really makes popcorn soggy), don’t use as much oil in the beginning. I use avocado because of it takes a high heat before smoking and has a mild flavor but any oil will work.

Carrot Oatmeal Cookies

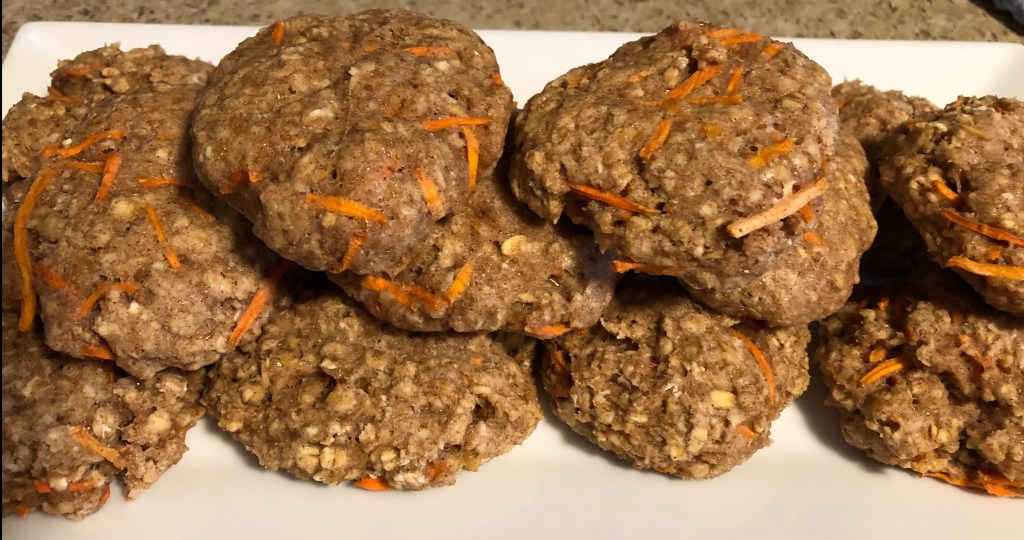
These cookies are delicious, moist and tender, with that warm cinnamon flavor. When I make them again, I’m going to chop up the grated carrot that I buy at the store. The pieces inside the cookies were cooked but the ones on the outside still had a little bite to them. And I felt they were a little sweet for my taste so I’m going to eliminate the agave next time but my daughter-in-law will think they’re just right – the sweeter the better. Very quick and easy to mix together, no mixer needed, just a spoon and two medium size bowls. Makes 14 cookies.

Prepare a cookie sheet(s) by covering with parchment paper. In a medium bowl, combine:

2 tablespoons ground flax

1/3 cup aquafaba

Stir to mix thoroughly and then let sit for at least 5 minutes. While the flax gel is forming, in another medium bowl mix:

1/4 cup white rice flour

1/4 cup brown rice flour

2 tablespoons tapioca flour (or starch)

2 tablespoon sorghum flour

1 teaspoon xanthan gum

1 cup quick cooking gluten-free oatmeal

1 1/2 teaspoons baking powder

2 teaspoons cinnamon

1/4 teaspoon salt

Mix thoroughly. Whisk into the flax gel:

2 tablespoons avocado oil

1 teaspoon vanilla extract

1/4 cup maple syrup (or 1/3 if you prefer not to use the agave)

2 tablespoons agave or coconut nectar

2 tablespoons non-dairy milk

Pour the wet ingredients into the dry (or vice versa doesn’t matter which way). Stir to combine but don’t overmix. Stir in:

3/4 cup grated carrots

Cover with plastic wrap making sure the plastic wrap sits directly on the cookie dough. Let sit in the refrigerator for at least 30 minutes.

Preheat oven to 325 degrees. Drop the cookie dough by 2 tablespoon scoops. I used wet hands to shape the dough into flattened disks. The dough doesn’t rise much or spread so it needs to be flattened before baking. Wetting hands keeps the dough from sticking. Bake for 15-20 minutes or until firm to the touch. These cookies won’t brown much. Cool on the baking sheet. Store in an airtight container on the countertop.

Easy and Quick Sweet Potato Cookies

If you love sweet potatoes like I do (and my daughter-in-law does), then you’ll really enjoy these cookies. They are very moist, cakey, and the addition of maple syrup and some autumn spices, enhance the richness of these cookies. If your nut or seed butter is fairly runny, these can easily be blended with a spoon. If like my pumpkin seed butter, its thicker, you may want to use a hand mixer. Makes 12-15 depending on size.

Preheat oven to 350 degrees. Line a large baking sheet with parchment paper. In a medium bowl, blend:

1 cup sweet potato puree

1/2 cup pumpkin seed (or other nut or seed) butter

2 tablespoons maple syrup (or if preferred coconut or agave nectar, honey or date syrup)

1 teaspoon baking soda

1/2 teaspoon vanilla extract

1/4 cup gluten free all purpose flour

1/2 teaspoon allspice (optional)

1/2 teaspoon ground ginger (optional)

Mix until combined and smooth. Drop by tablespoon on to baking sheet. These should be fairly flat so smooth with the top of the spoon. Drop at least 2 inches apart since they will spread slightly. Bake until firm to the touch, around 12-15 minutes depending on size. Cool on baking sheet.

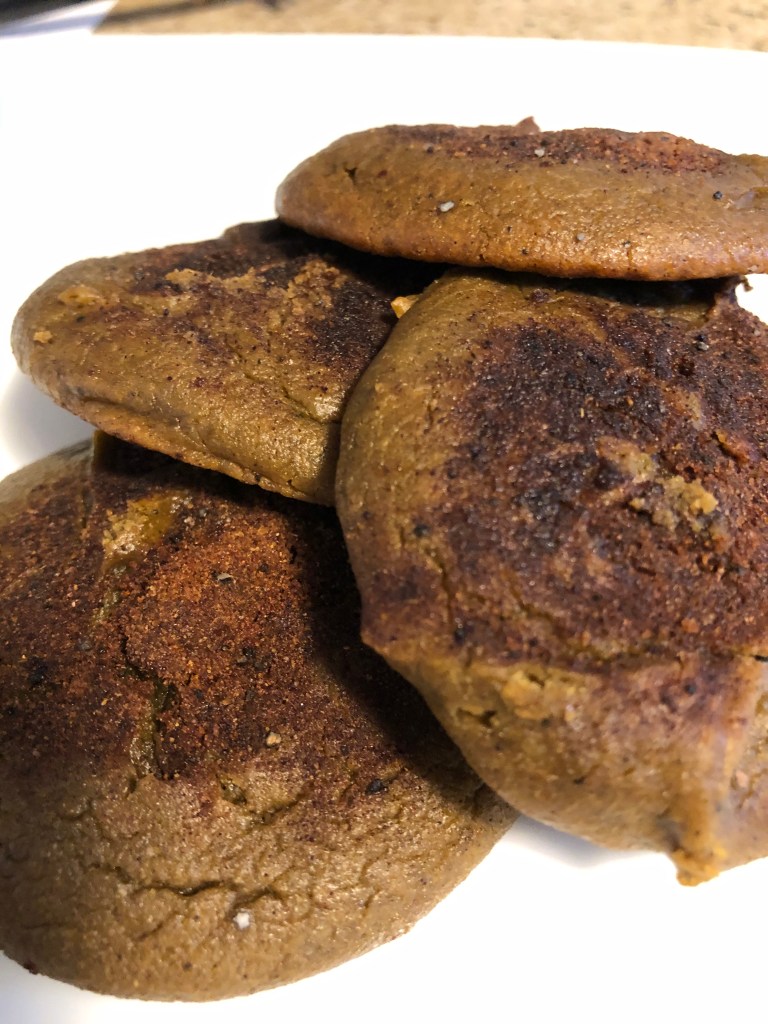
TIP: A few weeks ago, I blogged a recipe for pumpkin chai snickerdoodles. I sprinkled some of the spice mixture from that recipe on top of these cookies and they were delicious! However, the cookies are so moist that I recommend if you do that you want to eat them the same day. The chai mixture is what turned the tops of my cookies dark.