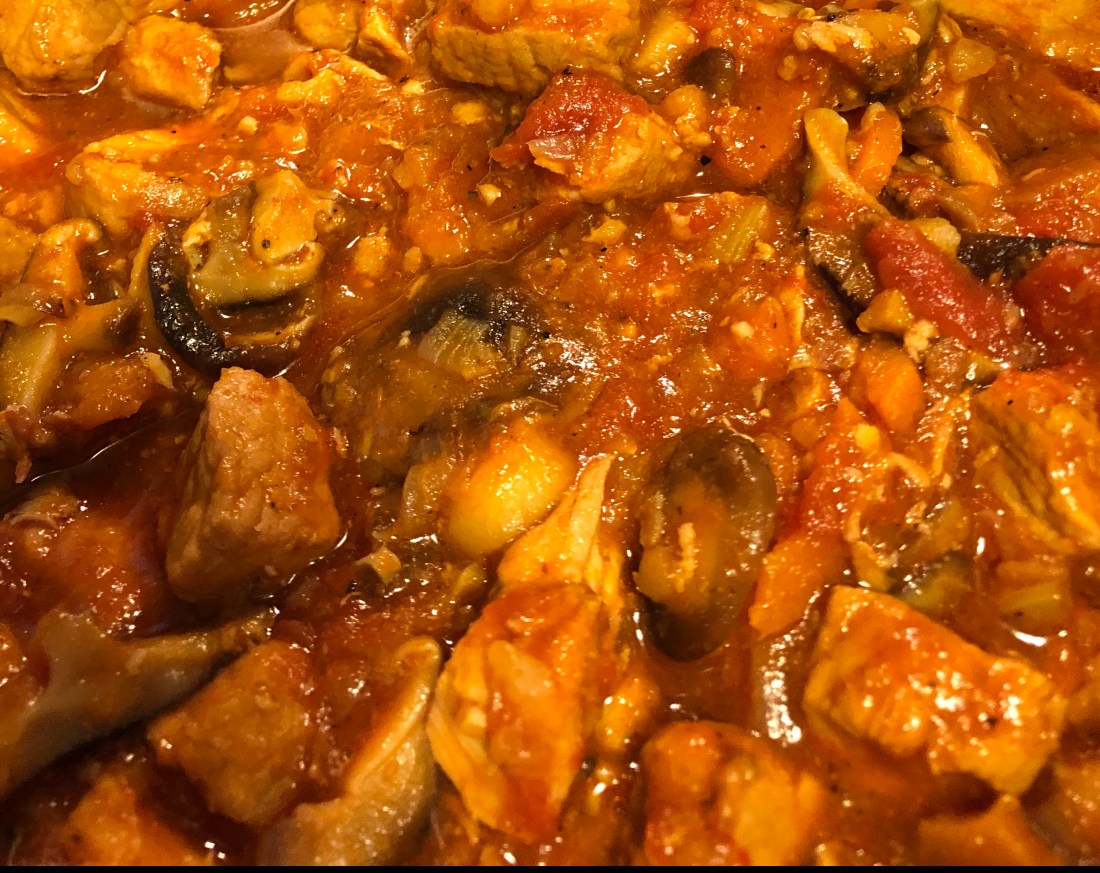
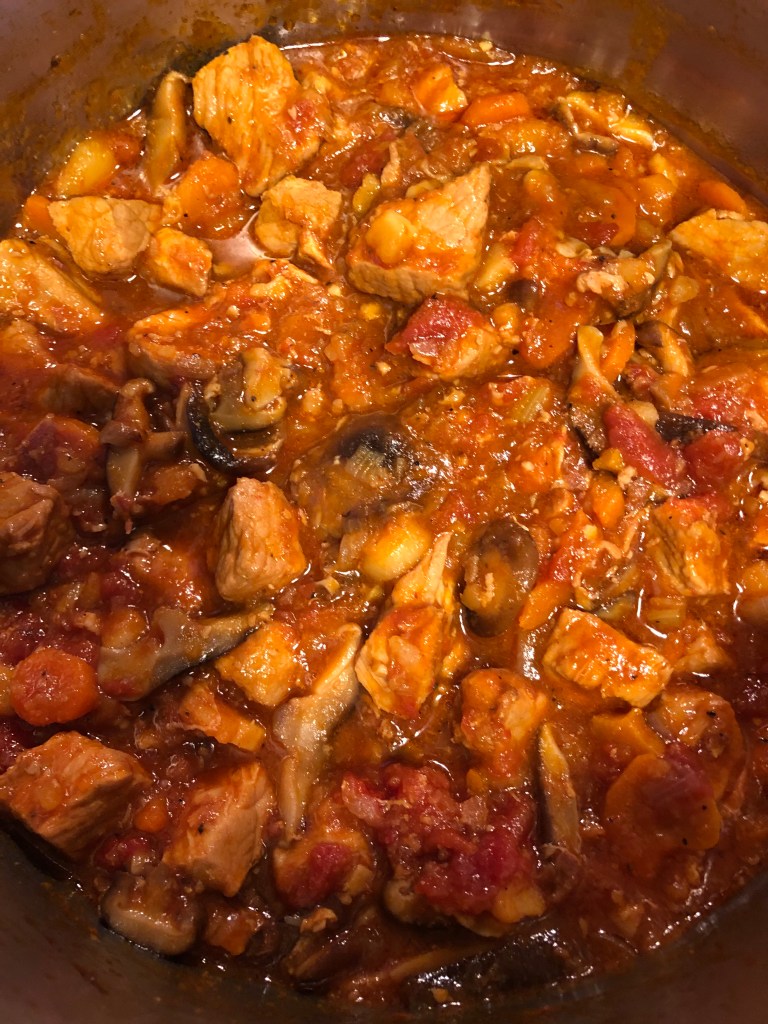
Found a great recipe for a pork stew for a slow cooker. I don’t have a slow cooker since I’m retired and can watch the stove all day when necessary. So you can do this in either a Dutch oven like I did or in your slow cooker. Either way it’s delicious, a little spicy, and can be served with a variety of sides, either mashed potatoes, spaghetti squash, rice, or pasta. It also doesn’t take long to put together, just cooks for 3-4 hours.
You’ll need:
1 tablespoon olive oil
1-2 ounces pancetta or bacon
1-2 pounds pork cubed and most of the fat removed
1 medium onion diced
1 large carrot diced
2-3 stalks of celery diced
1 tablespoon minced garlic
1 teaspoon salt or herbamare
1/2 teaspoon ground black pepper (want it a little spicier, use white pepper)
1 1/2 cups chicken stock
14 ounce can of diced tomatoes (if using 2 pounds of pork, use a large 28 ounce can of diced tomatoes)
2 teaspoons sweet paprika (add more with more meat)
1/8 teaspoon cayenne pepper (optional)
In a large skillet (if you’re going to use a slow cooker) or a Dutch over, heat the olive oil before adding the cubed pork and pancetta (or bacon). Cook, stirring occasionally, until pork is browned. Remove from the pot (to your slow cooker if using one) or just set aside if not.
Add the vegetables to the pot and cook until the onion is translucent before adding the garlic. Put the pork back into the pot, add the stock and the tomatoes, salt, pepper and paprika. (If using a slow cooker, add the vegetables to the cooker once the stock has come to a boil with the vegetables so that the pan is deglazed.) Reduce heat to a simmer and, cover with the lid so that a little steam can escape, and cook for 2-3 hours or until most of the liquid is cooked off. Cook on high in the slow cooker for 3-4 hours. The meat will almost shimmer when the dish is ready.
TIP: I like a lot of vegetables in my stews so I also added 1 cup of sliced mushrooms. I meant to add a cup of frozen peas near the end but it didn’t happen. Green beans would also be fine in this stew.
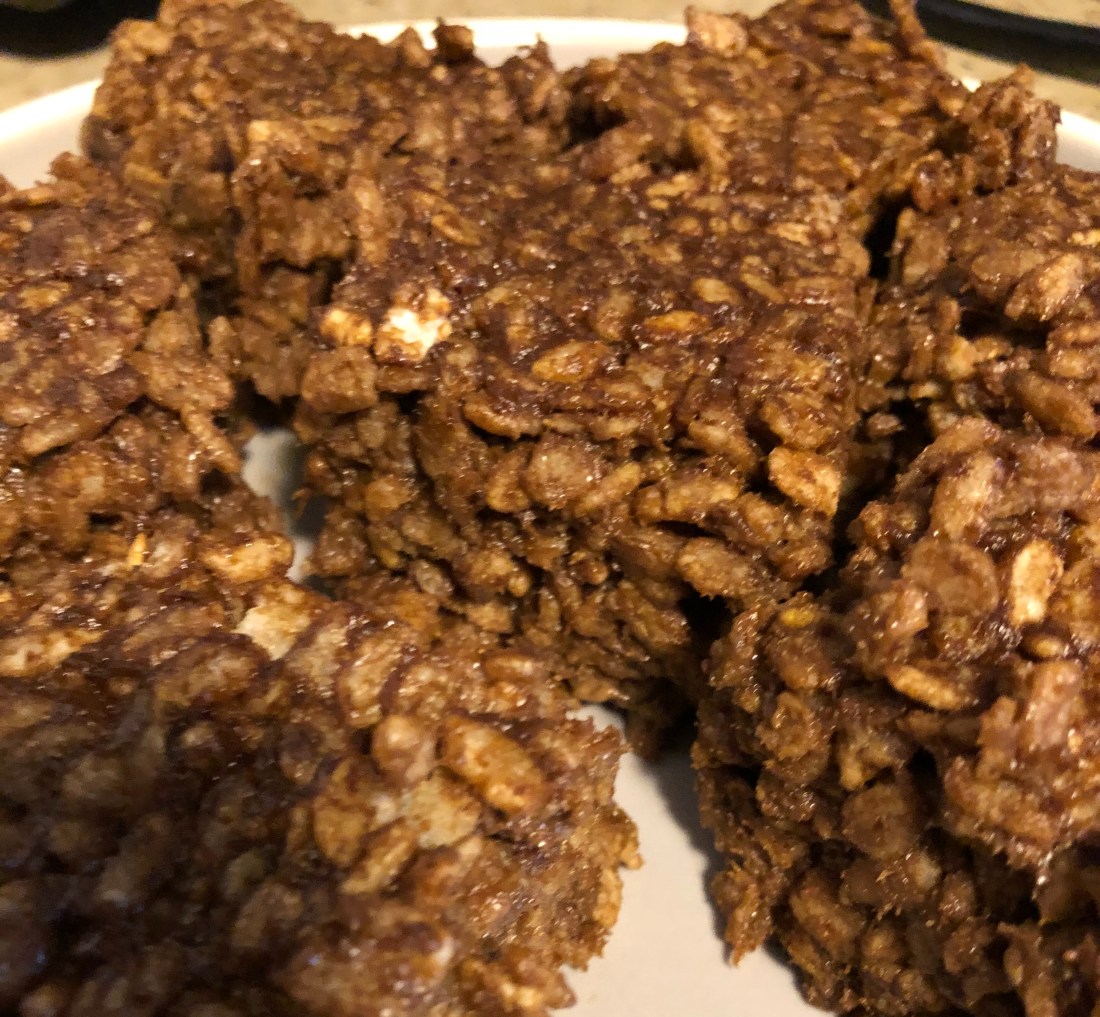
The brown refers both to the color of the squares and the type of rice cereal. I’ve gotten out of the habit of recommending specific brands in my recipes but I’m making an exception here. The 365 brand from Whole Foods of Brown Rice Crisps contains only 2 gms of sugar per 1 1/3 cup serving which is about as great as we can get with any brand or type of cereal. Since there’s no sugar added in this recipe, just a couple of dates, that’s a fairly good ratio. And these squares are actually healthy, full of fiber, and a serving of fruit to boot. Never mind that they are also tasty.
You’ll need:
1 cup (8 ounces) of dried prunes, figs, or other dried fruit that your family likes
2-5 medjool dates depending on how sweet your family likes their snacks
1 teaspoon vanilla extract
sufficient hot water to cover the dried fruit
2 tablespoons carob (or cocoa) powder
1 cup nut or seed butter
6 cups brown rice cereal
In a medium bowl soak the dates and dried fruit in the hot water at least 20 minutes or until they are rehydrated and soft. Line an 8″ square baking dish with parchment paper or spray with a non-stick cooking spray. Place the dried fruit, dates, and vanilla extract along with 1/2 cup of the fruit water and the carob powder into a food processor or blender and blend until smooth. Heat the nut or seed butter in the microwave for 30-45 seconds until melted. Add the pureed fruit and heat an additional 20-30 seconds. Put the cereal into a large bowl and pour the nut/seed butter mixture over it. Stir to combine and coat all the cereal. Pour the mixture into the baking dish and press the cereal down, spreading it out to cover the entire dish, until smooth and even in the baking dish. Place in the freezer for at least 30 minutes before cutting. Store, covered, in the refrigerator.
TIPS: Add some carob or chocolate chips, minced dried cherries, freeze dried strawberries or bananas, etc. to enhance the taste and add more deliciousness to the squares. Spices would work as well, perhaps some cinnamon, allspice or cardamom.
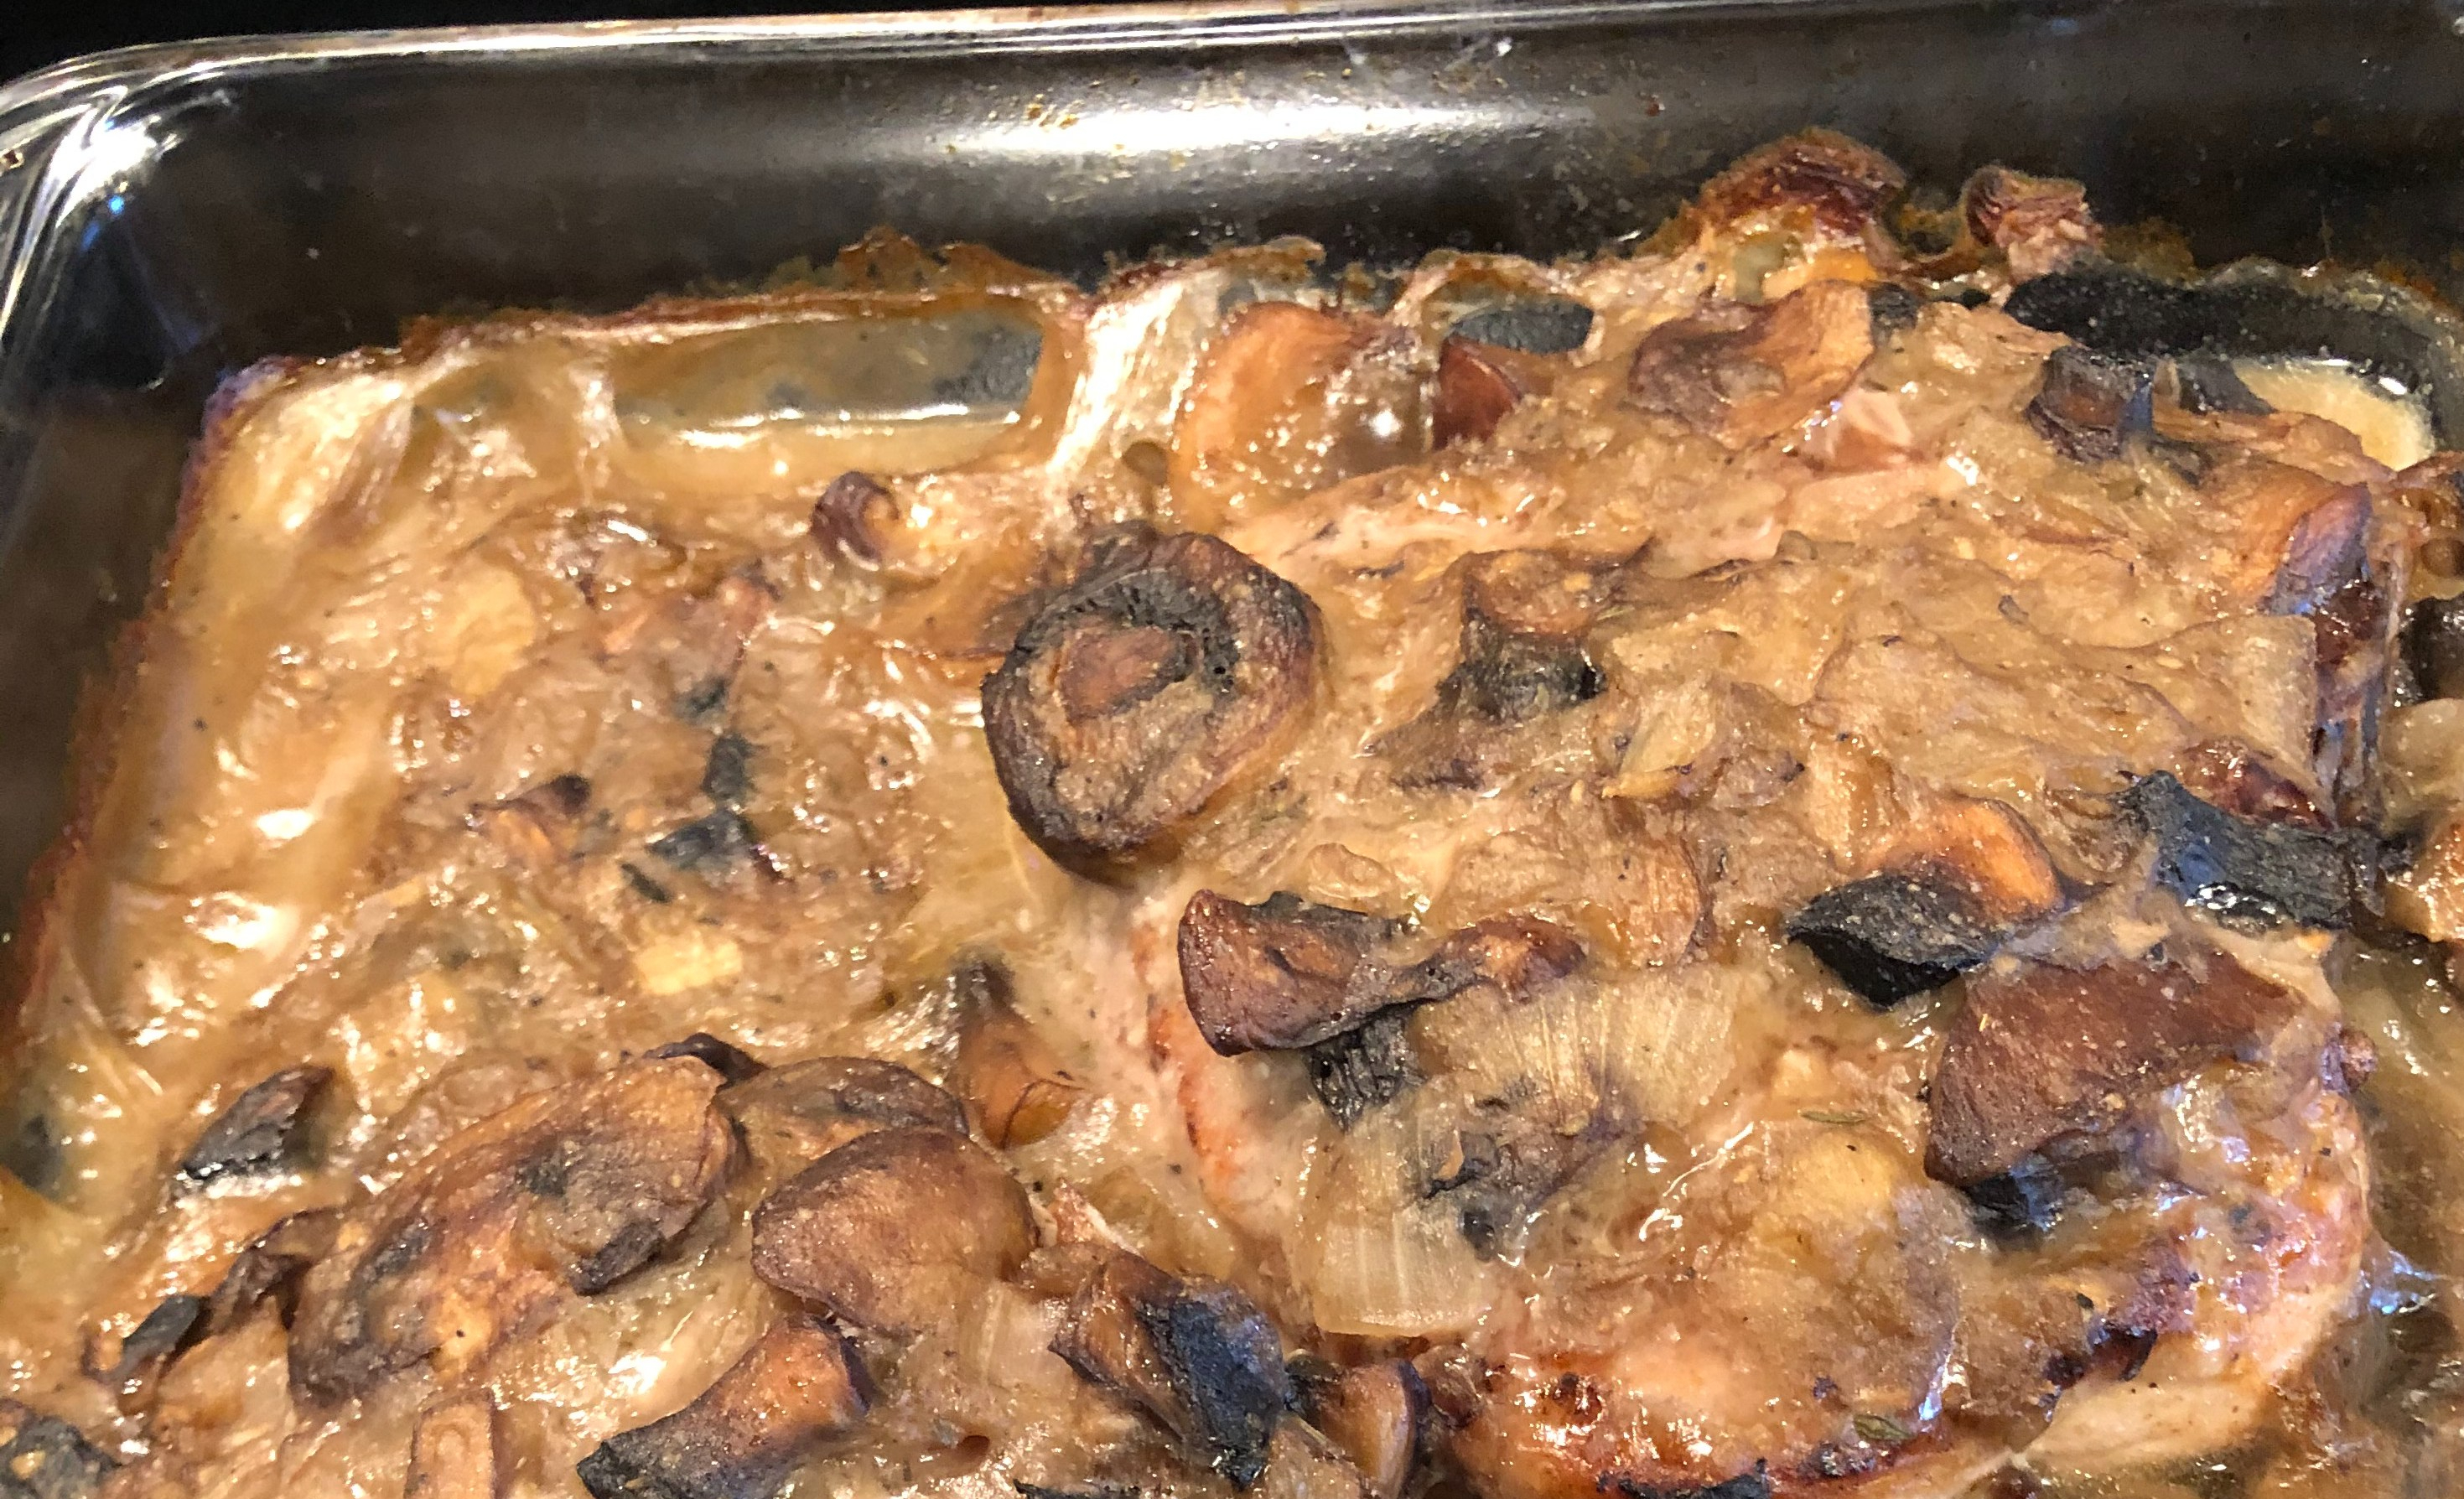
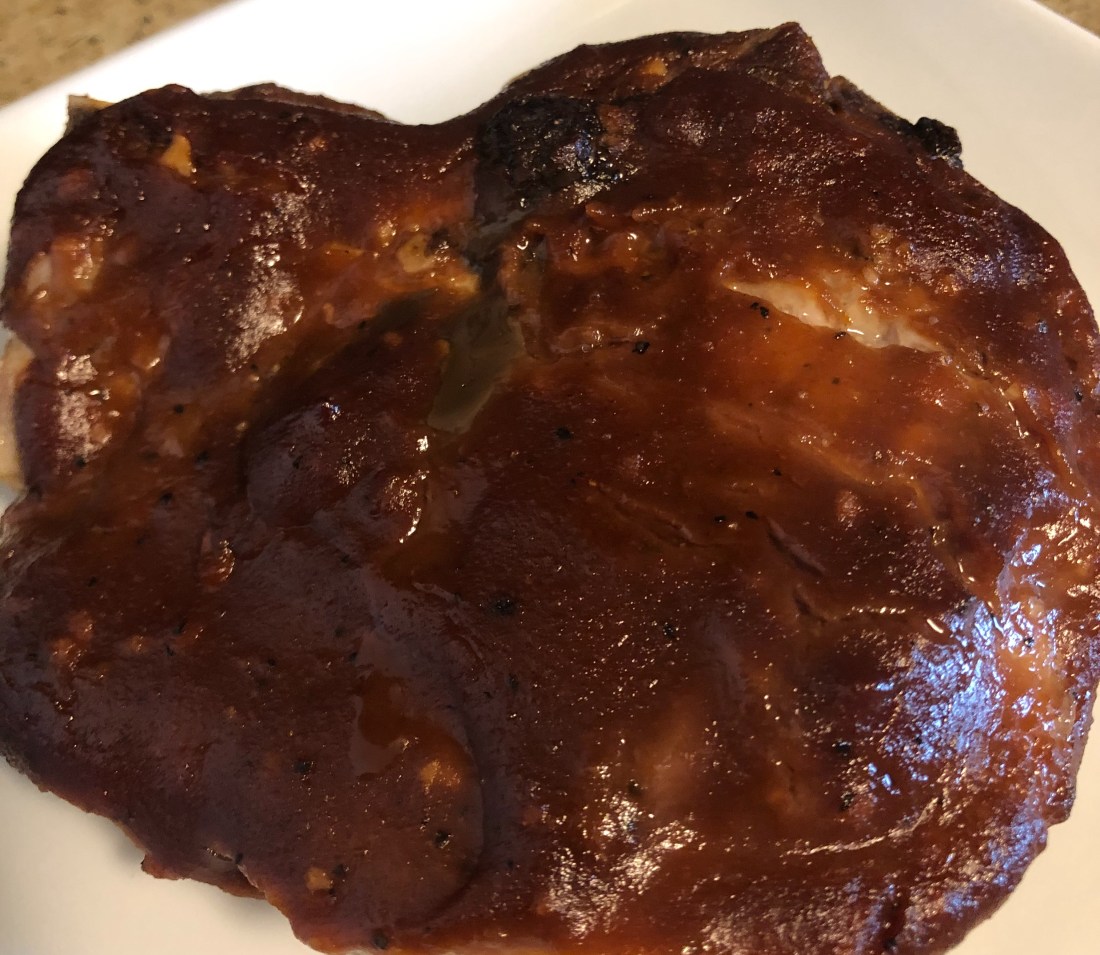
One of my favorite things my mother used to make was smothered pork chops. She’d dump a can of cream of mushroom soup on top of pork chops in a baking dish and then sprinkle that with a package of dry French onion soup mix. Bake it and voila – moist and tender pork chops with a great gravy already made. Well, those days are past and I can no longer have the French onion soup mix or canned cream of mushroom soup. But as many of you who have followed me for awhile know, cream of mushroom soup is one of the easiest soups to make (see the recipe under Soups and Salads). For this smothered pork chop recipe, I used a variety of mushrooms in the soup recipe and it really enhanced the flavor of the pork chops. I always have at least one 2 cup bowl of this soup in my freezer ready for use in recipes like this.
Preheat oven to 350 degrees. Lightly spray a baking dish to hold the pork chops and mushroom soup. For 2 servings:
2 thick cut pork chops (at least 1 inch thick) – if thinner chops are used, cook only 20-25 minutes
Heat in a 10″ skillet, 1 tablespoon olive oil and sear the chops on all sides (including the skinny ones!). I cut slashes in the fat side to allow the fat to render out. Place the chops in the baking dish and cover with:
2 cups of cream of mushroom soup
Bake for 40-45 minutes or until the pork reaches 145 degrees. My mother always served these with mashed potatoes but I prefer brown rice. Mashed sweet potatoes would also work or any type of noodle.
3 tablespoons soy substitute (or soy sauce if you can use it)
2 tablespoons date sugar
Salt and pepper to taste (approximately 1/4 teaspoon of salt and a dash of ground pepper)
If preparing 4 chops, double the above. In a medium to large sauce pan heat:
1 tablespoon olive oil
When the oil is shimmering add:
2 thick cut pork chops
Sear on all sides before adding to the prepared baking dish. Spread with the prepared sauce and bake approximately 40-50 minutes depending on the size of the pork chops.
Who doesn’t like a good cupcake? And this one is great – light and fluffy, very unusual for a gluten-free cake. I didn’t have a regular size muffin pan so I simply put the cupcakes papers in a 9×12″ baking pan instead. They didn’t all come out perfectly round but they still tasted delicious! Partnered with the Carob Buttercream Frosting, they are wonderful.
Preheat oven to 350 degrees. Place cupcake papers in 1 or 2 regular (12 hole) muffin tins. The recipe made 14 muffins when I made it, so depending on how full you fill the papers will determine exactly how many cupcakes.
In a medium bowl, whisk:
3 tablespoons ground flax
3/4 cup agave nectar, coconut nectar, or date syrup
3/4 cup non-dairy milk
1/3 cup avocado or other light tasting oil
2 tablespoons vanilla extract
2 teaspoons rice vinegar
Set aside. In a large bowl, combine:
1 cup millet flour
1/3 cup chickpea flour
1/3 cup tapioca flour
1/3 cup potato starch
1 1/2 teaspoons xanthan gum
2 teaspoons baking powder
1 teaspoon baking soda
1/4 teaspoon sea salt
Mix to combine the dry ingredients. Pour the wet mixture over the dry and whisk again to combine. Don’t overmix or the cupcakes will get tough. Fill the cupcake papers 2/3 full of batter (or, if preferred, use 2 8″ cake pans lined with parchment paper and sprayed with a non-stick spray, dividing the batter equally between the 2 pans). Bake 20-25 minutes rotating the pan after 10-12 minutes, until a tester comes out clean. If making a cake, bake 30-35 minutes. Cool in the pan(s) for at least about a half hour before removing to a cooling rack. Frost with Carob Buttercream or your favorite frosting.
If a cake is made instead of the cupcakes, freeze the layers before frosting to reduce crumb.
When I lived in Pittsfield, Massachusetts, there was a wonderful Vietnamese restaurant that introduced me to all kinds of new flavors. One of our favorites were their spring rolls! What a delicious concoction; meat, rice noodles and vegetables wrapped in a rice paper shell and deep fried. Oh so good. Generally a spring roll contains pork or shrimp and a summer roll (the unfried version of a spring roll) contains shrimp and no noodles but bean sprouts instead. Here I’ve substituted chicken but any meat (or meat substitute) would work. And they aren’t difficult to make as long as the steps are followed.
First cook whatever part of the filling needs cooking.
To a large pot of boiling, salted water add:
8 ounces pad Thai noodles (or linguini, gluten free of course!) [Optional but traditional]
Cook until tender, about 3-5 minutes, drain, rinse with cold water and set aside to add to the cooked vegetables later. In a medium 10″ skillet over medium heat, heat:
1 tablespoon olive oil
Add:
1/2 medium onion, sliced
1 cup of thinly sliced Chinese (or Napa) cabbage
Reduce heat to medium low and cook for several minutes until the onion and cabbage wilt. In a small bowl whisk:
1 tablespoon soy substitute
1 tablespoon date sugar (or syrup)
1/2 cup rice vinegar
1 tablespoon sesame oil
Add to the skillet and stir to combine with the onion and cabbage. Add the pad Thai noodles if used. Remove the vegetables from the skillet. Either clean that skillet or using another, heat:
1 tablespoon olive oil
Add over medium heat:
16 ounces of chicken breast, julienned (thinly sliced)
Cook, turning frequently, for several minutes, 3-5, until chicken is cooked. Remove from heat.
Let the vegetables and chicken cool thoroughly. If the fillings aren’t cool enough, they will melt the rice paper wrapper. In the meantime, prepare the uncooked fillings, any or all of the following:
1 medium carrot, any color, julienned
1 English cucumber, peeled and julienned
1 cup zucchini noodles cut into 4 inch sections
1/2 cup pea pods
2-3 green scallions (green parts only), cut into 4 inch sections
1/2 cup Daikon radish (julienned)
Avocado (julienned)
2 tablespoons sesame seeds (white or black)
Fresh herbs can also be added such as mint or basil leaves
As you can see, pretty much any vegetable could work, even string beans! You’ll also need:
10-12 rice paper wrappers (found in most oriental or specialty stores (or Whole Foods)
When the fillings are all prepared and cooled, using a 12″ container (I used a large pie plate), fill with about 1″ of warm water, not hot, just lukewarm works best. One at a time, place a rice paper wrapper , into the warm water, making sure the wrapper is covered by the water. You don’t want to soak it, just wet it completely. You’ll notice when it’s wet enough because the marks on the wrapper will disappear. Place the wrapper on a clean tea towel (cotton rather than a synthetic or fleece towel) and dry. I picked up the wrapper at this point, carefully, so it didn’t stick as much to the towel after filling.
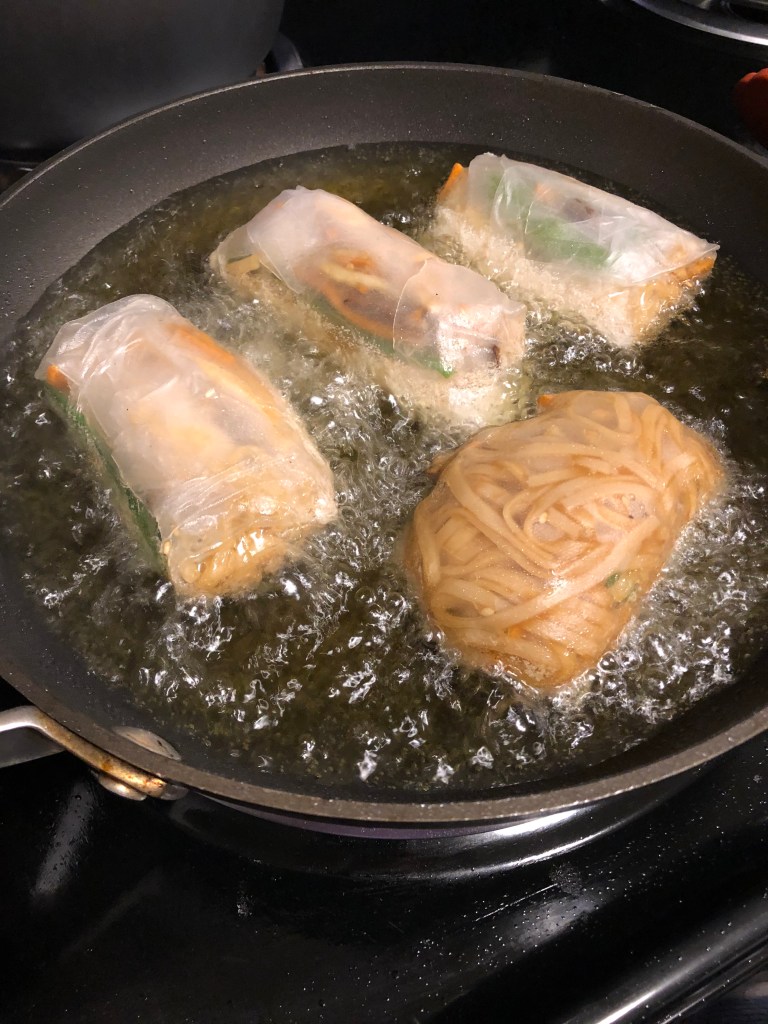
As you see from the photo, I broke one but it was still useable. Once dried, place some of the fillings in the middle of the wrapper, horizontally, then fold the bottom of the wrapper over the filling being sure it is tight at the top. Then fold in the sides of the wrapper and roll it up from the bottom to the top. The top should stick to the rest of the roll. If it doesn’t, rub a tiny amount of water on it with your finger.
Now comes the choice – spring or summer rolls? The only difference is the frying. If spring rolls are chosen, cook all of them. I cooked half and left the others for the next day’s lunch and they totally disintegrated in the oil the next day, the rice paper didn’t hold up to being refrigerated.
If spring rolls are the choice, heat in a large, high sided skillet:
3 inches of olive and avocado oils
Heat to 350 degrees. Olive oil has a low smoke point so mixing it with the avocado (which has a higher smoke point) keeps the olive oil from burning during this process. Once the oil is to temperature, add the spring rolls being careful not to overcrowd the pan. Fry, turning once (tongs are best for this), until golden brown. Unlike most fried foods, do not place these on a paper towel as the rice wrapper will stick to it even after fried. Instead blot lightly with the paper towel after frying.
If, like me, several of your wrappers formed holes when wrapping them in the vegetables, DON’T FRY THEM! The oil will get into the roll and it will be very greasy. Use it as a summer roll instead.
Dipping sauce (or dressing) if desired. Traditionally spring rolls are served with a peanut sauce but the restaurant always served them with a spicy soy/ginger/garlic sauce. Here are several recipes for dipping sauces.
“Peanut” Dipping Sauce:
Combine in a small bowl:
1/2 cup tahini or other seed or nut butter
1 tablespoon soy substitute
2 tablespoons rice vinegar
1 teaspoon minced garlic
1 tablespoon grated fresh ginger
1-3 tablespoons hot water depending on the thickness desired
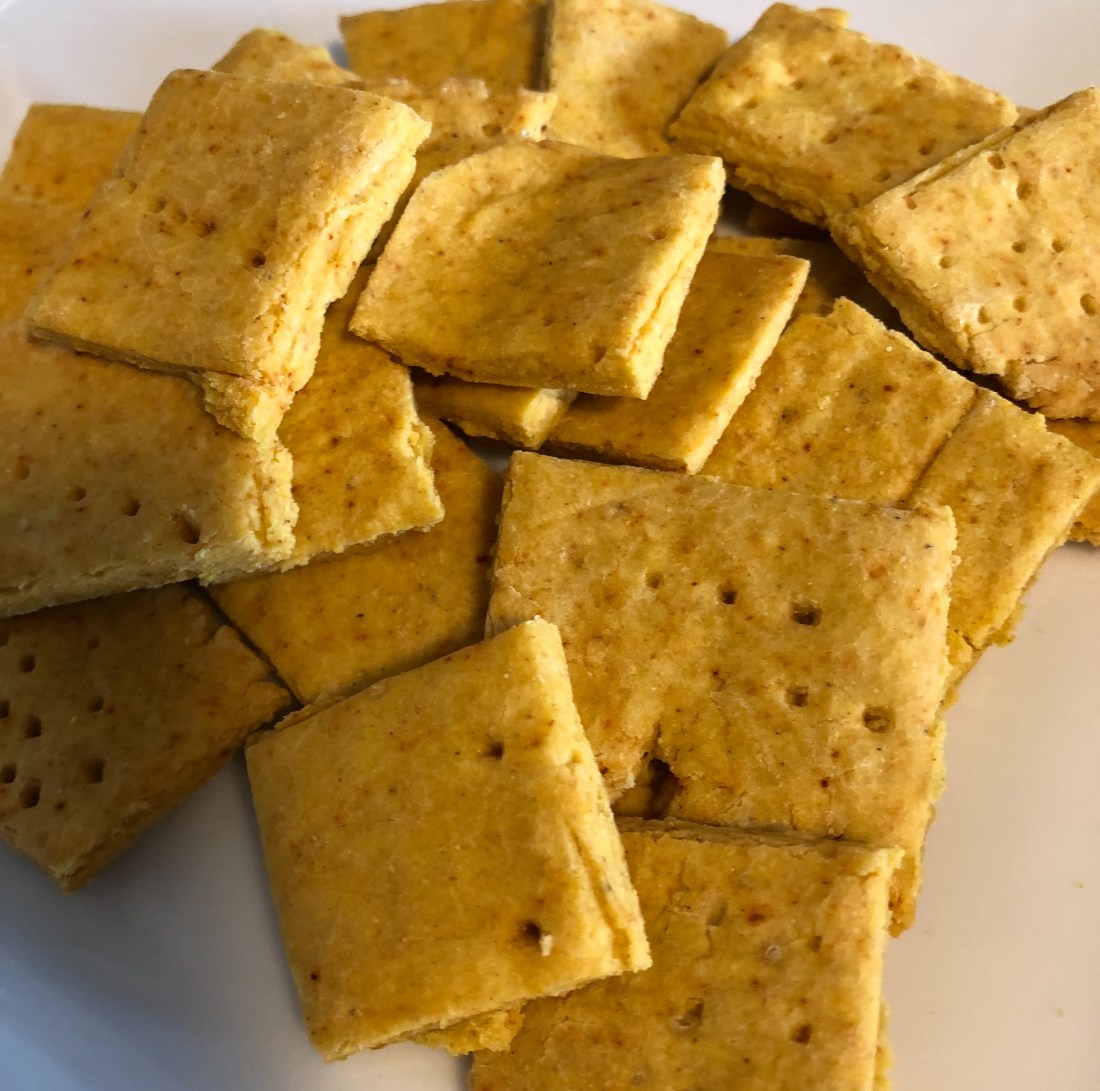
One of my favorite lunches used to be tomato soup with Cheezits. That cheese cracker with the tomato soup tasted so good. This cracker isn’t a cheezit but they taste very good and have a cheese taste from the nutritional yeast. And they are very easy to make in the food processor.
Preheat oven to 350 degrees. In the food processor add:
1 cup gluten-free all purpose flour
2-3 tablespoons nutritional yeast
1/2 teaspoon baking powder
1/2 teaspoon sea salt
1/4 teaspoon paprika
1/8 teaspoon turmeric
Pulse to combine before adding:
1 tablespoon vegan butter or margarine
1 tablespoon olive oil
1 teaspoon lemon juice
Pulse until mixture is crumbly then add, 1 at a time:
5-6 tablespoons water (I needed to add all 6)
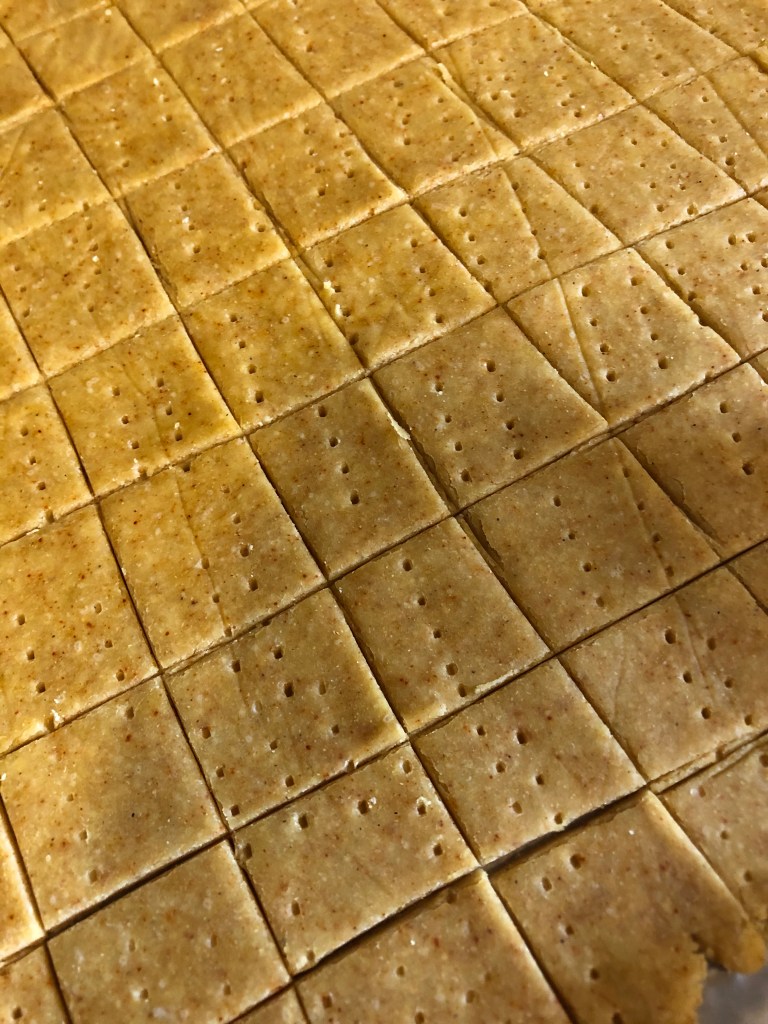
Pulse after each addition. Mixture should come together but not be sticky. This may require removing from the processor and working manually (with your hands) until combined. Place onto a sheet of parchment paper. Put a second sheet of parchment paper on top and flatten the dough. Using a rolling pin, roll out the dough to 1/8″ thickness or as thin as you can get it, the thinner the better! Mine was thicker in the middle than around the outside which meant I had to remove the outer pieces and continue baking the thicker middle so try to get the dough the same thickness.
Remove the top parchment paper and place the dough, lifting carefully by the bottom paper, onto a large cookie sheet. Using a pizza cutter or knife, cut the dough into small 1″ squares. The outside pieces can be removed and rerolled and recut to form squares.
If you prefer a saltier cracker, sprinkle some fine sea salt on top sparsely before baking. Make some holes with a fork in each square and bake for 16-18 minutes. As I previous mentioned, if necessary remove outer pieces that are thinner and continue baking the thicker squares for another 5-7 minutes. Cool on sheet before moving to a cooling rack. When completely cooled, store in airtight container.
I do love zucchini noodles. I remember when I first discovered Whole Foods in western Massachusetts, they had grated zucchini on their salad bar and I used to love adding it to a salad. Like many recipes I blog, this one is totally adjustable for your family’s taste. Here’s the vegetables I used.
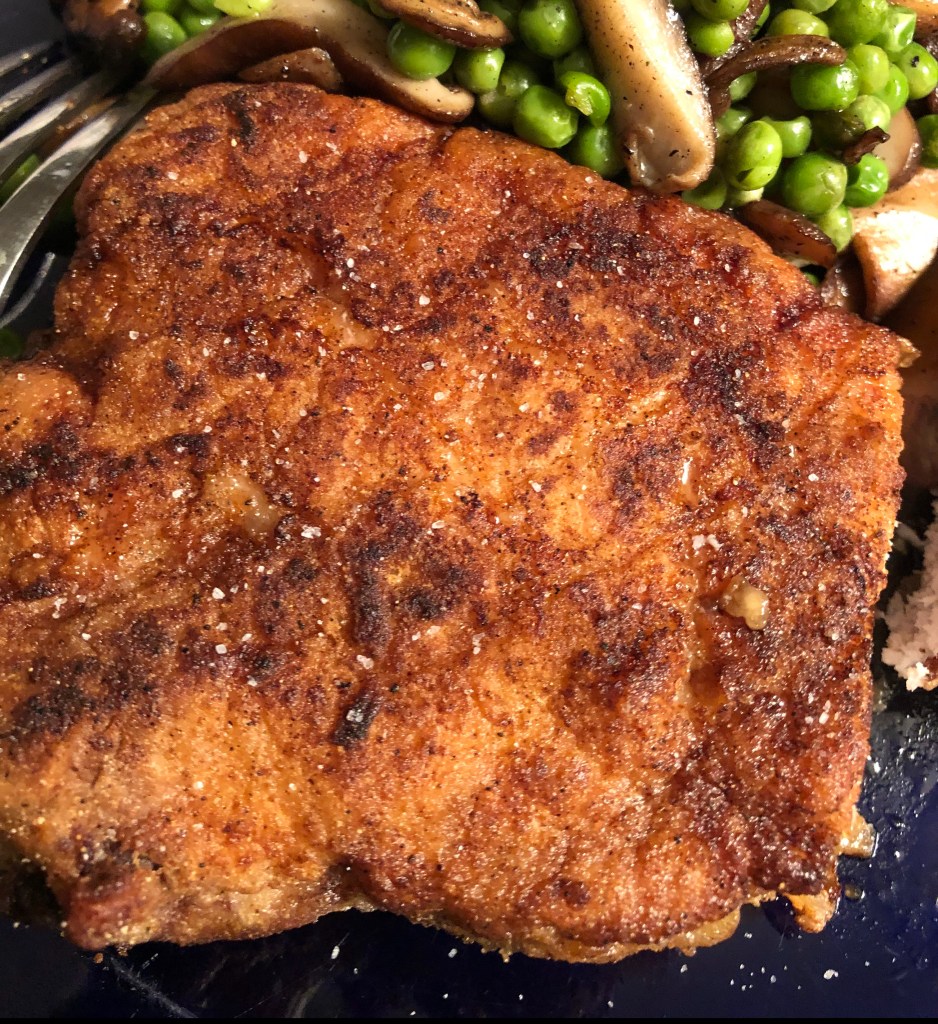
Since chicken and pork are my primary proteins, along with the occasional fish dish, I’m always looking for tasty recipes to give me more variety. The problem I’ve always had with pork is it gets so dry. This is a way of holding in that moisture while at the same time having a really crispy, fried chicken like, coating on the outside. The original recipe called for crushed corn flakes but many of us have problems with corn so I’ve revised it to seasoned flour but feel free to use crushed corn flakes if desired. Serves 2.
In a gallon food storage bag combine:
2 tablespoons arrowroot with
2, 1″ thick pork chops with most of the fat trimmed (make shallow cuts in the pork chops in a diamond pattern roughly 1/2″ apart to allow the arrowroot to be absorbed into the pork. By shallow I mean not more than 1/16 of an inch. This will help the coating stick as well as tenderize the pork.)
Shake to make sure that the arrowroot covers all the pork and let sit in the refrigerator for about 20-30 minutes. In a shallow dish, place:
1/4 to 1/3 cup aquafaba depending on how large the chops are
In another shallow dish combine:
2 tablespoons all purpose gluten free flour
1 tablespoon tapioca or cassava flour
1/2 teaspoon sea salt
1/4 teaspoon ground black pepper
1/4 teaspoon garlic powder
1/4 teaspoon paprika
When the pork chops are ready, remove from bag (over the sink is a good place to do this) being sure to rub any loose arrowroot from the chops. Coat each in the aquafaba and then in the seasoned flour. In a 10″ skillet, heat:
1/4 cup olive oil
When shimmering, add the pork chops being careful to place the side nearest you into the pan first. Reduce heat to medium and fry until golden brown on each side (don’t forget the narrow edges), this should take about 7 minutes. Reduce to medium low and cover for approximately 5 minutes or until the internal temperature of the pork is 145 degrees. (If you don’t have a meat thermometer, they aren’t expensive and are very useful in determining if meat is at temperature.) If you don’t have a thermometer, touch the meat with a utensil or your finger. If it has a lot of give, it’s not cooked. It should not be totally firm but close to it, just a little give to the meat will produce a juicy chop. If the coating has gotten soggy while covered, increase the heat back to medium and cook on each side for 30 seconds to one minute to crisp it back up. Remove from heat and blot on paper towels before serving – DON’T LET THE CHOPS SIT ON THE TOWELS TOO LONG OR THE OUTSIDE WILL GET SOGGY. Be sure to salt them as soon as they come out of the oil.
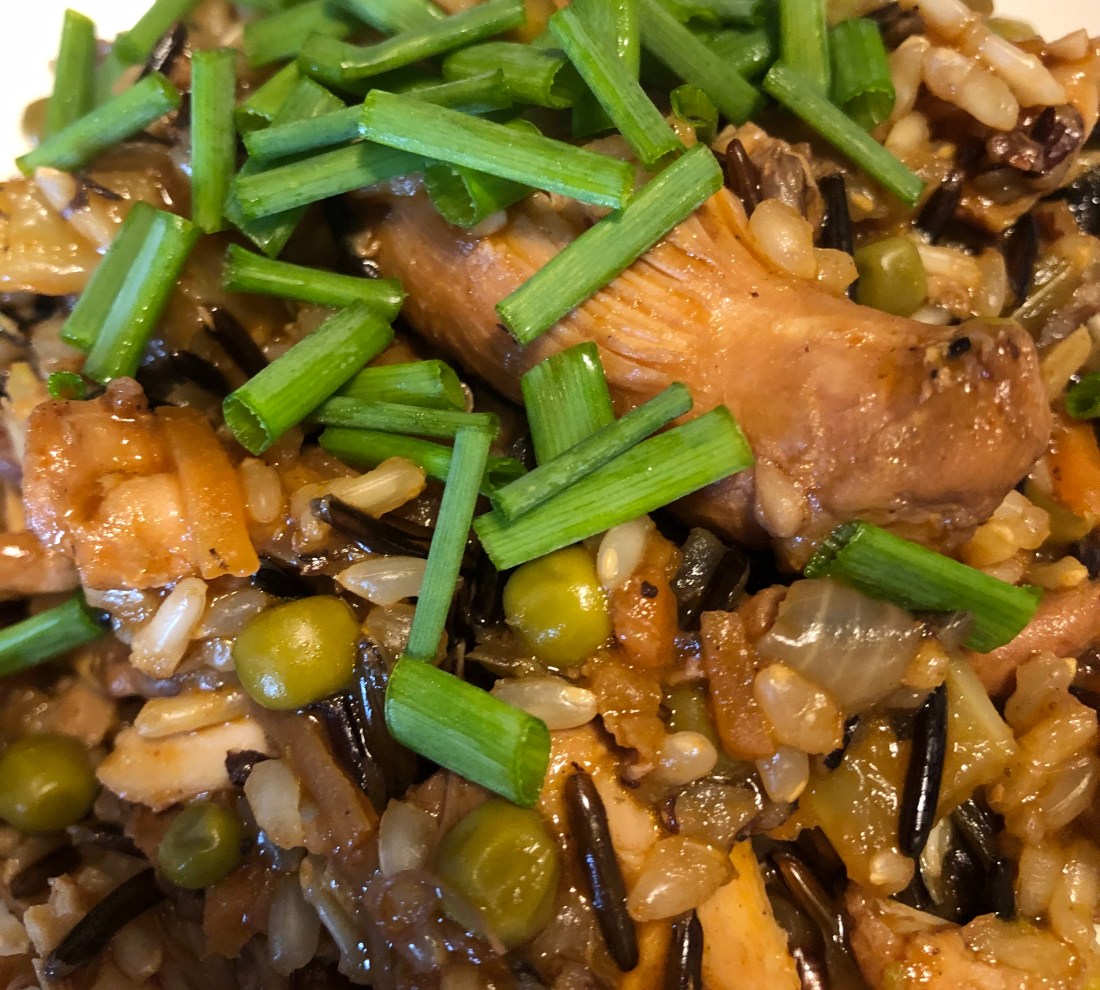
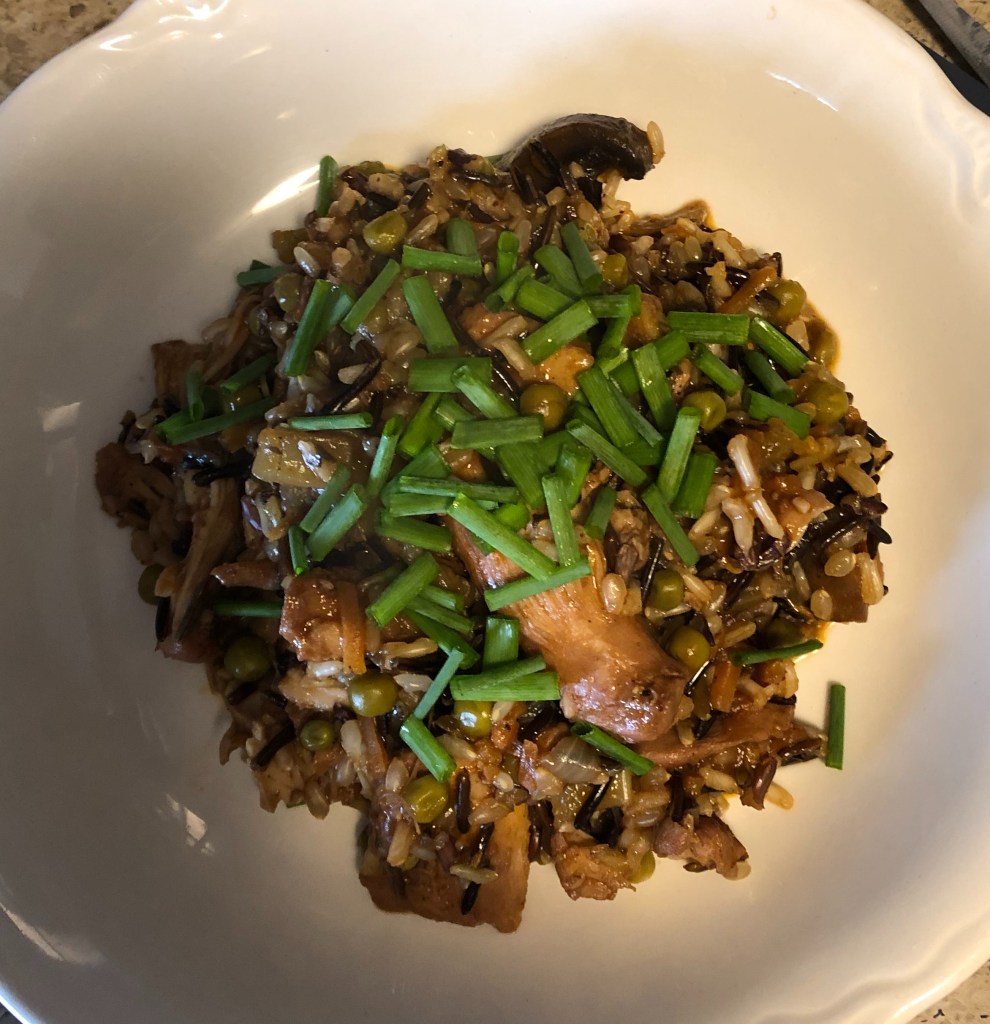
I’ve been making rice with meat for years. It’s a convenient, easy way to stretch meat when you don’t have much of it and lots of people to feed. And a great way to use up extra vegetables because it’s an adaptable recipe where any combination of meat and vegetables works fine. The recipe feeds 6 or 4 generously.
This will be my last blog post for several weeks as I now need to concentrate on finishing my screenplay which was due today but I’m not happy with it yet so have to concentrate on that for the next few weeks.
In a Dutch oven, heat over medium high heat:
2 tablespoons olive oil
Add:
6 boneless skinless chicken thighs or breasts seasoned with salt, pepper and garlic powder (if using breasts cut into large cubes
The object is to brown the meat and build flavor as well as sear the meat to keep all the juices in it. This should take about 5 minutes, 2 1/2 minutes per side. When browned, remove the chicken pieces to a plate and add to the pot:
1 medium onion diced
6-8 stalks of celery diced
1/2 cup chopped carrots (or grated)
1 cup diced mushrooms
Sauté for several minutes until onion starts to brown. Add:
1 teaspoon minced garlic
2 tablespoons tomato paste
1/2 teaspoon ground allspice
1/8 teaspoon ground cloves
2 teaspoons to 2 tablespoons sweet or spicy paprika depending on your taste
2-3 bay leaves
1 cup frozen or fresh peas (if using fresh, add with the rice)
2 cups chicken stock (or, if possible, 1 cup of white wine and 1 cup of stock)*
1 tablespoon date syrup or date sugar
Stir to mix and add the chicken back into the pot along with any juices that are on the plate. Cover and simmer on low heat for approximately a half hour until chicken is cooked. Stir in:
1 cup rice (I used a wild rice blend but feel free to use whatever rice you prefer)
Simmer covered until rice is cooked, stirring frequently to be sure rice doesn’t stick to the bottom of the pot. This should cook out all the liquid but if not, cook uncovered until most of the liquid is gone. If the rice isn’t cooked but the liquid is all absorbed, add 1/4 cup stock and continue cooking covered until rice is done. Remove the bay leaves, taste and add additional salt if needed. Serve garnished with chives.
*If using wine, deglaze the pan with the wine before adding the stock. This will cook off the alcohol.